



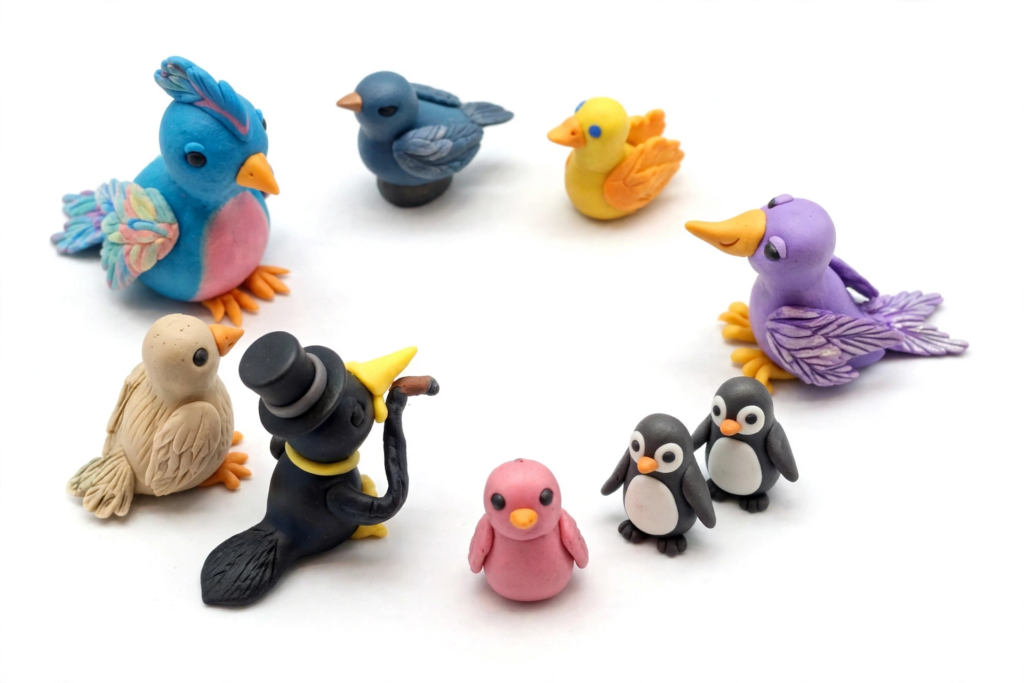
Miniature Clay Birds are a cute way to try your hand at creating small-scale sculptures and add some handmade flair to your projects. You can create different types of birds, including little robins, bright red cardinals, and cute round owls, using simple tools and a little creativity.
Both beginners and those who love making mini animals will enjoy making these. Add some colour with painted feathers or leave them simple with smooth bodies and small beaks.
With these 10 ideas for mini clay birds you’ll have plenty of ideas for handmade decorations, dollhouse scenes, mini gardens and thoughtful gifts. Decide which design you like best and get making with your clay and tools.
If you enjoy making tiny clay creations, explore 10 Miniature Clay Dollhouse Accessories to Make Yourself for more fun DIY ideas to decorate your miniature home.

1. Tiny Clay Robin
To make a miniature clay bird, take your clay and roll it into a small oval, then flatten one end to create the tail. Attach a smaller round lump of clay for the head, add a small pointed shape for the beak, and press two small dents into the head for the eyes.
Take your clay and roll into a small oval. Flatten one end to create the tail. Attach a smaller round lump of clay for the head and add a small pointed shape for the beak. Add two small dents to the head for the eyes.
Now add a thin layer of orange or rusty clay to the chest. Add brown clay for the wings and dark clay for the beak.
Styling tip: Place your finished robin on a small clay branch or beside a miniature nest for a woodland-inspired display.
For an easier version, make the body from one piece of clay and add the breast color after the bird has dried, if your chosen clay is suitable for painting.
If you enjoy making mini crafts, explore these 15 Tiny Clay Keychains That Are Cute and Easy to Make for more adorable DIY inspiration.

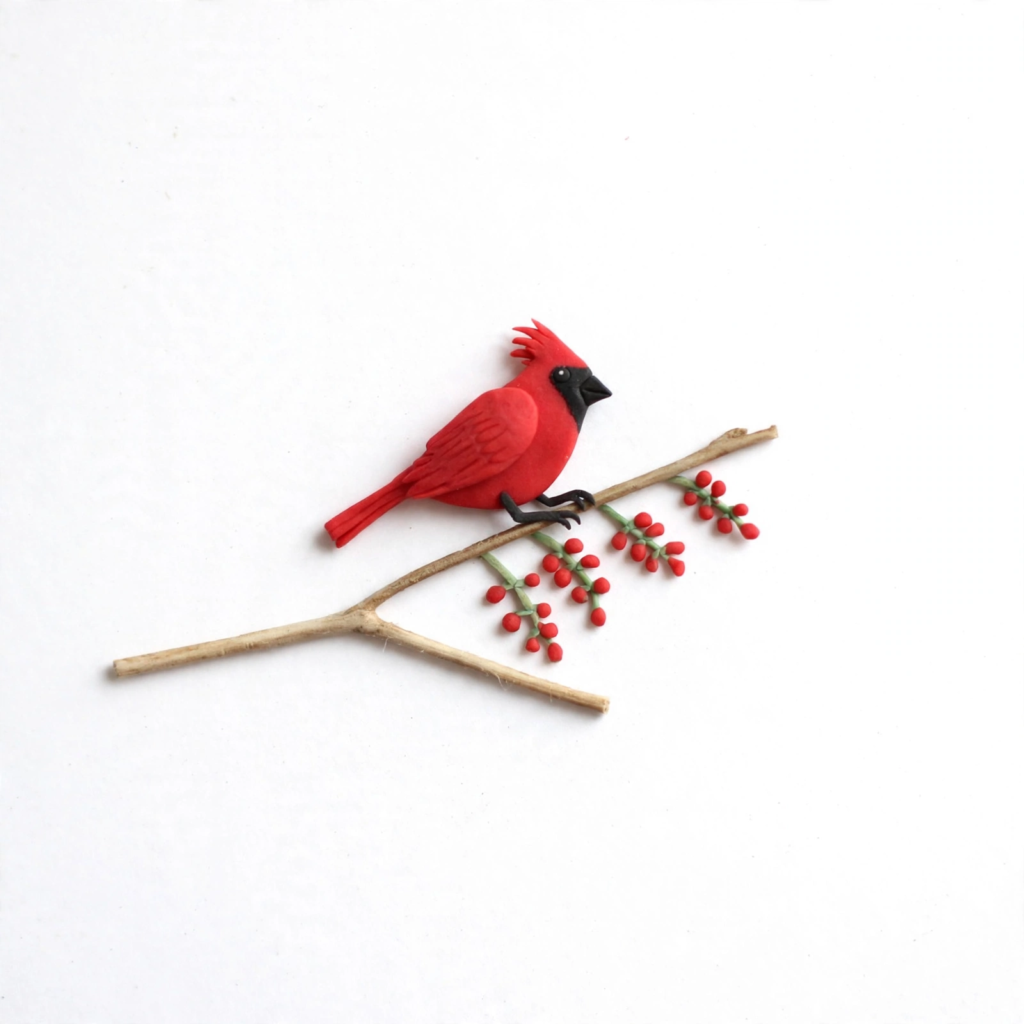
2. Miniature Red Cardinal
Create a little red cardinal. This has lots of bright colours with a bright red body, black facial pattern and a pointed crown.
To create your Miniature Clay Birds, start by shaping the clay into a teardrop to form the bird’s body. Gently pinch the back to create a short tail. Next, make a small triangle from clay and attach it to the top of the head to create a crown. Finally, shape a short, pointed beak using dark-colored clay and carefully attach it to the front of the head.
The body and wings should be made using red clay. The face should have a small amount of black clay to give the cardinal its classic look. Keep the details simple to avoid making the bird too bulky.
Styling tip: Display your cardinal beside a miniature evergreen tree or on a small branch for a seasonal woodland scene.
Because the crest and beak are delicate, avoid making them excessively thin. Slightly thicker details are generally easier to handle while sculpting and after the clay hardens.
If you’re looking for cute and easy animal crafts, explore these 15 Tiny Clay Animal Ideas for Beginners to create adorable miniature animals for keychains, gifts, and decorations.
3. Little Clay Owl
This adorable owl is perfect for anyone who loves cute, rounded animal designs. Its large, expressive eyes, small body, and tiny beak give it a charming appearance, making it easy to recognize and fun to create as one of your Miniature Clay Birds.
To make your miniature clay owl, take a small amount of brown, gray, cream, or white clay and roll it into a ball to create the rounded body. Gently flatten the front and pinch the top to form two small bumps that resemble ears, giving your cute miniature clay bird a classic owl shape.
To bring your Miniature Clay Birds to life, add two small circles to create the eyes. Place a tiny dark circle in the center of each eye to give your bird a lively expression. Next, attach a very small triangle for the beak. Finally, use short lines or tiny dots to represent feathers and add charming details to your miniature bird.
If you want a snowy owl you can make the body white with light grey spots. If you want a woodland owl use brown clay and add cream circles on the face.
Styling tip: Make two or three owls in different sizes and arrange them on a miniature shelf or beside a tiny clay mushroom.
To keep the face balanced, position the eyes before attaching the beak. This makes it easier to adjust the spacing while the clay is still soft.
If your kids enjoy hands-on crafting, explore [15 Fun Air-Dry Clay Toys for Kids to Make at Home] for more creative and beginner-friendly projects to try together.

4. Tiny Clay Bluebird
This pretty little bluebird brings a nice splash of colour to your bird collection. It is a great bird to use if you wanted a bright and cheerful decoration.
Make a small egg shaped body and flatten one end to make the tail. Attach the round head and attach two flat tear shape wings to the side.
Use medium or sky-blue clay to shape the bird’s back and wings. Add a small amount of orange or warm-brown clay to the breast for a natural pop of color. Finally, use a tiny piece of dark clay to create a small, pointed beak, completing your adorable miniature clay bird.
If you want to make it a bit neater, use two different blues for each wing. Use a toothpick to gentle press into the clay to make a few lines to give it the look of feathers.
Styling tip: Place your bluebird on a miniature branch with small clay leaves or flowers. A pair of bluebirds can also create a sweet scene for a dollhouse or display shelf.
If you’re making a very small figure, avoid adding too many separate feather pieces. A few carefully placed lines can suggest texture without making the wings heavy.
If you enjoy crafting with clay, explore these 12 Handmade Clay Jewelry Ideas to Try for creative inspiration, from colorful earrings to beautiful handmade pendants.

5. Miniature Clay Sparrow
If you like things to be a bit more natural looking, then this tiny sparrow would make a great model! It uses soft browns and beiges to make it perfect for creating some woodland scenes, miniature garden projects and rustic scenes.
Begin by using small oval shapes to create the body of your bird. You could use tan or light brown clay to make this. Add a rounded head and short, pointed tail. Create wings using dark brown clay and a light brown for the belly.
Create some short feather lines on the wings. Add two tiny dark eyes and a small beak. You could add some subtle patterns around the head by adding thin pieces of dark clay.
It does not have to be too realistic. To make your little sparrow look cute, you could make the head slightly larger and the body rounder.
Styling tip: Make a pair of sparrows and position them on a tiny branch. Add a miniature nest nearby if you want to create a complete woodland scene.
For beginners, keep the wing shapes relatively flat. Large, thick wings can overwhelm the small body and make the bird look less balanced.
If you enjoy making tiny creative projects, explore 12 Miniature Clay Food Crafts for Beginners for more fun and easy DIY inspiration.

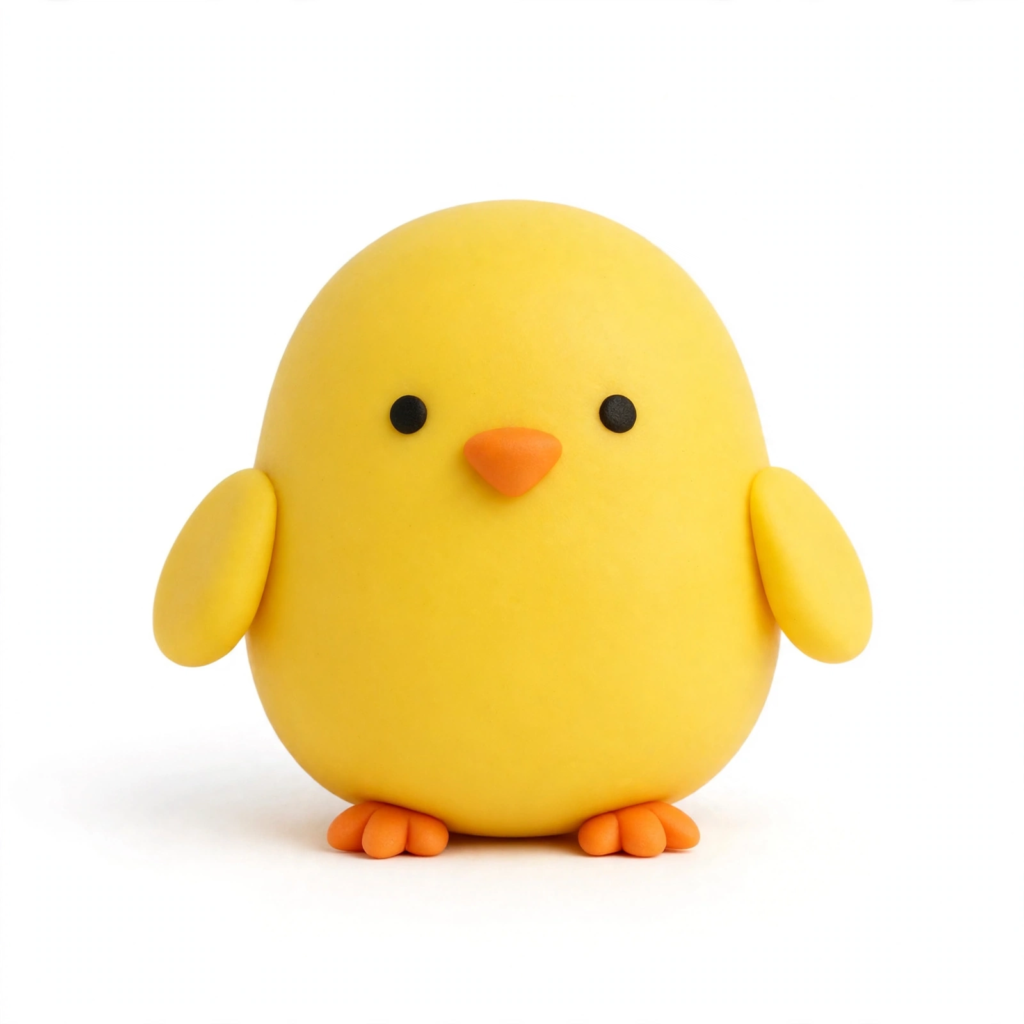
6. Cute Yellow Clay Chick
This is one of the easiest mini clay birds to make. The rounded shape, small wings and orange beak make it perfect for beginners wanting to get used to shaping simple forms.
Start by making a small ball out of yellow clay. Flatten the bottom slightly so that the bird will stand up straight. Add a small triangle for the beak and 2 small dark eyes.
Create 2 small tear shapes for the wings. Attach one to each side. If you want to create a fluffy effect, use the tip of a toothpick to add some short lines across the body.
You could also add very small orange feet and/or a small amount of clay on top of the head.
Styling tip: Create a miniature nest from clay and add two or three tiny eggs beside your chick. Soft yellow, cream, and pale green make a sweet spring-inspired color palette.
Keep the chick’s wings and beak proportionate to its body. Small details should enhance the shape rather than make the figure difficult to handle.
7. Miniature Clay Hummingbird
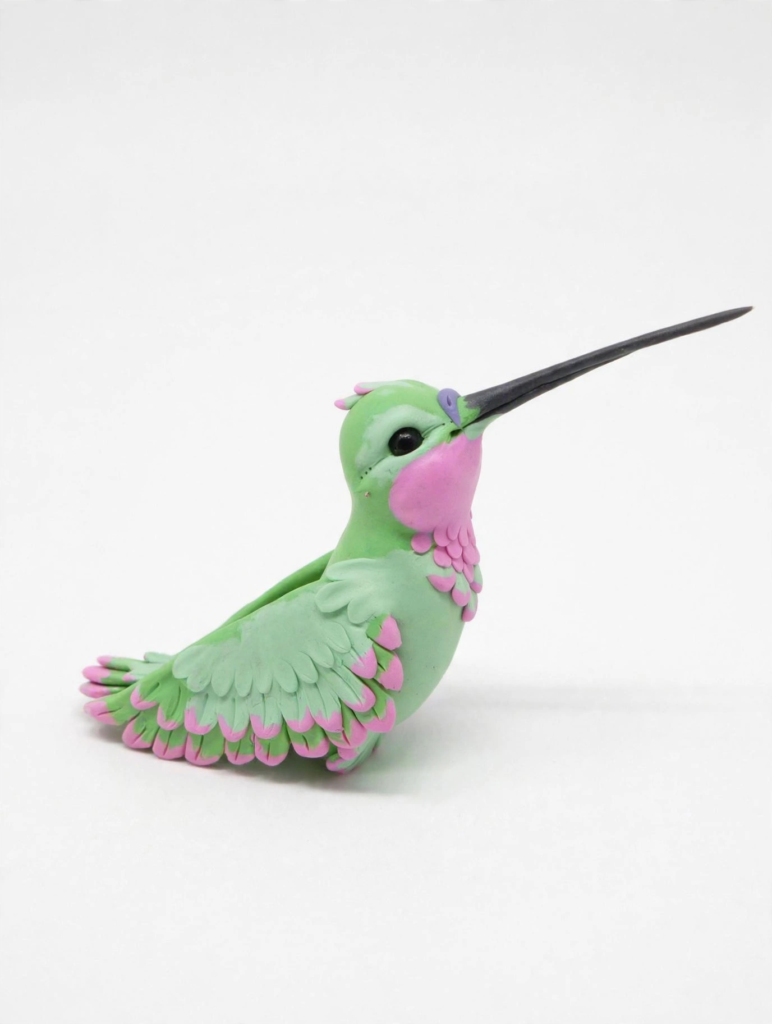
This cute little hummingbird design gives the opportunity to play with shapes and has lots of movement. It has very streamlined body, long beak and long wings.
Take your clay and make a long oval shape. Attach a small rounded head and attach a long thin beak at the front. Attach a short tail at the back.
Next create two flat teardrops for the wings. Place them at an angle. They can be slightly angled upwards to give the impression that the bird is flying or closer to the body if you want it to appear resting.
Use green, turquoise or blue clay for the back. Add a small area of bright colour to the throat so that it looks like a gemstone.
Styling tip: Display your hummingbird beside miniature clay flowers or attach it to a decorative base that suggests a garden scene.
Because the beak and wings are narrow, avoid making them paper-thin. A slightly sturdier shape is easier to sculpt and less likely to break during handling.
If you’re new to miniature sculpting, try a perched hummingbird first. It requires less support than a figure with extended wings.
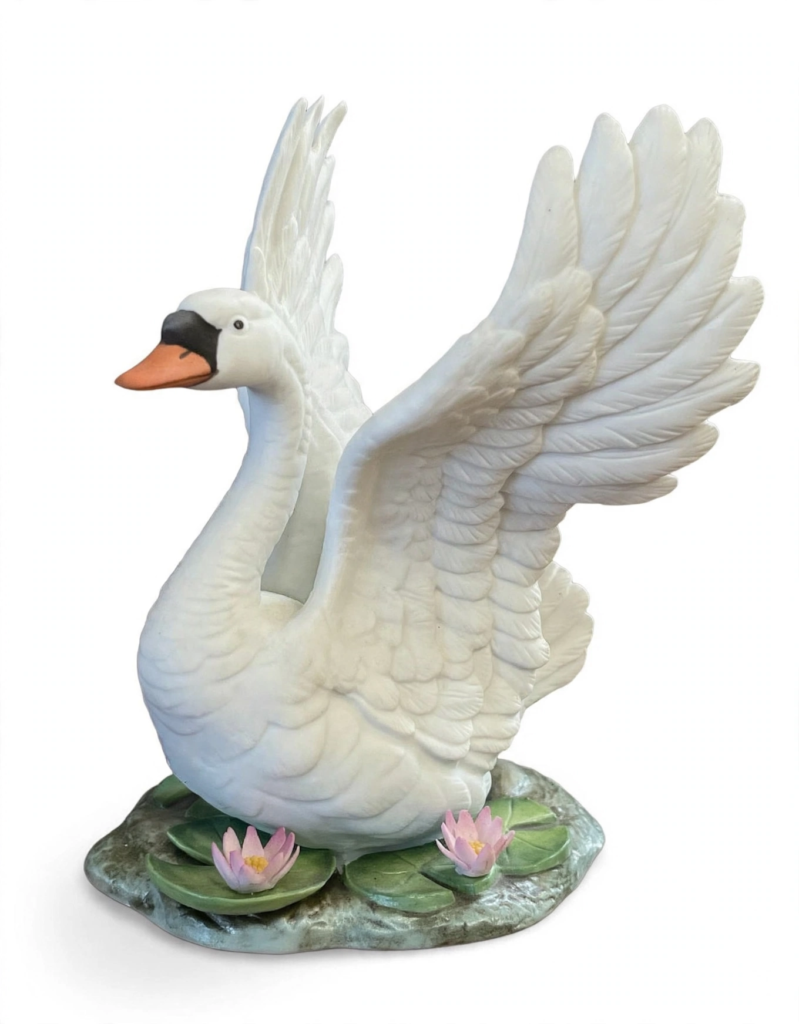
8. Tiny White Clay Swan
The white swan will give a more delicate feel to your set of clay birds. The swan has a curved neck and smooth body.
Create a small oval for the body of the swan. Neaten the back so that it creates a tail. Create a short curve for the neck from another piece of clay. Create a small head on top.
Attach the neck carefully to the body. Add a small orange beak, and small eyes. If you wish to decorate your swan you can add some faint lines to the wings or add some small white feathers.
To keep it traditional use white clay and an orange beak. To make it more playful use pastel pink or pale blue clay.
Styling tip: Place your miniature swan on a small oval clay base painted in soft blue to suggest water. You can add a few tiny green leaves around the edge.
Keep the neck thick enough to support its shape. A long, narrow neck can be fragile, particularly when made with air-dry clay.
9. Little Clay Penguin
This is a fun model to make if you enjoy creating cute animal models. This penguin has been designed with a round black and white body, small flippers and an orange beak.
Roll your modelling clay into an upright oval shape. Slightly flatten the front and make a white or cream coloured patch on the belly.
Add two small flattened flippers either side. Add a small orange beak and two dark eyes. If you would like you can add small orange feet to the bottom so it stands upright.
To create a fun model you could add a small scarf made from a thin piece of coloured modelling clay. Or you could even make a small penguin next to a large one.
Styling tip: Create a tiny winter display with your penguin, a few white clay snowballs, and a miniature iceberg-shaped base.
A flat bottom helps the figure stand without extra support. Before drying or curing the clay, check that the penguin sits evenly on your work surface.

10. Colorful Fantasy Clay Bird
A colorful fantasy bird gives you the freedom to experiment with shapes, patterns, and imaginative color combinations. Unlike the other designs, this bird doesn’t need to represent a specific species.
Start with a rounded or teardrop-shaped body. Add a small head, pointed beak, and two wings. You can make the tail longer than usual or add a small crest to give the bird a distinctive silhouette.
Try combinations such as turquoise and coral, lavender and yellow, or mint green and pink. Add dots, tiny hearts, stripes, or curved lines to decorate the wings.
You can also layer two or three colors to create a patterned bird. Keep the design cohesive by repeating one color on the wings, tail, or crest.
Styling tip: Make a small collection of fantasy birds in different colors and display them together on a miniature shelf or decorative base.
This is a useful project for using leftover clay from other crafts. Combine small pieces into wings, tails, and decorative accents rather than wasting them.
For the best result, keep the body shape simple and use color to create visual interest. Too many small attachments can make a tiny bird difficult to handle.
If you want to explore more bird-sculpting techniques, follow this helpful step-by-step clay bird tutorial from Sensory Trust for ideas on shaping, decorating, and adding details to your own miniature clay birds.
What You Need to Make Miniature Clay Birds
You don’t need a large collection of specialized supplies to get started. Most beginner-friendly miniature birds can be shaped with a few basic materials.
Basic supplies include:
- Clay: Choose air-dry clay or oven-bake polymer clay, depending on your preferred process.
- Toothpicks or sculpting tools: Use these to add eye marks, feather lines, and other tiny details.
- A small rolling tool: A miniature rolling pin or smooth bottle can help flatten wings and decorative pieces.
- A work surface: Use a suitable craft mat or another clean surface that won’t stick to your clay.
- A small paintbrush: Useful for applying color to clay that is ready to be painted.
- Acrylic paints: These can be used on compatible, fully dried clay to add color and markings.
- A small container of water: Helpful for cleaning your hands and tools. Use water on clay only when its manufacturer permits it.
- A suitable finish or sealer: Optional, but useful if you want a particular surface finish and the product is compatible with your clay and paint.
Always follow the manufacturer’s instructions for shaping, drying, baking, painting, and sealing your chosen clay.
Tips for Making Tiny Clay Birds
Start With Simple Shapes
Most miniature birds can be built from an oval body, a small head, and a few additional shapes for the wings, tail, and beak.
Get these basic proportions right before adding decorative details. If the body and head look balanced, even a simple bird can look charming.
Keep Small Details Proportionate
Tiny beaks, thin tails, and narrow wings can be difficult to attach securely. Make these parts slightly sturdier than you might expect, especially if your finished bird will be handled or moved.
A small, clearly defined wing often looks better than several bulky feather pieces.
Add Texture Carefully
A toothpick can create fine lines for feathers, while the rounded end of a sculpting tool can make small eye marks.
Work with light pressure. Deep cuts or excessive handling can distort a miniature figure or weaken narrow sections.
Let the Clay Dry or Cure Properly
Air-dry clay needs time to dry, while oven-bake polymer clay must be cured according to its manufacturer’s instructions.
Drying time varies with the clay, thickness, and surrounding conditions. Avoid relying on a universal drying time, and don’t bake air-dry clay unless its manufacturer specifically instructs you to do so.
Paint Only When the Clay Is Ready
If you’re using paint, check that the clay is completely dry and suitable for painting first. Apply thin layers and allow each layer to dry before adding the next.
For colorful birds, paint the larger areas first and finish with the smallest details.
Check That the Bird Can Stand
If you’re creating a freestanding figure, gently test its balance before the clay dries or cures. Adjust the bottom of the body or add a small base if necessary.
A bird that stands securely is easier to display on a shelf, in a miniature scene, or beside a clay nest.

Final Thoughts
Miniature clay birds are a delightful way to practice small-scale sculpting while exploring different colors, shapes, and decorating techniques. From a natural-looking robin to a bright cardinal, a round little owl, or a colorful fantasy bird, each design offers a different opportunity to personalize your craft.
Start with a simple bird shape and add details gradually. As you become more comfortable working with tiny pieces, experiment with different wing patterns, painted markings, and miniature display ideas.
Whether you make one bird or create an entire collection, these tiny clay creations can bring a handmade touch to your miniature displays and craft projects.
FAQ SECTION
Air-dry clay is convenient for small decorative birds because it hardens without oven curing. Polymer clay is another option when you want to create detailed miniatures and can follow the required baking instructions. Choose based on your preferred process and the intended use of the finished bird.
Roll a small piece of clay into an oval for the body. Shape a smaller piece for the head, then add a beak, tail, and two wings. Use a toothpick to create the eyes and feather details. Allow the clay to dry or cure according to its manufacturer’s instructions.
Yes. Beginners can start with simple designs such as a round chick, a basic robin, or a small owl. These shapes require fewer details than birds with long beaks, narrow tails, or extended wings.
Roll two very small pieces of clay into balls and press them gently onto the head. Alternatively, make shallow eye marks with a toothpick and fill them with paint after the clay is ready for painting.
Flatten a small piece of clay into a teardrop shape and attach it to the side of the body. Repeat for the other wing. You can use a toothpick to add feather-like lines before the clay dries or cures.
Yes, many air-dry clay projects can be painted once completely dry. Acrylic paint is a common option, but check that it is compatible with your clay and follow the product instructions.
Follow the clay manufacturer’s instructions for thickness, drying, and handling. Avoid making parts unnecessarily thick or extremely thin, support delicate shapes, and let air-dry clay dry gradually as directed. Cracking can still occur depending on the material and conditions.