


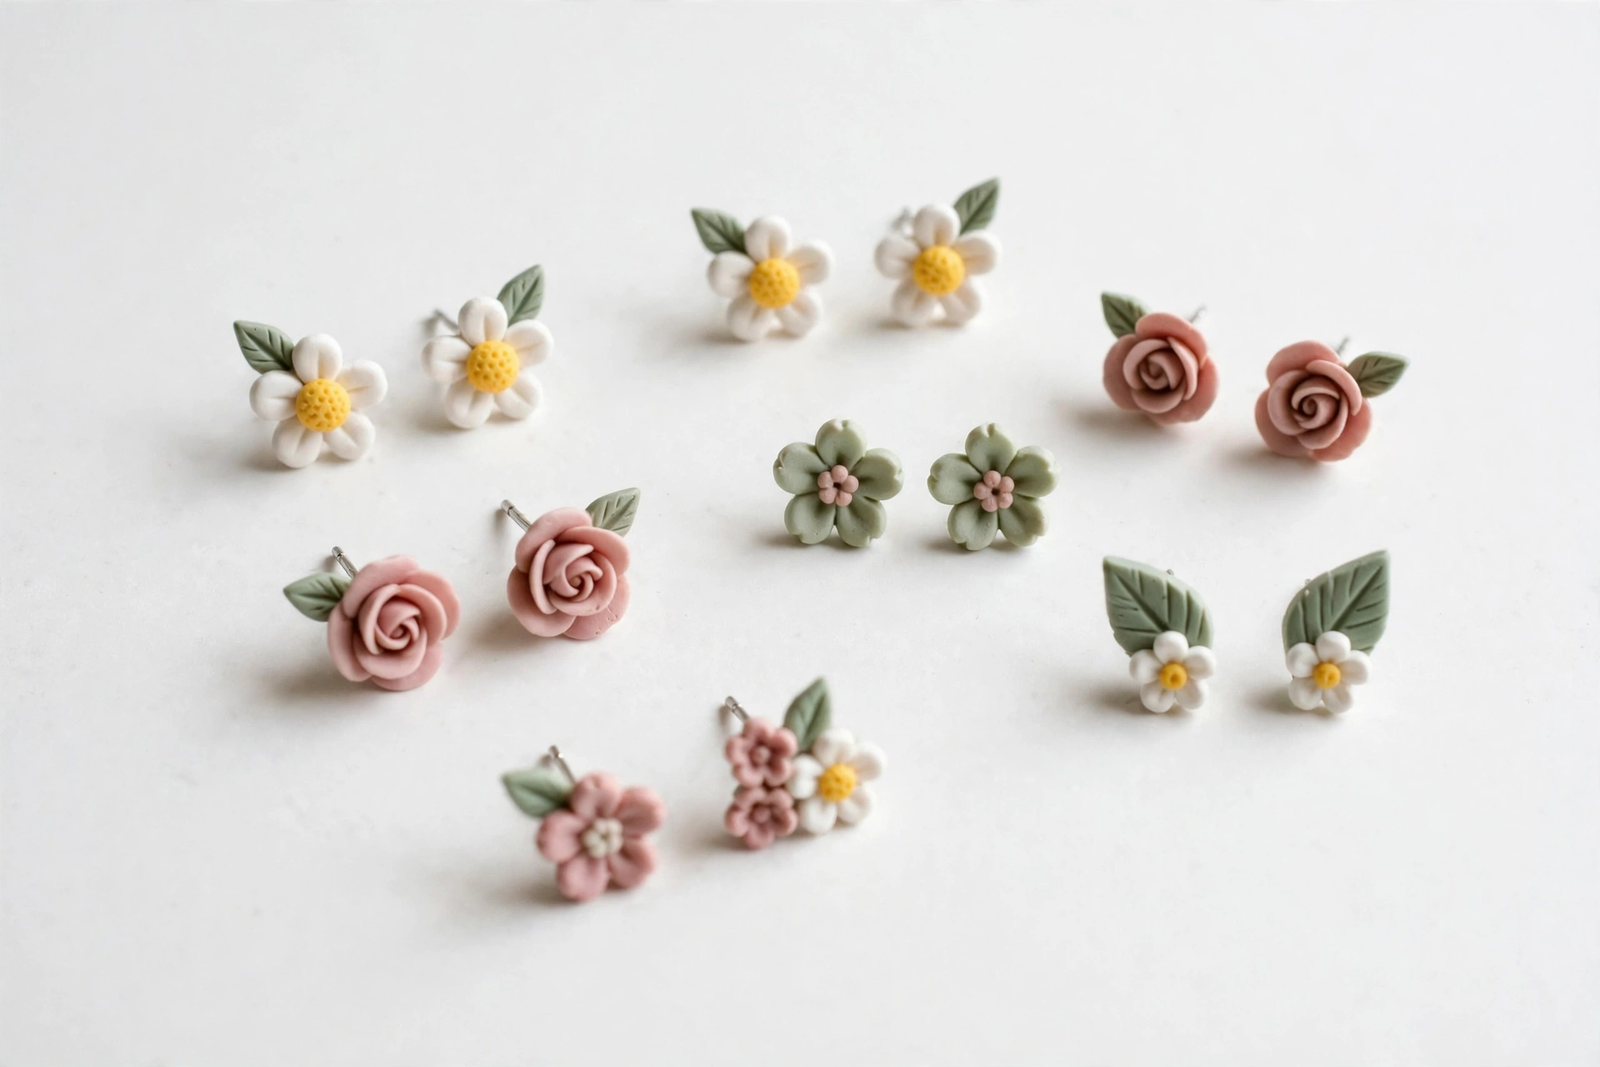
Handmade clay jewelry ideas are a great way to showcase your unique personality and creativity. From delicate earrings to bright pendants, there are many ways to create one-of-a-kind handmade jewelry pieces at home.
You will be amazed how easy it is to design your own statement pieces with a few simple tools and materials.
These 12 clay jewelry ideas will assist you in making amazing handmade jewelry that will complement every outfit, impress your friends and family, and serve as a fantastic handmade gift for any occasion. So what are you waiting for? Create some extraordinary handmade jewelry and express your true personality.
If you enjoy making tiny creative projects, explore 12 Miniature Clay Food Crafts for Beginners for more fun and easy DIY inspiration.
1. Marbled Clay Earrings: Handmade Clay Jewelry Ideas
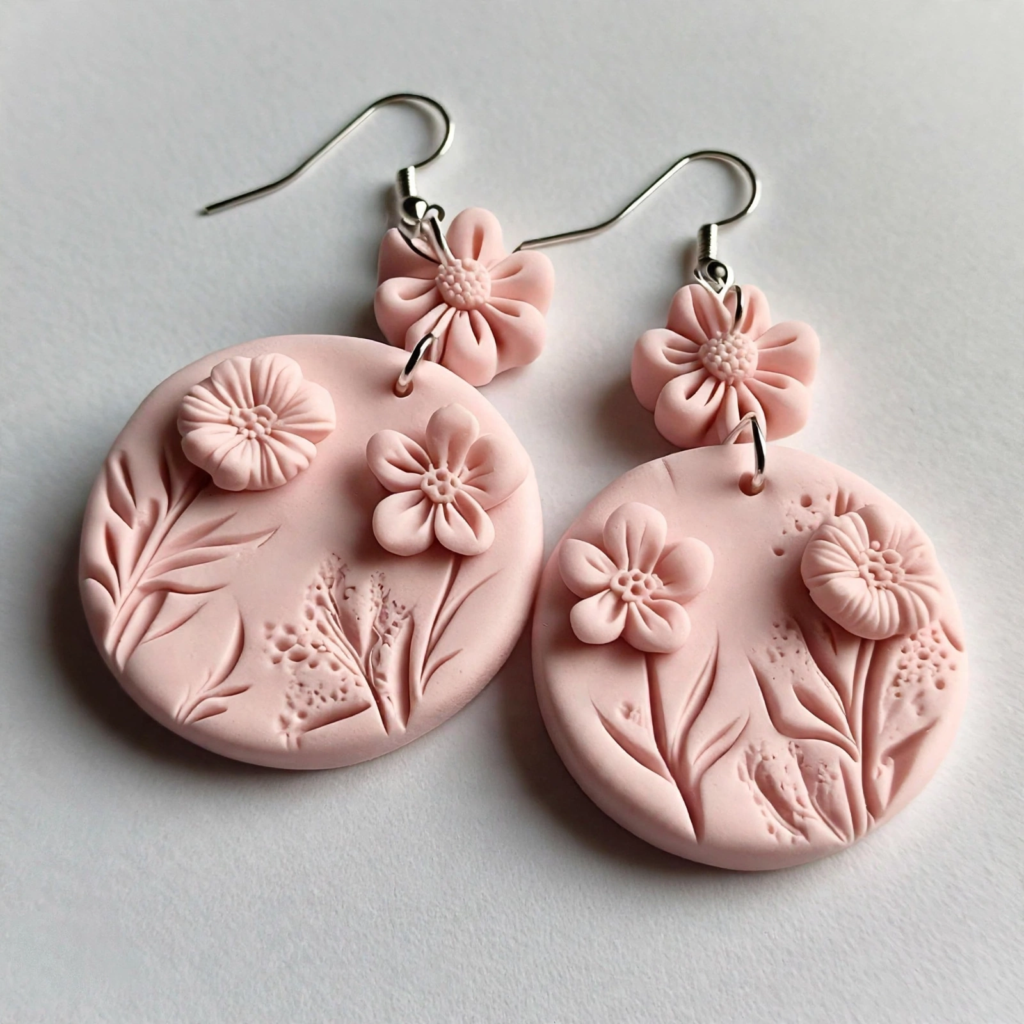
Marbled clay earrings are a lovely choice if you enjoy colorful designs without complicated patterns. Their swirls of color create a unique finish, so no two pairs need to look exactly alike.
How to make them: Choose two or three coordinating clay colors. Gently twist small pieces together, then roll them flat to create a marbled effect. Cut out circles, arches, ovals, or abstract shapes, and make the required holes before curing the clay.
Style tip: Try cream and terracotta for an earthy look, or combine lavender and pale pink for a soft pastel palette. Keep the pattern subtle if you want earrings that work with everyday outfits.
You can also explore 15 DIY Clay Ring Holder Ideas for a Pretty Jewelry Display for creative ways to organize your rings and add a handmade touch to your vanity or dresser.
2. Floral Clay Stud Earrings: Handmade Clay Jewelry Ideas
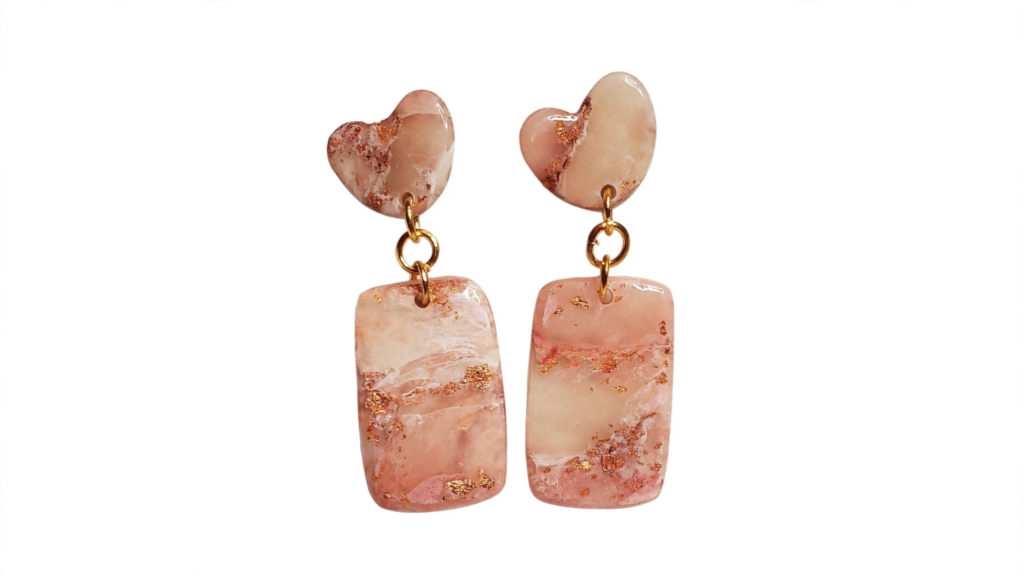
Floral studs bring a delicate, playful touch to handmade jewelry. Tiny daisies, roses, and five-petal flowers are especially appealing if you prefer smaller accessories over oversized earrings.
How to make them: Shape small petals from colored clay and arrange them around a contrasting center. Gently press the pieces together so they hold their shape, then follow the clay manufacturer’s curing instructions. Once the pieces have cooled, attach suitable earring posts with an adhesive designed for the materials.
Style tip: Make white daisies with yellow centers for a classic look, or choose muted pink and sage green for a softer floral design.
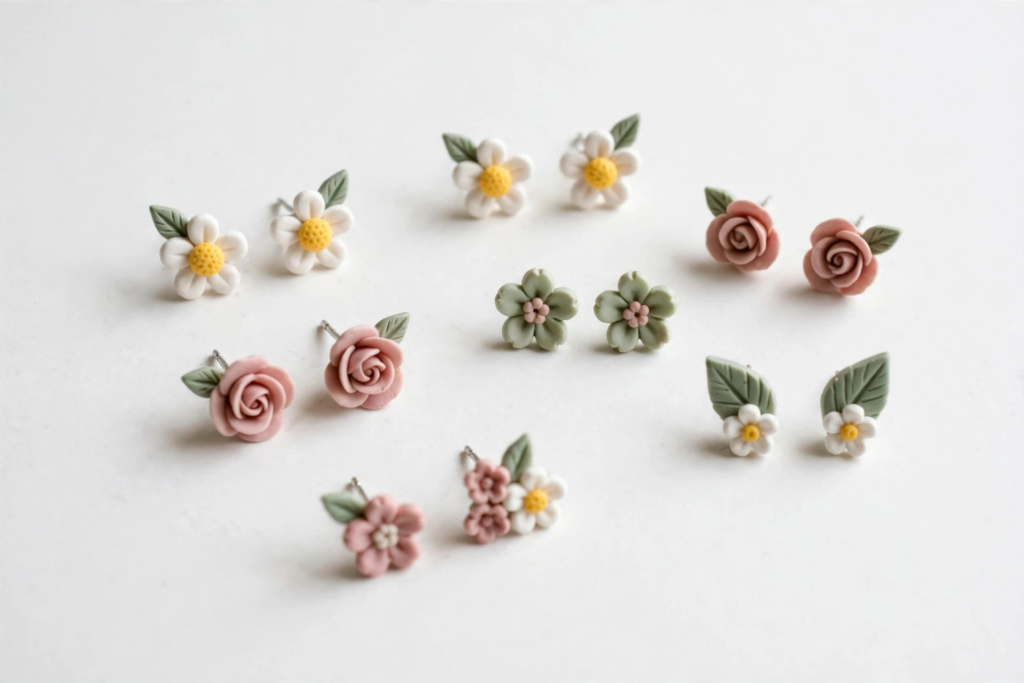
3. Geometric Statement Earrings: Handmade Clay Jewelry Ideas
If you prefer modern accessories, geometric clay earrings are worth trying. Triangles, arches, squares, and half-moon shapes create clean designs that can look bold without needing extra decorations.
How to make them: Roll the clay into an even sheet and use small cutters or a craft blade to form your shapes. Make matching pairs by cutting both pieces from the same sheet. You can layer two shapes together or add a smaller contrasting piece for extra dimension.
Style tip: Pair black and cream for a minimalist finish, or try cobalt blue with a warm neutral shade. For larger earrings, keep the clay pieces relatively thin to avoid unnecessary weight.
You can also explore 12 Air-Dry Clay Christmas Ornaments for a Handmade Holiday for more creative ideas to decorate your home with handmade holiday crafts.

4. Colorful Clay Bead Necklace: Handmade Clay Jewelry Ideas
A clay bead necklace lets you play with different shapes and color combinations. Rounded beads, flattened discs, and irregular organic shapes can all work together to create a casual handmade accessory.
How to make it: Roll small pieces of clay into beads, keeping their sizes similar if you want a balanced design. Make a hole through each bead before curing, ensuring the opening is large enough for your chosen cord or string. Once the beads are ready, thread them onto your necklace cord and secure the ends with suitable findings.
Style tip: Alternate colorful beads with neutral ones, or create a warm palette using rust, cream, mustard, and brown. You can also mix round beads with short tube-shaped beads for more variety.

5. Minimalist Clay Pendant Necklace: Handmade Clay Jewelry Ideas
A minimalist clay pendant is ideal if you like simple jewelry that goes with many outfits. A single small shape can become the focal point of a necklace without needing lots of embellishment.
How to make it: Roll out your clay and cut a pendant in a circle, oval, arch, or abstract shape. Smooth the edges with a suitable tool and make a hole near the top before curing. After the piece has cooled, add a jump ring and attach it to a chain or cord.
Style tip: Choose a matte-looking neutral shade, such as cream, sand, or charcoal. For a little extra detail, press a small line or dot pattern into the surface before curing.

6. Textured Clay Hoop Earrings
Textured clay hoops offer a creative alternative to plain circular earrings. You can create ridges, dotted patterns, tiny imprints, or wavy lines to make a simple shape more interesting.
How to make them: Shape your clay into a rounded hoop or use a cutter to create a hoop-like form with an open center. Add texture using clay tools or suitable household objects that won’t contaminate the material. Create the attachment hole if needed, then cure the pieces according to the package directions.
Style tip: Try terracotta with subtle grooves for a natural look, or use bright colors with raised dots for something more playful. Check that both earrings have similar thickness and weight.
If you’re new to clay crafting, explore 20 Easy Air-Dry Clay Crafts for Beginners to Make at Home for more simple and creative projects to try.
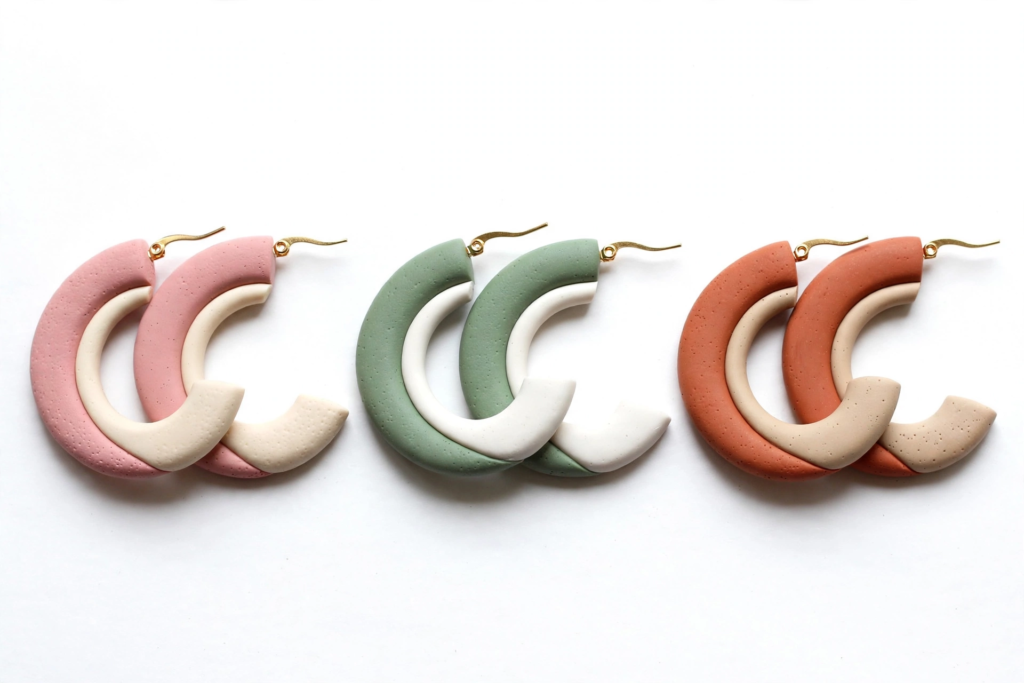
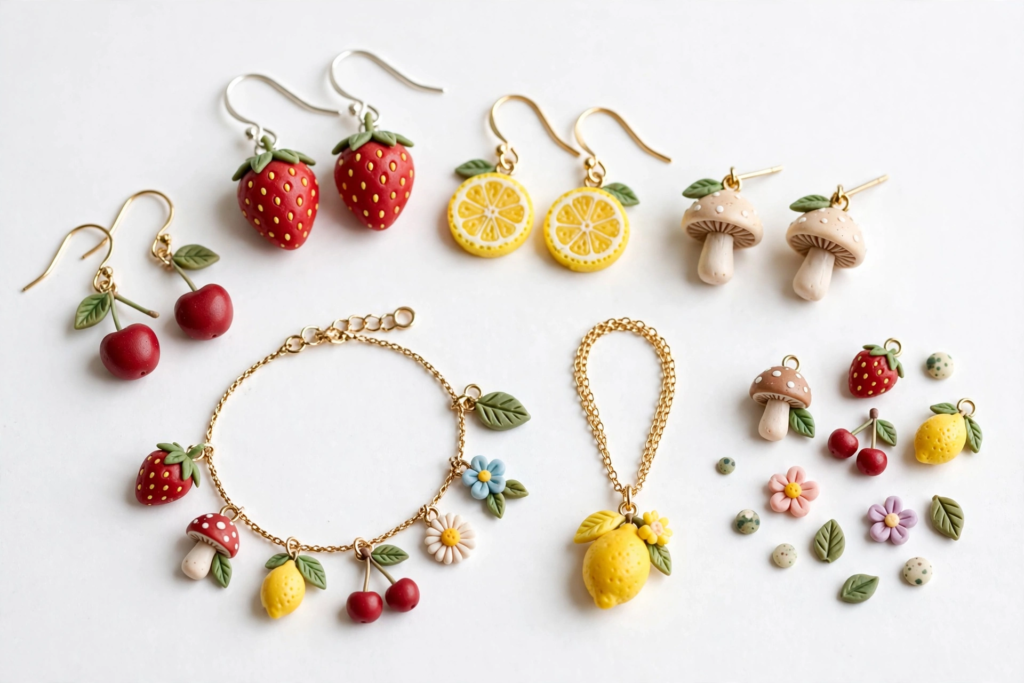
7. Tiny Fruit and Mushroom Charms
Miniature charms are a cute option for anyone who loves whimsical accessories. Strawberries, cherries, lemons, mushrooms, and tiny flowers can be turned into earrings, bracelet charms, or necklace pendants.
How to make them: Form each charm from small pieces of clay. Add simple details, such as tiny leaves, dots, or contrasting caps. Make an attachment hole before curing if the design allows, or use an appropriate jewelry attachment method after the pieces have cooled.
Style tip: Keep the shapes small and the details simple so the finished charms remain recognizable. A pair of cherry earrings or a tiny strawberry pendant can add a fun accent to a plain outfit.
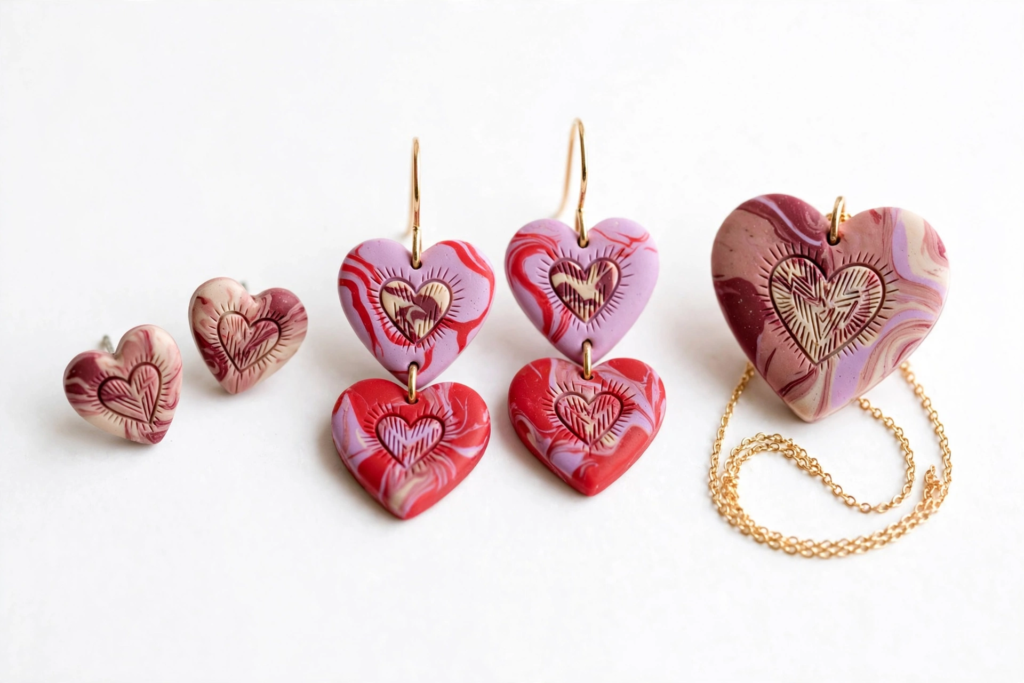
8. Clay Heart Jewelry
Heart-shaped clay jewelry works well for everyday accessories, friendship gifts, and special occasions. You can make tiny heart studs, dangling heart earrings, or a simple heart pendant.
How to make it: Use a small cutter or shape the heart by hand. Smooth the edges, then add details such as a contrasting heart in the center, fine etched lines, or a marbled finish. Make any necessary holes before curing, and attach the appropriate findings after the piece has cooled.
Style tip: Try dusty rose, burgundy, or cream for a romantic look. For a more playful design, use bright red, lilac, or a mix of pastel shades.
9. Terrazzo-Style Clay Earrings
Terrazzo-style jewelry uses small contrasting flecks scattered across a base color. The result looks detailed but is surprisingly approachable because the pattern doesn’t need to be perfectly symmetrical.
How to make them: Choose a base color and several small pieces of contrasting clay. Roll the contrasting pieces into thin scraps or tiny fragments, press them gently onto the base, and roll the surface smooth enough to secure the pattern. Cut your desired earring shapes and make the attachment holes before curing.
Style tip: A cream base with rust, black, and tan flecks creates an earthy look. For a brighter version, use a pale pink base with blue, yellow, and coral accents.
10. Simple Clay Rings
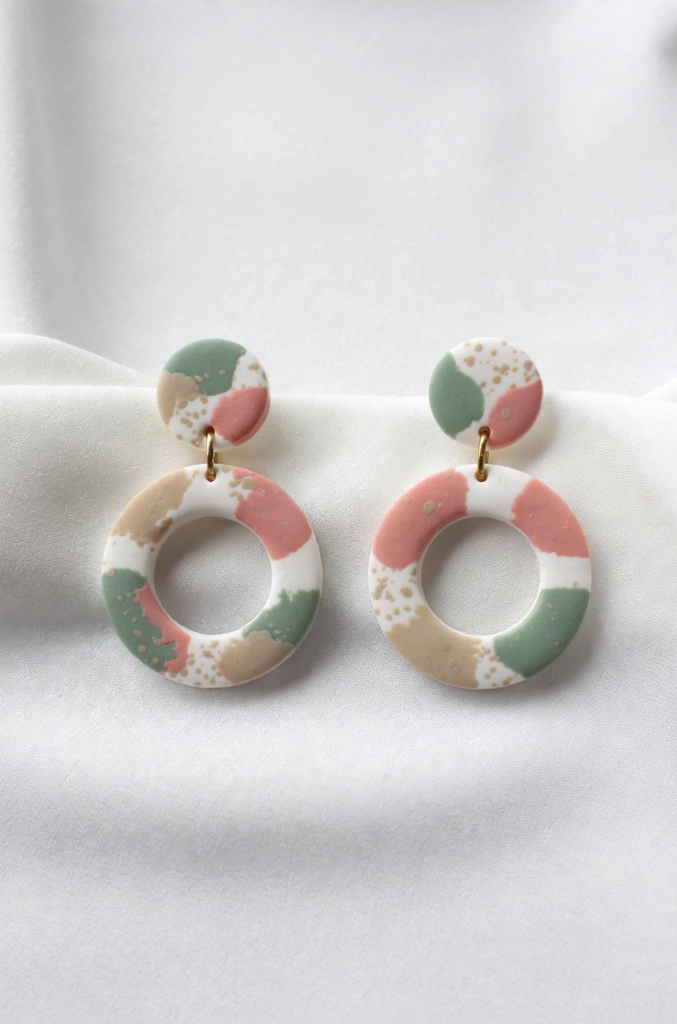
Clay rings are a fun way to experiment with sculptural shapes and small accessories. You can create a smooth band, a wavy ring, or a decorative top with a tiny flower or geometric detail.
How to make them: Shape the clay around a ring mandrel or another suitable form that can safely withstand the curing method specified for your clay. Make sure the band is even and not too thin. If you are making a decorative top separately, plan how it will attach securely before curing or assembling the pieces.
Style tip: Start with a simple wavy band or a small raised oval. Since sizing and durability can be tricky, test the fit and construction carefully before making several rings.
11. Personalized Initial Pendant
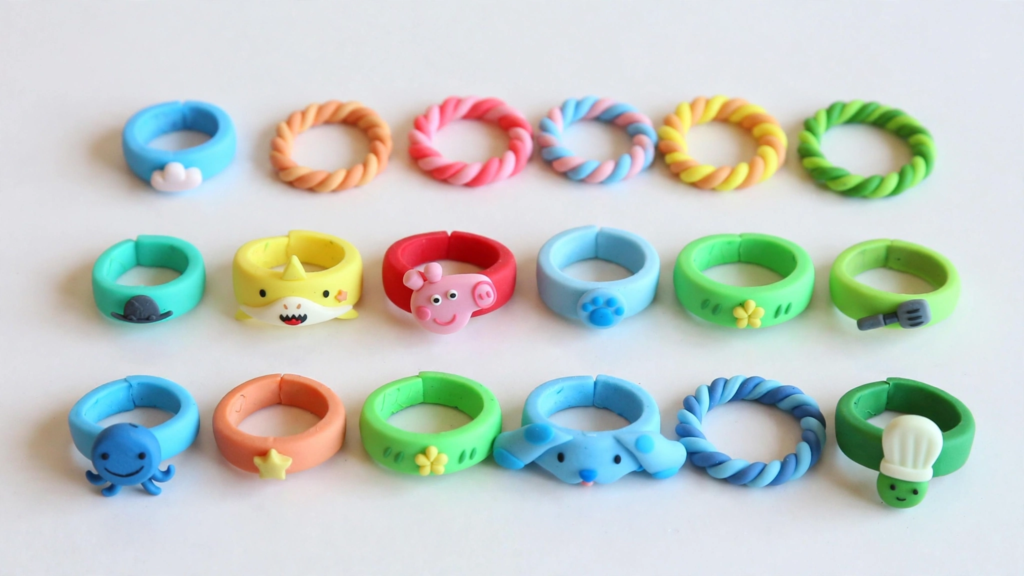
A personalized initial pendant can turn a simple craft project into a thoughtful gift. You can make one for yourself or create matching initials for friends and family.
How to make it: Roll out your clay and cut a small circle, oval, or rounded rectangle. Use a clay tool to press an initial into the surface, or shape a raised letter from a contrasting color. Add a hole for the necklace attachment, then cure the piece according to the manufacturer’s instructions.
Style tip: Use a neutral base with a contrasting initial for a clean design. You could also add a tiny star, flower, or heart beside the letter without overcrowding the pendant.
12. Matching Clay Jewelry Set
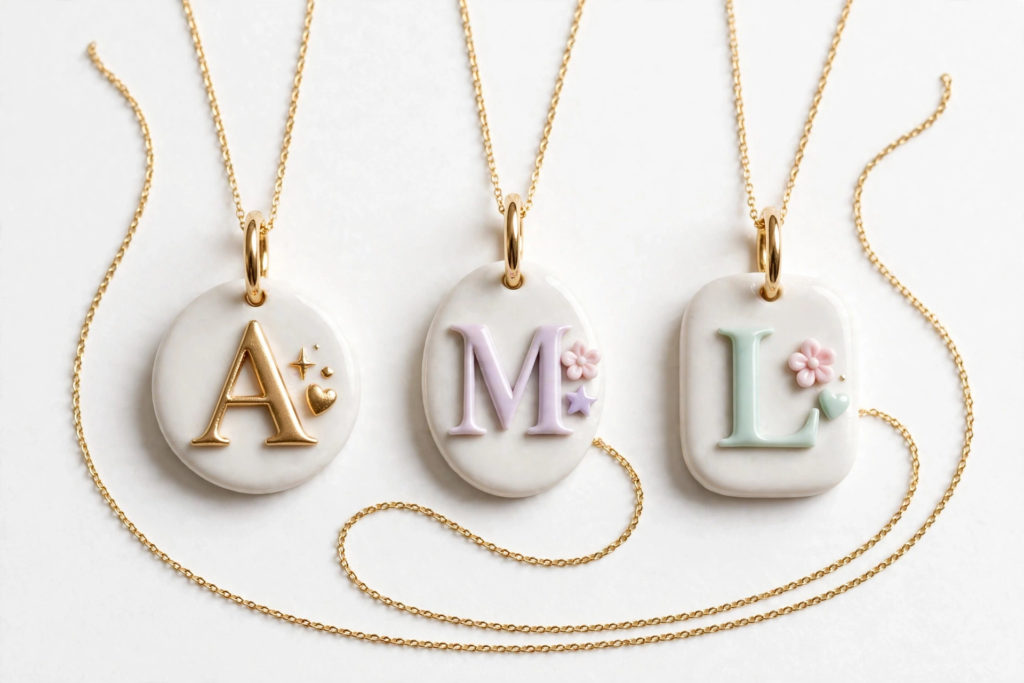
If you have leftover clay from previous projects, use it to make a coordinated jewelry set. Matching earrings, a pendant, and a few beads can look polished without requiring identical shapes.
How to make it: Choose two or three colors and repeat the same pattern across different pieces. For example, make marbled earrings, a coordinating pendant, and a few matching beads for a bracelet or necklace. Keep the colors consistent, then finish each item with suitable jewelry findings.
Style tip: A matching set makes a thoughtful handmade gift. You can also create seasonal combinations, such as warm rust and cream for fall or pastel pink and blue for spring.
When exploring handmade clay jewelry ideas, choose polymer clay for lightweight, minimalist pendants, and follow the manufacturer’s baking instructions to help your finished piece cure properly.
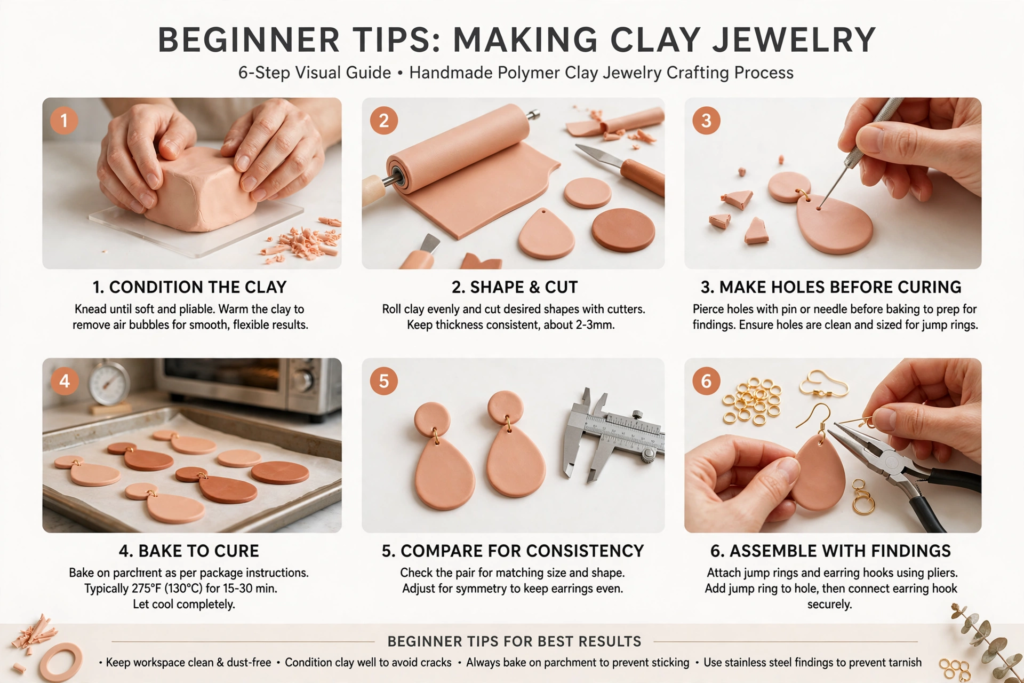
Beginner Tips for Making Clay Jewelry
A few simple habits can help your handmade jewelry look neater and last longer.
- Choose the right clay. Polymer clay stays workable until it is cured, while air-dry clay hardens as it dries. Check the product label before starting.
- Prepare your workspace. Use a clean, protected surface and tools intended for crafting. Keep clay away from food-preparation areas.
- Condition polymer clay. Knead it as directed until it becomes workable and smooth. This can make shaping and joining pieces easier.
- Keep pairs consistent. Compare earrings before curing so their shapes, thicknesses, and sizes are similar.
- Make holes before curing when appropriate. Planning attachment points in advance can prevent awkward drilling or assembly later.
- Follow the curing instructions. Use the temperature and timing stated by the clay manufacturer. Never microwave polymer clay, and don’t assume every product uses the same baking settings.
- Let pieces cool completely. Allow cured clay to cool before sanding, painting, or attaching findings.
- Secure the jewelry hardware. Choose suitable jump rings, earring posts, cords, and adhesives for your design. Let adhesives cure as directed before wearing the piece.
- Test your design first. Make a small sample if you’re trying a new clay, shape, or attachment method.
Final Thoughts
Handmade jewelry crafted from clay gives an opportunity for self-expression when creating unique masterpieces. From a simple pendant or a set of marbled earrings, you can move to the creation of floral pendants or small charms and then proceed to making a whole series of jewelry items of various designs.
The best thing is that you can personalize all the details to like them. For instance, you can decide which colors to choose and what patterns to make so that no two of your jewelry pieces are the same.
Frequently Asked Questions
Polymer clay is a popular choice for handmade jewelry because it is moldable before curing and is available in many colors. Air-dry clay can also be used for some lightweight decorative pieces, but its strength and water resistance vary by product. Choose a material suited to the design and follow its instructions.
Yes. Simple studs, circles, arches, and marbled earrings are good starting projects. Begin with basic shapes, keep the pieces evenly sized, and practice making neat attachment holes before moving on to more detailed designs.
Not every piece needs a coating. Whether a finish is useful depends on the clay, paint, and intended use. If you choose to apply a varnish or glaze, make sure it is compatible with your material and follow the product directions.
Depending on the design, you can make a hole before curing and attach a jump ring and earring hook afterward. For stud earrings, use a suitable adhesive to attach the post to the cooled clay. Follow the adhesive instructions and allow the bond to set fully before wearing.
No. Polymer clay typically hardens through oven curing according to its packaging, while air-dry clay hardens as moisture evaporates. They can differ in flexibility, finish, and durability, so don’t use the same finishing or curing instructions for both.