

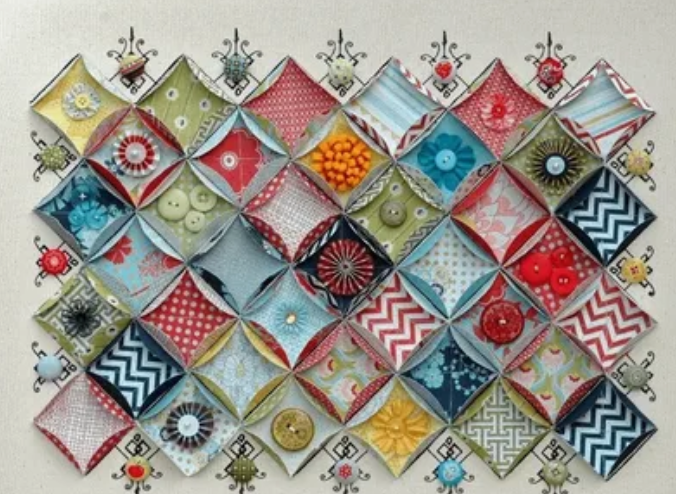

To begin with, making things out of paper is a fun way to get creative. Moreover, these 3D paper folding crafts for beginners are perfect for creating beautiful decorations, cute paper items, and handmade gifts. Best of all, you can make them using simple materials and a little creativity.
You can make a variety of different items such as butterflies, blossoms, stars and mini boxes.
The best part is that you don’t need any fancy crafting supplies or advanced origami skills to make these 3D paper folding crafts for beginners. With a few simple folds, some colorful paper, and a little imagination, you can create amazing three-dimensional decorations right at home.
These 10 ideas would be a great place to start if you wanted to relax on the weekend, brighten up your bedroom or find some creative crafts to do with your kids.
If you enjoy making creative paper projects, explore our 15 Easy Paper Animal Crafts for Kids for more fun, beginner-friendly ideas you can try at home.

What You Need for Easy 3D Paper Folding Crafts
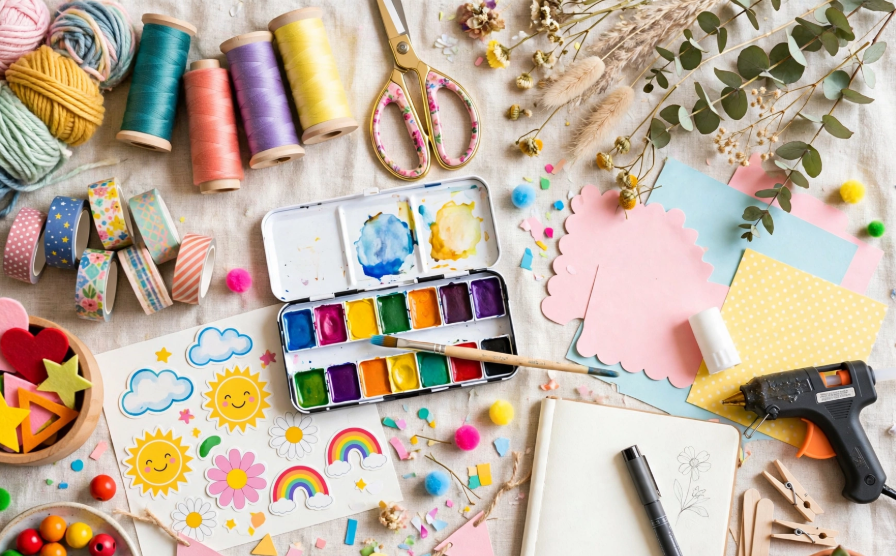
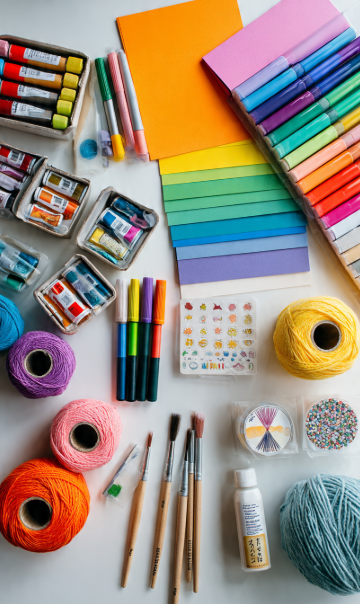
Before starting your first project, gather a few basic supplies.
Most of these crafts can be made using materials you probably already have at home.
Basic supplies:
- Colored origami paper
- Construction paper or lightweight cardstock
- Scissors
- Glue stick or craft glue
- Pencil and ruler
- Double-sided tape
- Markers for decorating
- String or ribbon for hanging decorations
For traditional origami projects, lightweight square paper is particularly helpful because it folds easily and holds creases without creating excessive bulk.
A 6-inch square is a practical starting size, although larger sheets can be easier for beginners learning unfamiliar folds.
Beginner tip: Choose paper with different colors on each side. This makes it easier to distinguish folded layers and follow instructions.
If your kids enjoy these easy paper animal crafts, they’ll also love exploring our 12 Beautiful Tissue Paper Flower Ideas to Make at Home for more colorful and creative crafting fun.
10 Easy 3D Paper Folding Crafts for Beginners
Easy, fun projects to try including flowers, shapes, interactive paper and handmade accessories.
All ideas can be made using simple folding techniques and you can play around with colours, patterns and adding creative details.
1. Colorful 3D Paper Butterflies
These vibrant 3D paper butterflies are a perfect way to explore 3D paper folding crafts for beginners. Not only are they easy to make, but they also look beautiful as handmade decorations.
Additionally, their raised wings create a lovely three-dimensional effect, giving the butterflies a sense of movement.
For example, you can use pastel-colored paper for a soft spring-inspired design. Alternatively, choose bright patterned paper to add a playful and colorful touch to your home decor.
Materials needed: Colored paper, scissors, glue, and a pencil.
How to make it:
- Cut two rectangles of colored paper, making one slightly larger than the other.
- Fold each rectangle back and forth in narrow accordion folds.
- Pinch the center of both folded pieces.
- Place the smaller folded piece above the larger one to create two pairs of wings.
- Secure both pieces together at the center using a narrow paper strip and a little glue.
- Gently spread the folded sections outward to create full butterfly wings.
For extra detail, attach two thin paper strips as antennae.
Best for: Spring decorations, greeting cards, bedroom wall art, and classroom displays.
Creative tip: Use two coordinating shades of paper to create beautiful contrast between the upper and lower wings.
If you love creating handmade decorations, explore these 15 DIY Paper Wall Decor Ideas for Every Room for more creative and budget-friendly ways to decorate your home.

2. Easy 3D Origami Paper Box
A simple origami paper box is one of the most useful paper folding projects for beginners.
With a few carefully placed folds, a flat square of paper can become a miniature container for small treasures, paper notes, or lightweight decorative items.
These little boxes look especially charming when made from patterned origami paper.
Materials needed: One square sheet of paper and a ruler for optional crease smoothing.
How to make it:
- Place a square sheet of paper on a flat surface.
- Fold it in half horizontally and vertically, then unfold.
- Bring all four corners toward the center point.
- Fold the top and bottom edges inward until they meet at the center, then unfold.
- Repeat with the left and right edges.
- Open the top and bottom triangular flaps, leaving the side corners folded toward the center.
- Lift the left and right sides to form two walls.
- Fold the top and bottom sections inward along the existing creases, tucking their pointed ends into the base to complete the remaining walls.
Gently adjust the corners until the box looks square and balanced.
Best for: Small handmade gifts, desk accessories, and decorative storage.
Creative tip: Make two boxes from slightly different-sized paper squares to create a matching box and lid.
If you’re new to crafting, explore our Textile Crafts and Paper Crafts: A Complete Guide for Beginners to learn simple techniques and discover more creative DIY projects.

3. Beautiful Folded 3D Paper Tulips
These beautiful 3D paper tulips are a lovely way to create colorful flowers that never need watering.
Moreover, their pointed petals and bright paper colors give them a cheerful, spring-inspired appearance.
For example, you can arrange several tulips in a small vase to create a charming handmade bouquet. Alternatively, attach them to greeting cards or use them as decorations for birthday celebrations.
Best of all, these folded paper flowers are easy to customize with different colors and patterns.
Materials needed: Colored square paper, green paper, scissors, and glue.
How to make it:
- Take a square sheet of colored paper and fold it diagonally into a triangle.
- Position the triangle with its long edge at the bottom.
- Fold the lower left corner upward at an angle to create the first pointed petal.
- Fold the lower right corner upward in the opposite direction, overlapping the center slightly.
- Fold the small outer side corners backward to soften the flower’s shape.
- Make a stem by tightly rolling a rectangle of green paper into a narrow tube.
- Secure the tube with glue and attach the tulip flower at the top.
- Cut and fold a green paper leaf lengthwise, then attach it to the stem.
The overlapping petals create a raised flower shape, while the stem makes it suitable for displaying upright.
Best for: Spring home decor, Mother’s Day crafts, handmade bouquets, and gift decorations.
Styling tip: Combine pale pink, butter yellow, and lavender tulips for a soft pastel arrangement.
For more inspiration and helpful folding techniques, explore Origami.me’s beginner-friendly origami tutorials, which feature a variety of creative paper projects you can try at home.

4. Puffy 3D Paper Lucky Stars
These cute little puffy stars are super easy to make using thin strips of coloured paper.
The curved and 3D shape makes them look like small coloured stars.
Despite how detailed the design may look it is actually very easy to make by simply wrapping and folding a strip of paper.
Materials needed: Narrow paper strips, scissors, and optional decorative jars.
How to make it:
- Cut a long, narrow strip of lightweight paper.
- Tie a loose, flat knot near one end of the strip.
- Carefully flatten the knot into a small pentagon.
- Tuck the short end underneath an existing layer.
- Wrap the long strip around the pentagon, following its edges.
- Continue folding until only a short end remains.
- Tuck the remaining end into a nearby paper pocket.
- Gently press inward along the five edges to puff the pentagon into a star.
Avoid squeezing too hard, as the paper can lose its shape.
Best for: Decorative jars, party favors, handmade gifts, and desk decorations.
Creative tip: Fill a clear jar with stars in three coordinating colors for a cute handmade display.
For more creative and budget-friendly projects, explore our Easy Paper Crafts ideas to make beautiful handmade decorations at home.

5. 3D Accordion-Folded Paper Fans
Accordion fans are a simple way of transforming regular pieces of paper into beautiful 3D fan shapes.
The paper fans have lots of layers giving them dimension. These are great to hang on your wall, use as a party backdrop or for seasonal decor.
You can make big bold fans or small ones to add to greeting cards.
Materials needed: Colored paper, scissors, glue, and string.
How to make it:
- Choose a rectangular sheet of colored paper.
- Fold one short edge inward to create a narrow pleat.
- Flip the paper over and fold the next section in the opposite direction.
- Continue alternating folds until the entire sheet resembles an accordion.
- Fold the pleated strip in half and glue the two inner edges together to make a semicircular fan.
- Make a second matching semicircle.
- Join the two halves along their straight edges to create a circular paper rosette.
- Add a small decorative paper circle to the center if desired.
For larger fans, use multiple sheets of paper in matching colors.
Best for: Birthday decorations, nursery wall art, holiday backdrops, and DIY party decor.
Styling tip: Arrange paper fans in different sizes to create an attractive layered wall display.

6. Cute 3D Paper Hearts
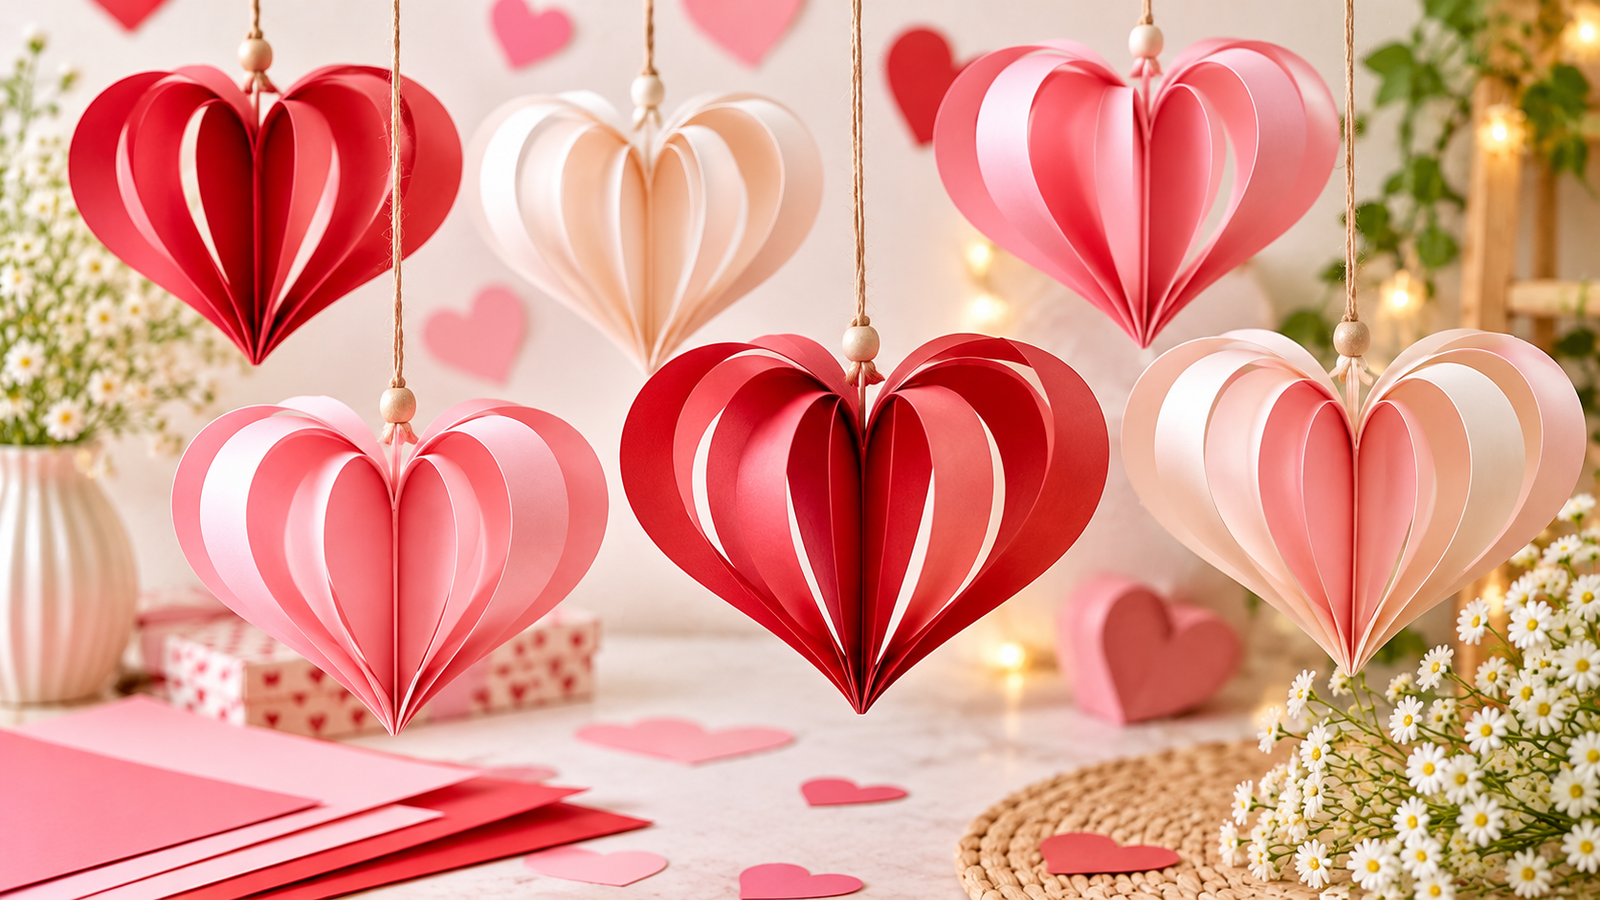
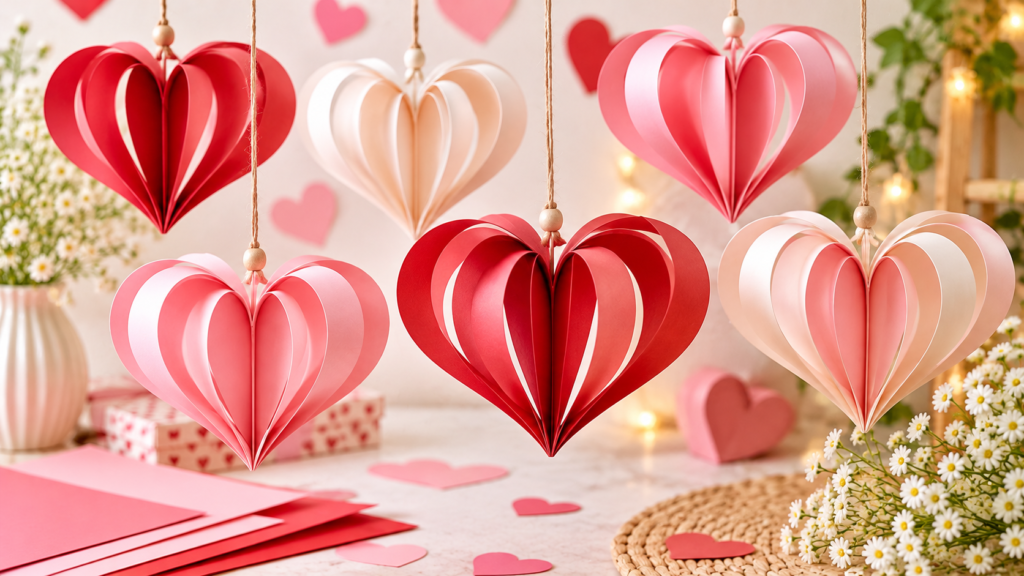
These 3D paper hearts are a sweet and simple decoration, perfect for Valentine’s, anniversaries, birthdays and handmade presents.
The design has a nice circular shape making it more interesting than a traditional flat heart.
Make multiple hearts in matching colours and create a pretty garland or focal point.
Materials needed: Colored paper, scissors, glue, and string.
How to make it:
- Cut two equal strips of colored paper.
- Fold each strip gently in half to mark its center.
- Place the two strips side by side, with their center creases forming the pointed bottom of the heart.
- Secure the lower sections together using a small amount of glue.
- Curve the free ends outward and upward, then bring them inward toward each other.
- Overlap the two ends at the top center and glue them together.
- Adjust the curves until the heart looks symmetrical and dimensional.
- Add a small loop of string at the top if you want to hang it.
This construction creates a lightweight, open-sided 3D heart rather than a completely enclosed paper sculpture.
Best for: Valentine’s decorations, handmade gifts, party garlands, and romantic room decor.
Creative tip: Mix blush pink, cherry red, and cream paper for an elegant color combination.
7. Mini 3D Paper Christmas Trees
Miniature paper origami Christmas trees are a great festive decoration!
The paper has been folded to make the tree look like it has lots of branches. The tree is also very sculptural because it stands up.
You can choose to leave them plain or add little paper stars and coloured spots!
Materials needed: Green paper, scissors, glue, and optional decorative paper.
How to make it:
- Cut four matching tree silhouettes from green paper, each with a triangular crown and a small rectangular trunk.
- Fold every tree shape vertically down the center.
- Crease each folded shape firmly.
- Apply glue to one outer half of the first folded tree.
- Attach one half of the second tree, aligning the edges carefully.
- Continue joining the folded shapes until all four are connected.
- Glue the final open halves together to form a dimensional standing tree.
- Gently spread the sections so the tree stands evenly.
Add a small paper star to the top for a festive finishing touch.
Best for: Christmas centerpieces, holiday crafts, winter classroom activities, and miniature displays.
Creative tip: Make trees in several sizes and arrange them together to create a tiny paper forest.

8. Easy 3D Paper Hot Air Balloons
This pretty 3D paper hot air balloon is lots of fun to make!
The balloon has been made using some wonderful curved shapes which have been folded and are very 3D!
These bright decorations would look lovely hung by a window or as part of a theme for a nursery or bedroom!
Materials needed: Colored paper, scissors, glue, string, and lightweight cardstock.
How to make it:
- Cut six identical balloon-shaped pieces from colored paper.
- Fold each shape vertically down the center.
- Apply glue to one outer half of the first folded piece.
- Attach the matching half of the second piece.
- Continue connecting the folded shapes until they form a rounded balloon.
- Place a loop of string inside the top before sealing the final two halves together.
- Create a small basket by folding and gluing a strip of cardstock into a rectangular loop with a base.
- Attach the basket beneath the balloon using four narrow paper strips.
Allow the glue to dry completely before hanging.
Best for: Nursery decorations, birthday parties, travel-themed crafts, and handmade mobiles.
Styling tip: Alternate pastel colors around the balloon to create a soft, cheerful design.

9. Geometric 3D Paper Diamonds
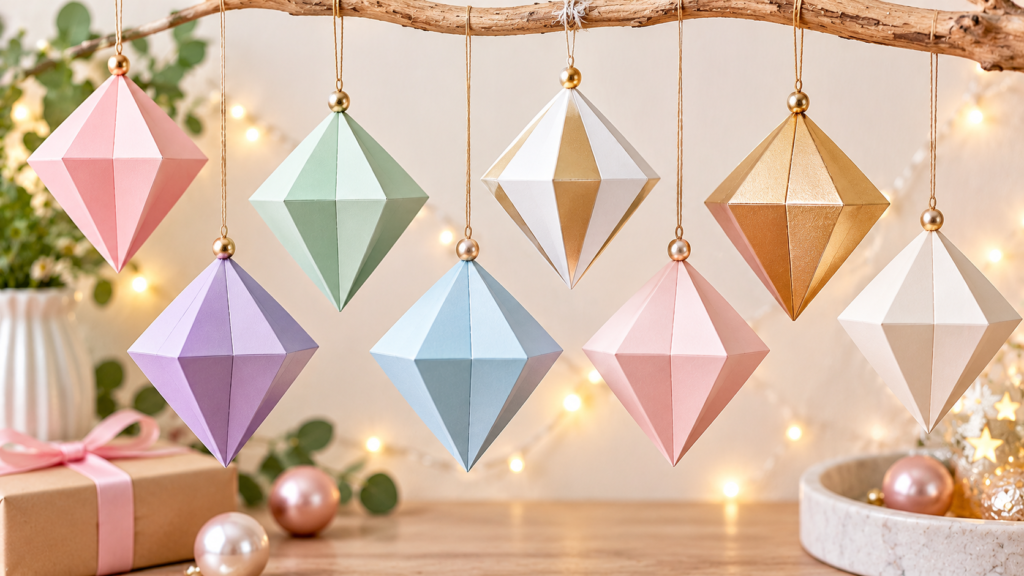
Geometric paper diamonds are ideal for a beginner wanting to get into modern minimal crafts.
They create beautiful sharp edges with a 3D look thanks to the folds.
They can be created in metallic tones for a festive look or pastel neutrals for a modern bedroom.
Materials needed: Lightweight cardstock, ruler, pencil, scissors, and glue.
How to make it:
- Draw a horizontal row of six equal squares on cardstock, adding a narrow glue tab at one end.
- Draw one triangle along the top edge and one along the bottom edge of every square.
- Add small glue tabs to selected triangle edges where the top and bottom will close.
- Cut around the outside of the entire template.
- Score and fold the lines between the squares and triangles.
- Bring the row of squares into a hexagonal tube and glue the side tab inside.
- Fold the upper triangles inward and join their edges to form a pointed top.
- Repeat with the lower triangles to complete the diamond-shaped ornament.
Use a thin string loop through the top before closing the final point if you want to hang it.
Best for: Modern paper decorations, geometric wall art, party ornaments, and creative desk displays.
Creative tip: Choose pearl white, champagne, or pale gold cardstock for a sophisticated finish.
10. Beautiful Layered 3D Paper Flowers
Layered 3D paper flowers are a beautiful way to practice simple folding techniques while creating decorative floral designs.
Unlike flat paper flowers, these have raised petals that add volume and texture.
You can use them to decorate gift boxes, handmade cards, wall displays, or a creative paper bouquet.
Materials needed: Colored paper, scissors, glue, pencil, and optional floral wire.
How to make it:
- Cut several equal squares of colored paper.
- Fold each square diagonally to create a triangle.
- Fold the triangle in half again to create a smaller triangle.
- Draw a rounded petal outline along the open edges.
- Cut along the outline and unfold to reveal a symmetrical flower shape.
- Repeat the process to create several flower layers.
- Gently fold each petal upward near its base to add dimension.
- Stack the layers, rotating them slightly so the petals overlap naturally.
- Secure the centers with a small amount of glue.
- Add a small paper circle or rolled paper coil to create the flower’s center.
For a fuller appearance, use multiple layers in slightly different sizes.
Best for: Handmade greeting cards, gift wrapping, spring decorations, and floral wall art.
Styling tip: Use two shades of the same color to give the petals a soft, layered appearance.

Helpful Paper Folding Tips for Beginners
Learning a few simple techniques can make paper crafting much easier and more enjoyable.
Start with larger sheets of paper. Small paper pieces can be difficult to handle, especially when you’re learning a new folding technique. Larger sheets give you more room to align edges and make clean creases.
Choose the right paper for each project. When making 3D paper folding crafts for beginners, lightweight origami paper is ideal for detailed folds, while cardstock works better for structured decorations that need to hold their shape.
Make clean, even folds. Align the corners before pressing down on each crease. A ruler or bone folder can help create sharper lines.
Practice basic folding techniques. Learn simple valley folds, mountain folds, and accordion folds before attempting complicated models.
Work on a flat surface. A clean table makes it easier to measure, fold, and assemble paper shapes accurately.
Allow glued sections to dry. If your project uses several folded pieces, let the glue set before handling or hanging the finished decoration.
Common 3D Paper Folding Mistakes to Avoid
Even simple paper crafts can become frustrating when a few basic details are overlooked.
Using paper that’s too thick can make intricate folds bulky and difficult to manage. For projects with several overlapping layers, choose thinner paper.
Uneven folds can also affect the final shape. Take a moment to line up corners and edges before pressing each crease.
Another common mistake is using too much glue. Excess adhesive can wrinkle lightweight paper and make dimensional decorations look messy.
Finally, when making 3D paper folding crafts for beginners, avoid rushing the assembly process. Instead, take your time to shape each fold carefully and allow glued sections to dry completely. As a result, your finished paper crafts will look neater, sturdier, and more beautiful.
Final Thoughts
Creating beautiful decorations doesn’t have to involve expensive materials or complicated techniques.
These 3D paper folding crafts for beginners show how a few simple folds can transform ordinary paper into colorful butterflies, charming flowers, miniature boxes, and creative handmade ornaments.
Start with an easy project, such as a folded paper fan or origami box, and gradually experiment with more detailed shapes as your confidence grows.
Whether you’re crafting alone or enjoying a creative afternoon with family, these simple paper projects offer plenty of opportunities to make something unique.
Frequently Asked Questions
Accordion-folded paper fans, simple origami boxes, paper butterflies, and layered paper flowers are excellent starting projects. They use basic folding techniques and require very few materials.
Lightweight origami paper is ideal for detailed folding, while construction paper and cardstock work well for larger decorations. The best choice depends on how many folds the project requires and how sturdy the finished shape needs to be.
Yes. Traditional origami projects, including many paper boxes, lucky stars, and folded flowers, can be made without glue. However, assembled 3D decorations often require glue or tape to hold multiple pieces together.
You can create three-dimensional effects using accordion folds, raised petals, curved paper strips, overlapping layers, and geometric folds. These techniques add depth and volume to otherwise flat paper.
Yes. Many simple projects are suitable for children, especially accordion fans, folded butterflies, and paper flowers. Younger children may need adult assistance with scissors, small pieces, and assembly.
Yes. Regular printer paper works for many beginner folding projects. However, lightweight cardstock is often a better option for decorations that need to stand upright or maintain a structured shape.
You can use them to decorate bedrooms, create handmade greeting cards, embellish gift boxes, make seasonal garlands, or add colorful details to classroom displays.