
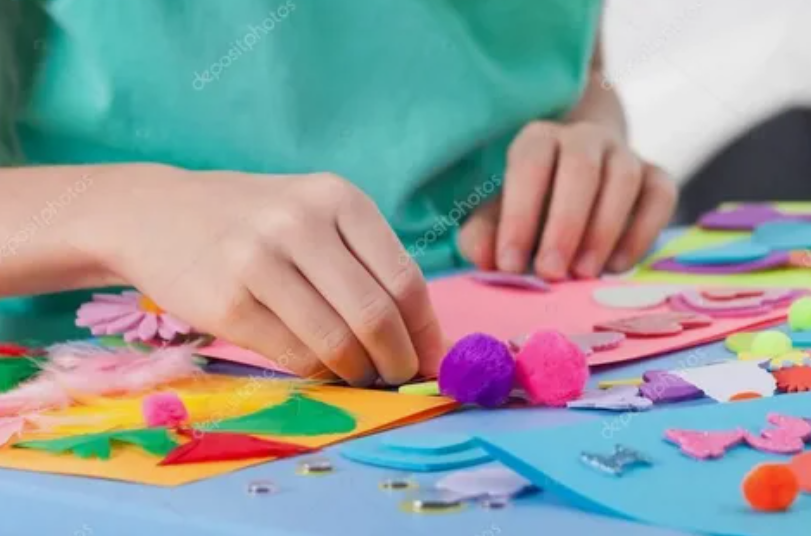

Looking for fun and easy paper animal crafts for kids? With just colorful construction paper, scissors, glue, and a little creativity, you can make adorable animals at home!
From cute bunnies and colorful butterflies to playful frogs and friendly elephants, children will love making these easy paper animal crafts for kids. Best of all, these simple projects are perfect for creative learning and family fun.
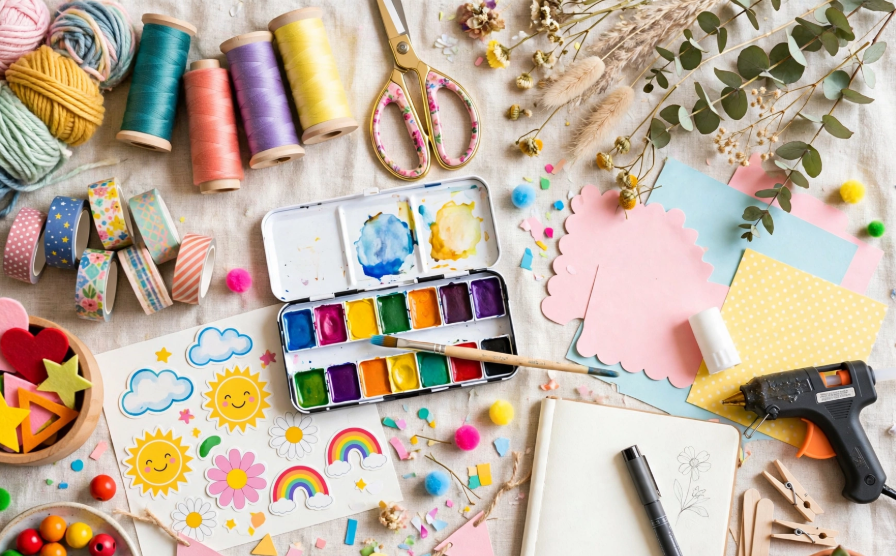
Most of these craft ideas use common craft materials which makes them perfect to do on a rainy day, or in school, during the weekend or just as a fun family activity.
If your kids enjoy these easy paper animal crafts, they’ll also love exploring our 12 Beautiful Tissue Paper Flower Ideas to Make at Home for more colorful and creative crafting fun.
Here are 15 easy animal crafts using paper!
Supplies You’ll Need for Paper Animal Crafts
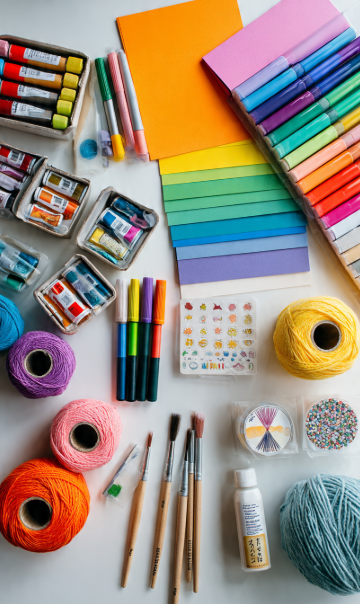
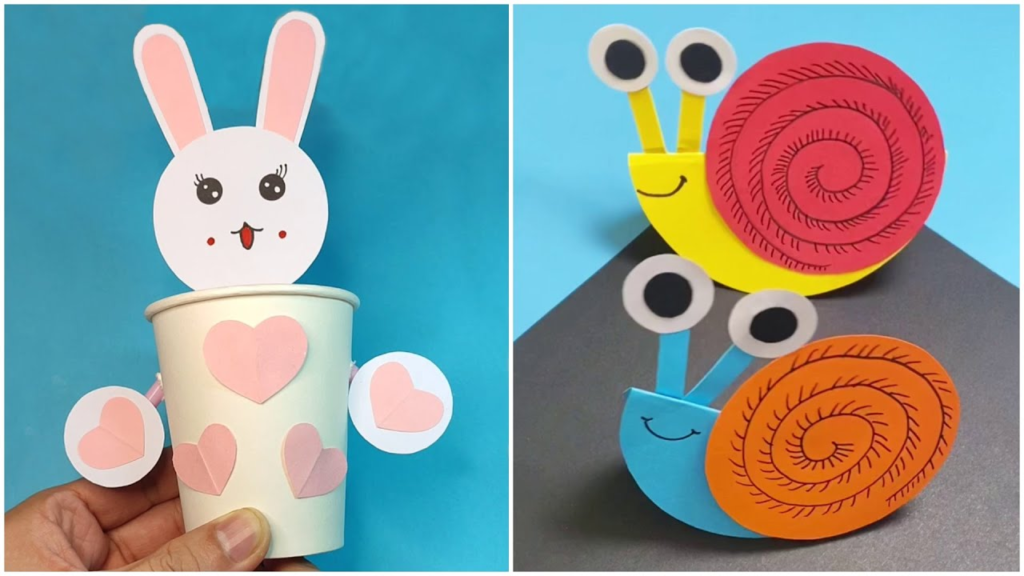
Before getting started, gather a few basic supplies. You probably already have most of them at home.
- Colored construction paper
- White paper or cardstock
- Child-safe scissors
- Glue sticks
- Pencils and erasers
- Washable markers or crayons
- A ruler for measuring paper strips
- Optional: googly eyes, stickers, and decorative paper
Construction paper works particularly well for these activities because it is easy to cut, fold, and decorate.
For younger children, prepare smaller pieces in advance and allow them to focus on arranging, gluing, and decorating. Adults should supervise scissor use, and small decorations should be avoided when they could pose a choking hazard.
1. Cute Paper Bunny With Floppy Ears – Easy Paper Animal Crafts for Kids
To begin with, a cute paper bunny is one of the easiest animal crafts for children who love adorable woodland creatures.
Since this project uses basic circles and ovals, it is a great choice for beginners who are still learning how to cut and arrange paper shapes.
For a soft and adorable look, choose pink, white, or light brown construction paper to create a sweet little rabbit with oversized floppy ears.
Materials: Pink or white construction paper, scissors, glue stick, and black marker.
How to make it:
- Cut one large oval from construction paper for the bunny’s body.
- Cut a smaller circle for the head and glue it above the body.
- Make two long oval ears and add smaller pink shapes inside them.
- Attach the ears behind the bunny’s head.
- Cut two small ovals for the feet and glue them to the bottom.
- Draw the eyes, nose, whiskers, and a cheerful smile.
Best for: Ages 3–6 with age-appropriate assistance.
Estimated time: 10–15 minutes.
Creative tip:For an extra creative touch, make several bunnies in different pastel colors and arrange them on a paper meadow decorated with colorful flowers and green grass.

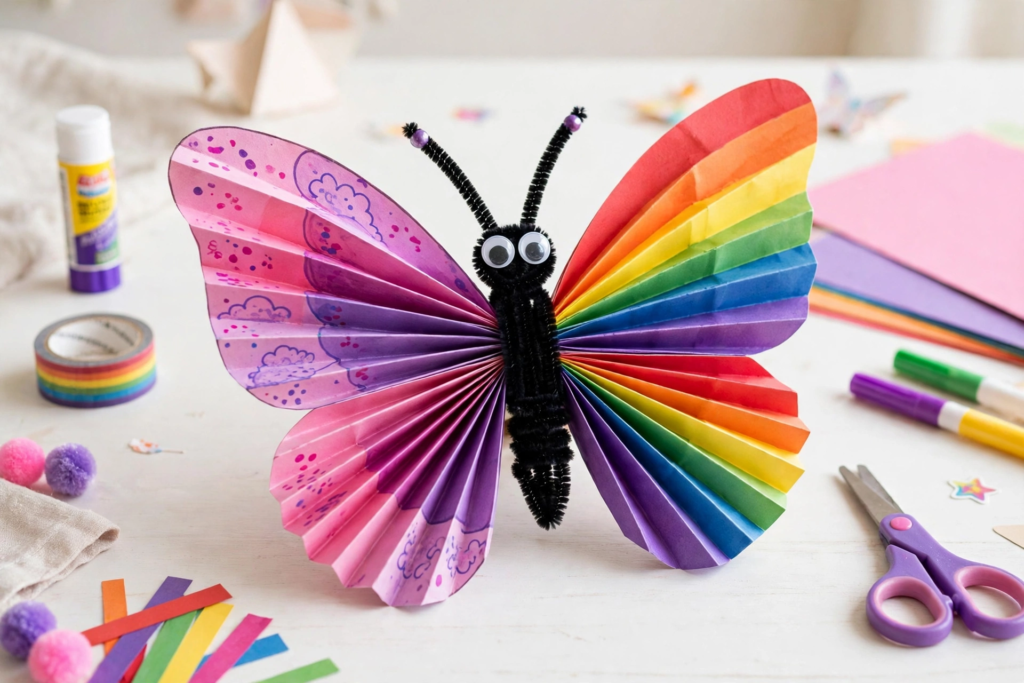
2. Colorful Paper Butterfly With Folded Wings – Easy Paper Animal Crafts for Kids
A colorful paper butterfly is a wonderful way to introduce children to basic folding techniques.
As a result, the accordion-folded wings create a beautiful three-dimensional effect while keeping the project simple and inexpensive.
Kids can experiment with different color combinations, including pink and purple, blue and yellow, or bright rainbow shades.
Materials: Two rectangular sheets of colored paper, glue, scissors, and markers.
How to make it:
- Cut two paper rectangles of similar size.
- Fold each rectangle back and forth like an accordion.
- Pinch both folded pieces together at their centers.
- Secure the centers with a narrow paper strip and a little glue.
- Spread the folded edges outward to create butterfly wings.
- Attach a small paper body and two thin antennae.
Best for: Ages 5–8.
Estimated time: 15–20 minutes.
Creative tip: For a fun classroom project, make several colorful butterflies and attach them to a large paper garden scene. As a result, you’ll create a bright and cheerful display that showcases everyone’s creativity.
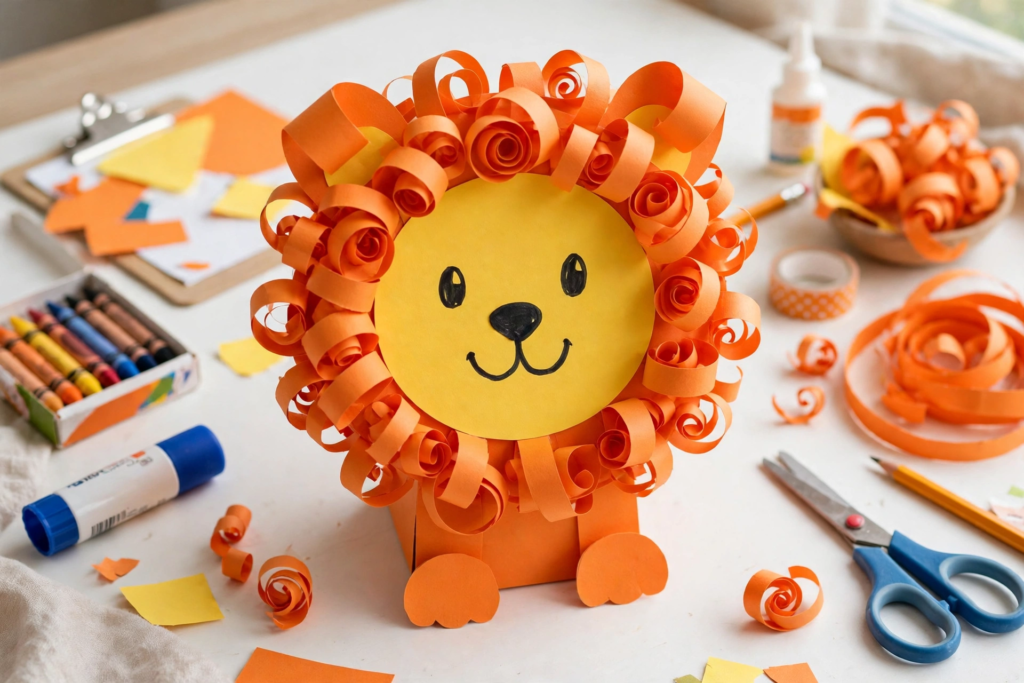
3. Easy Paper Lion With a Curly ManeThis cheerful paper lion features a fluffy mane made from curly strips of colorful construction paper.
Additionally, the bright orange mane adds beautiful texture and dimension, transforming a simple circle into an adorable animal craft.
As a result, children can practice curling paper strips and arranging shapes around the lion’s face while developing their creativity and fine motor skills.
Materials: Yellow and orange construction paper, scissors, glue, pencil, and black marker.
How to make it:
- Cut a large yellow circle for the lion’s face.
- Cut several narrow strips from orange construction paper.
- Gently curl each strip around a pencil.
- Glue one end of each curled strip behind the yellow circle.
- Continue attaching strips until the mane surrounds the face.
- Add two rounded ears and draw the lion’s eyes, nose, and mouth.
Best for: Ages 4–8.
Estimated time: 15–20 minutes.
Creative tip: For a more vibrant look, use two shades of orange for the mane. This way, the finished lion will appear more colorful and textured.
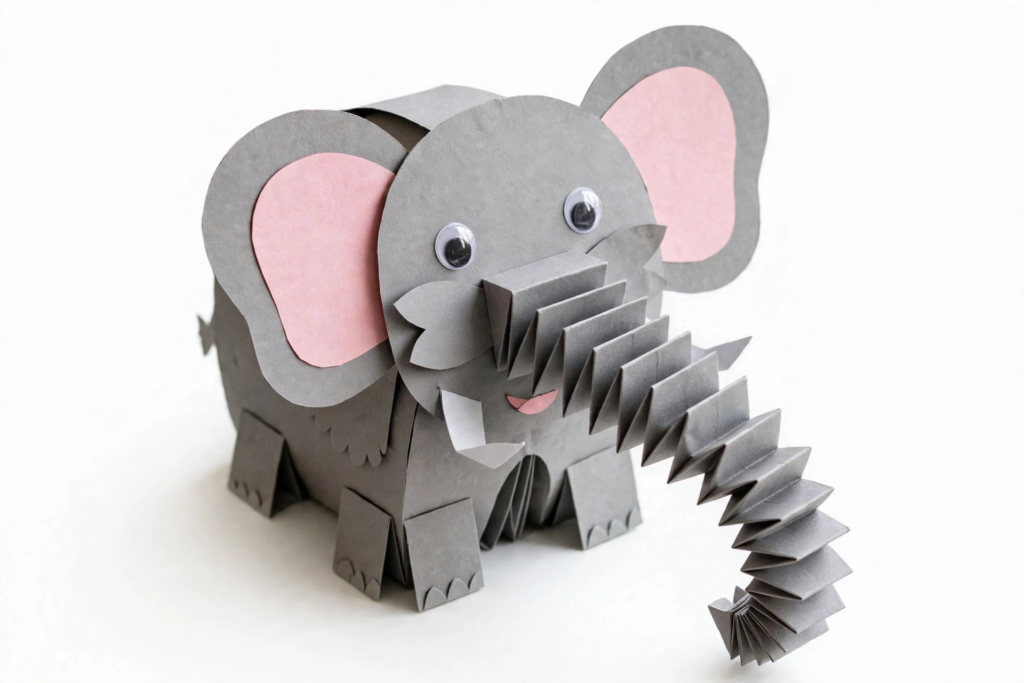
4. Paper Elephant With a Movable Trunk
A friendly paper elephant with a bendable trunk will appeal to children who like interactive craft activities.
Instead of making a flat face, you’ll create a paper strip with accordion folds to give the elephant trunk a bendy look.
This creates a fun animal that can be used for imaginative play or telling stories.
Materials: Gray construction paper, pink paper, scissors, glue, and black marker.
How to make it:
- Cut a large gray circle for the elephant’s head.
- Make two oversized oval ears and attach them behind the head.
- Cut two smaller pink ovals and glue them inside the ears.
- Cut a long gray paper strip for the trunk.
- Fold the strip back and forth into an accordion shape.
- Glue one end of the folded trunk beneath the eyes.
- Draw two eyes and add small paper tusks if desired.
Best for: Ages 5–8.
Estimated time: 15–20 minutes.
Creative tip: For even more fun, use the finished elephant as a character in a homemade paper animal puppet show.
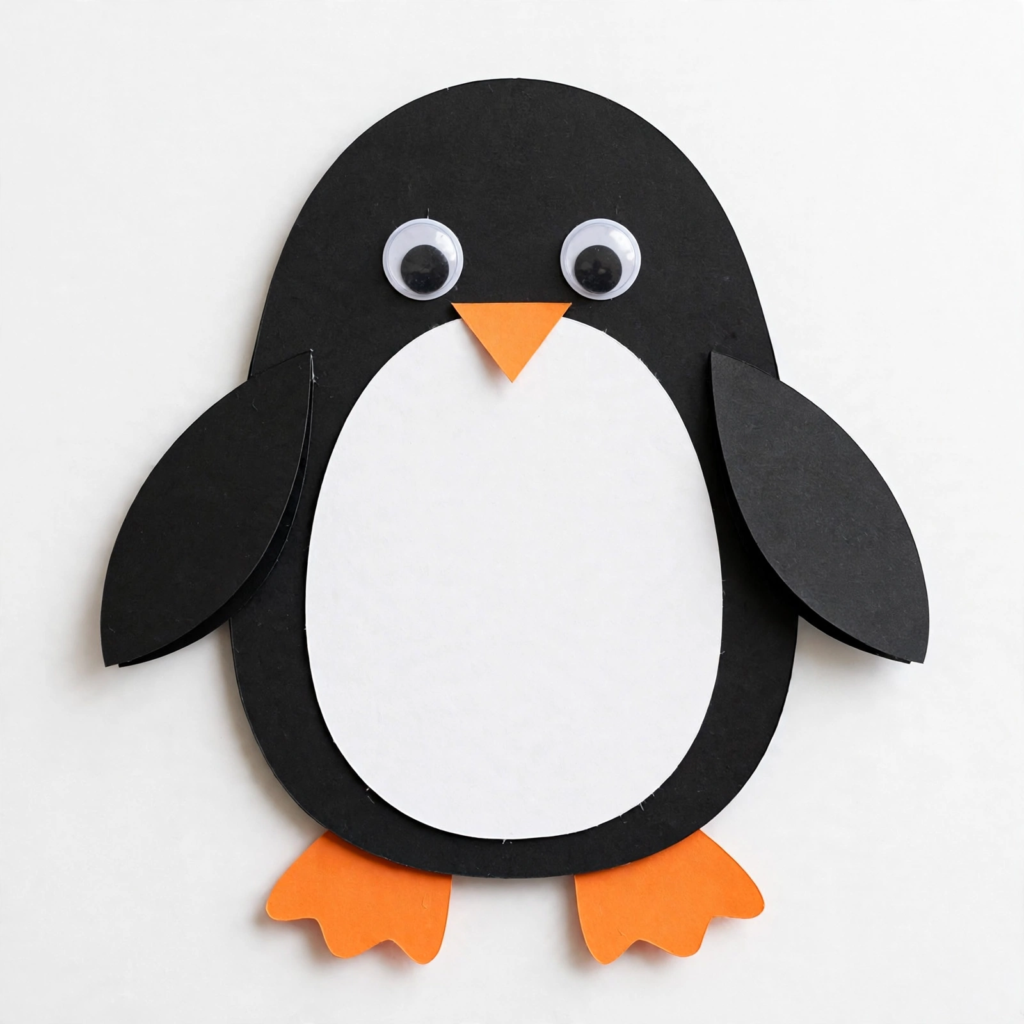
5. Adorable Paper Penguin With a White Belly
A paper penguin is a fun and simple craft that uses basic shapes, making it perfect for young children.
Among the easy paper animal crafts for kids, this adorable penguin stands out because its black-and-white construction paper makes it instantly recognizable, while bright orange feet and a tiny beak add a playful finishing touch.
Best of all, this craft is ideal for preschoolers because the large paper pieces are easy to cut, arrange, and glue together.
Materials: Black, white, and orange construction paper, glue, scissors, and black marker.
How to make it:
- Cut a large black oval for the penguin’s body.
- Cut a smaller white oval and glue it onto the center.
- Make two black wing shapes and attach them to the sides.
- Cut a small orange triangle for the beak.
- Add two orange feet at the bottom of the body.
- Draw two round eyes above the beak.
Best for: Ages 3–6 with assistance.
Estimated time: 10–15 minutes.
Creative tip: For a beautiful winter scene, first glue the penguin onto blue paper. Then, add white paper snowflakes to create a charming snowy background.
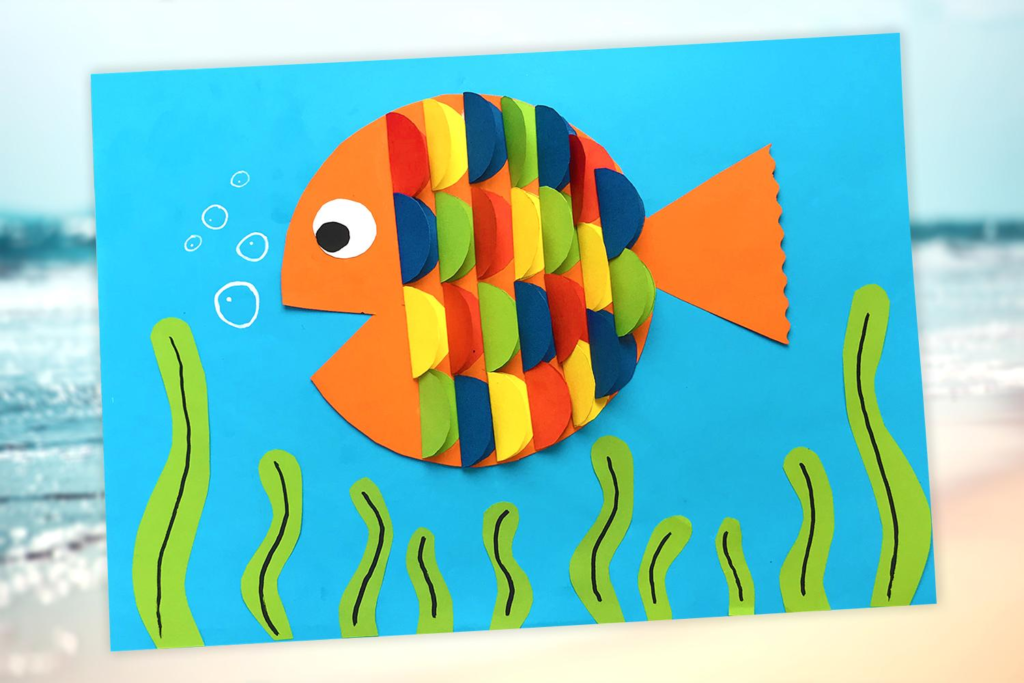
6. Paper Fish With Rainbow Scales
A rainbow paper fish is a bright and creative craft that allows children to explore different colors and patterns.
Additionally, its overlapping paper scales give the fish a beautiful layered appearance, making it more interesting than a simple flat cutout.
For a more colorful design, children can choose matching shades or create a rainbow effect using small pieces of leftover craft paper.
Materials: Blue cardstock, colorful construction paper, scissors, glue, and marker.
How to make it:
- Draw a large fish shape on construction paper and cut it out.
- Cut several small circles from different colored papers.
- Fold each circle in half to create a semicircular scale.
- Glue the folded scales in overlapping rows across the fish’s body, starting near the tail.
- Add a paper tail and fins if they were not included in the original shape.
- Draw a large eye and a smiling mouth.
Best for: Ages 4–8.
Estimated time: 20–25 minutes.
Creative tip: Attach the finished fish to a blue background with paper seaweed and bubbles to create a colorful underwater picture.
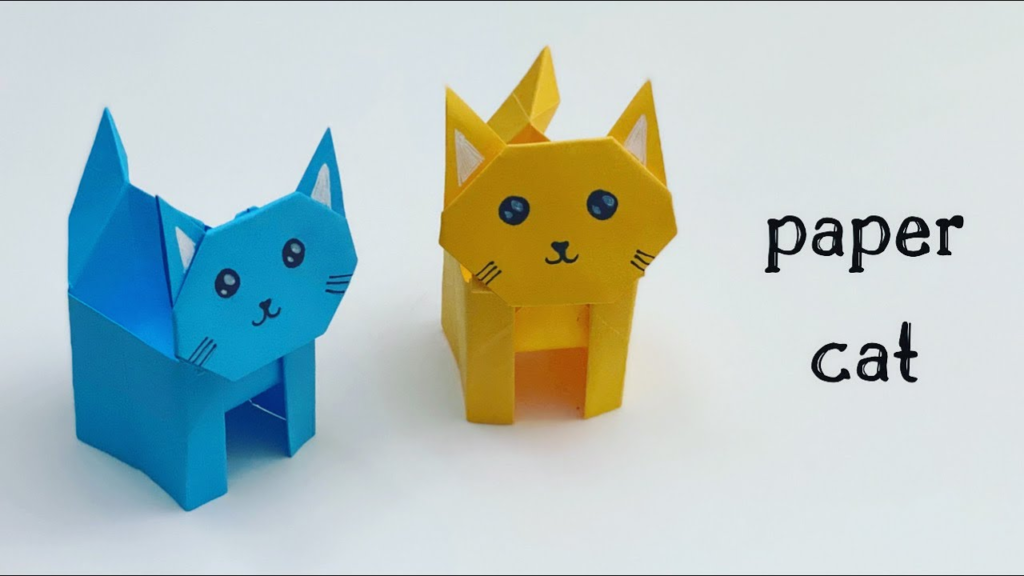
7. Cute Paper Cat With a Curled Tail
Additionally, making a cute paper cat is a fun and creative activity for children who love pets and enjoy hands-on crafts.
By combining simple shapes like circles, triangles, and paper strips, kids can easily create an adorable paper kitten with pointed ears and a curly tail.
Additionally, children can personalize their paper cats with different colors, playful stripes, or colorful spots to make each one unique.
Materials: Orange, brown, or gray construction paper, scissors, glue, and markers.
How to make it:
- Cut a large oval for the cat’s body.
- Cut a smaller circle for the head.
- Make two triangles for the ears and attach them to the top of the head.
- Glue the head onto the body.
- Cut a long, narrow paper strip and curl it around a pencil to make the tail.
- Attach the tail behind the body.
- Draw whiskers, eyes, a small nose, and stripes.
Best for: Ages 4–7.
Estimated time: 10–15 minutes.
Creative tip: For an extra adorable display, make a family of colorful paper kittens and arrange them on a homemade paper windowsill.
8. Easy Paper Dog With Floppy Ears
A friendly paper puppy is another adorable project for kids who love animals.
The floppy ears and oversized nose give this craft a playful appearance, while the simple cut-and-paste technique makes it suitable for younger children.
For a more creative look, try using brown, cream, black, or spotted paper, as each option works beautifully for this project.
Materials: Brown and cream construction paper, glue stick, scissors, and black marker.
How to make it:
- Cut a large rounded shape for the dog’s head.
- Cut two long, curved ear shapes from darker brown paper.
- Glue the ears behind the sides of the head so they hang downward.
- Add a smaller cream oval for the muzzle.
- Cut a black paper oval for the nose and attach it above the mouth.
- Draw two eyes, a smiling mouth, and a few small spots.
Best for: Ages 3–6 with assistance.
Estimated time: 10–15 minutes.
Creative tip: Let children create a paper collar and write their puppy’s name on it.

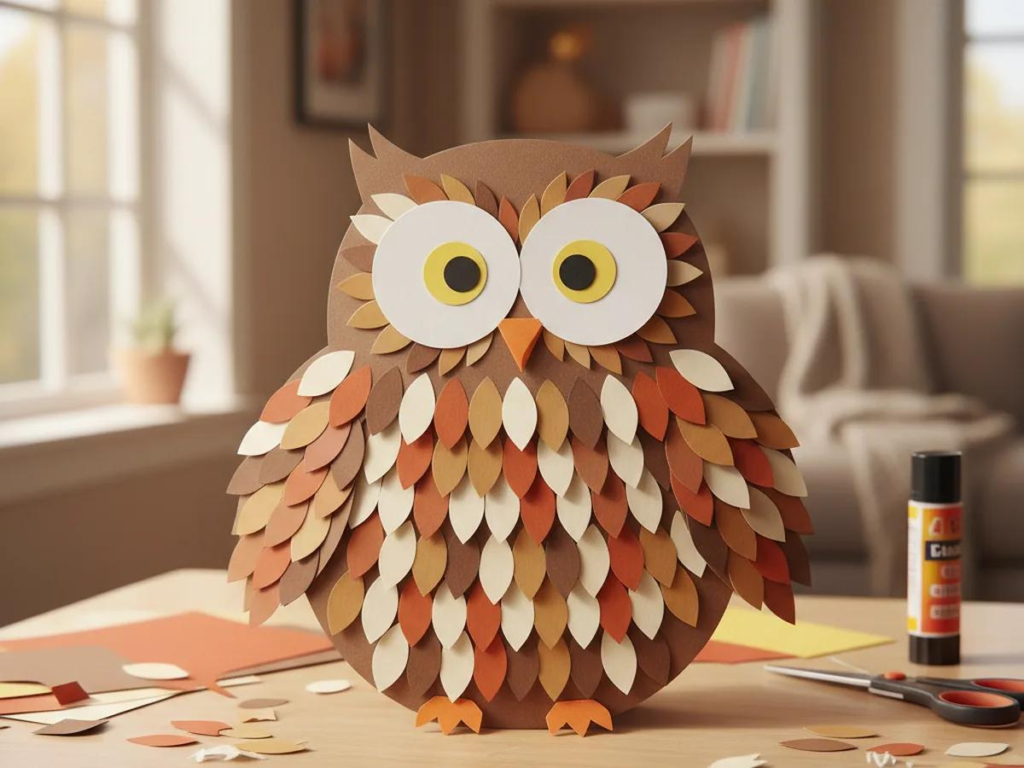
9. Paper Owl With Layered Feathers
Additionally, among the easy paper animal crafts for kids, this charming paper owl with layered feathers stands out for its simple shapes and beautiful textures, making it a fun and creative woodland activity.
The overlapping paper pieces create the appearance of soft feathers, while large round eyes make the owl look especially cute.
Children can use autumn colors like brown, mustard yellow, orange, and cream.
Materials: Brown construction paper, colorful paper scraps, scissors, glue, and markers.
How to make it:
- Cut a large oval from brown paper for the owl’s body.
- Cut several small oval or teardrop shapes for the feathers.
- Glue the feather pieces in overlapping rows across the lower body.
- Add two large circular eyes near the top.
- Cut a small orange triangle for the beak.
- Attach two paper wings and small pointed ears.
Best for: Ages 4–8.
Estimated time: 20–25 minutes.
Creative tip: Glue the owl onto dark blue cardstock and add a crescent moon and stars for a nighttime woodland scene.
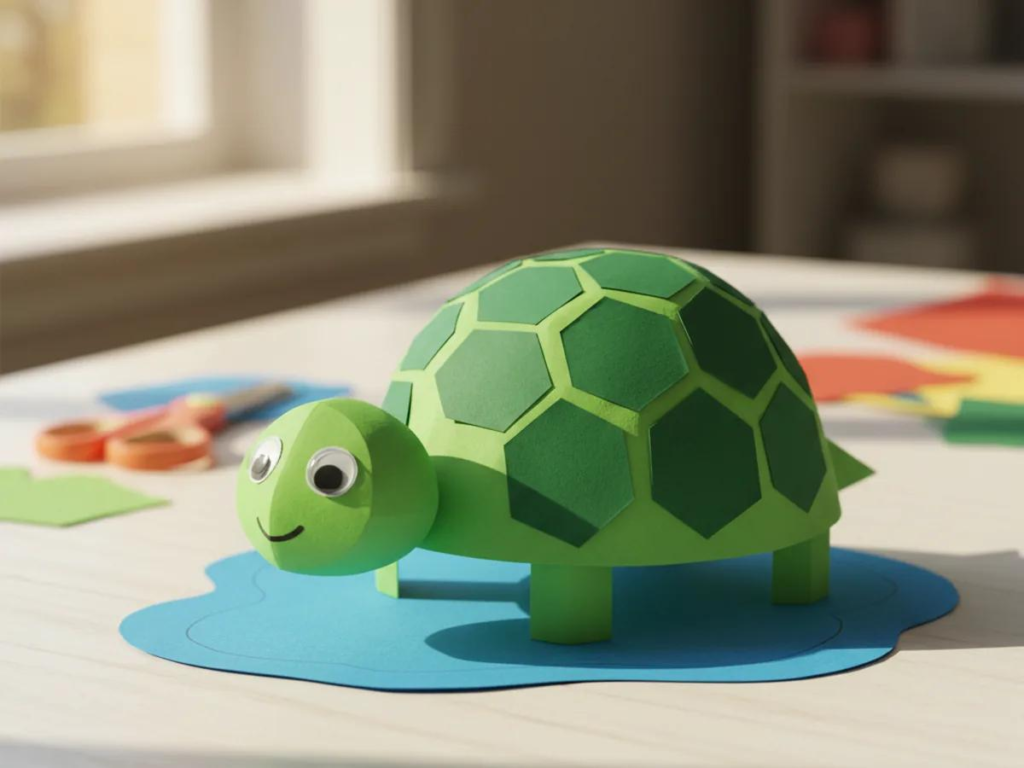
10. Paper Turtle With a Patterned Shell
In addition, making a paper turtle is a fun and creative way for children to explore different shapes, patterns, and colors.
Among the easy paper animal crafts for kids, this adorable turtle offers plenty of room for creativity. Its rounded shell can be decorated with colorful squares, circles, or geometric patterns for a fun, personalized look.
This simple project is especially suitable for classroom activities involving shape recognition.
Materials: Green construction paper, darker green paper, scissors, glue, and black marker.
How to make it:
- Cut a large circle from dark green paper for the shell.
- Cut a smaller oval for the turtle’s head.
- Make four rounded legs and a small triangular tail.
- Glue the head, legs, and tail behind the shell.
- Cut small geometric shapes from light green paper.
- Arrange the shapes across the shell and glue them in place.
- Draw a friendly face on the turtle’s head.
Best for: Ages 3–7 with assistance.
Estimated time: 15–20 minutes.
Creative tip: Encourage children to make different shell patterns using triangles, circles, and squares.
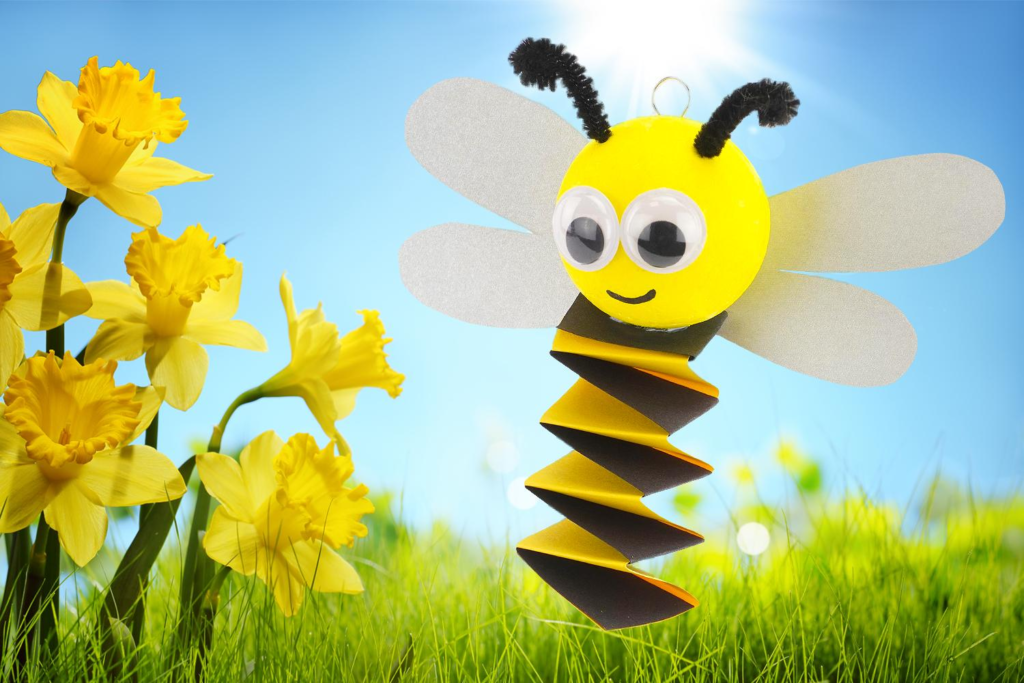
11. Paper Bee With Accordion Wings
A cheerful paper bee is a lovely spring craft that uses bold stripes and folded paper wings.
The bright yellow and black colors make the bee instantly recognizable, while the folded wings add an interesting three-dimensional detail.
This project also provides an opportunity to talk about flowers, pollination, and the importance of bees.
Materials: Yellow, black, and white construction paper, scissors, glue, and markers.
How to make it:
- Cut a large yellow oval for the bee’s body.
- Cut three narrow black paper strips.
- Glue the black strips across the yellow oval and trim the ends.
- Cut two white paper ovals for the wings.
- Make a few small accordion folds in each wing.
- Glue one end of each wing behind the upper body, leaving the folded portions raised.
- Add two eyes, a smile, and short paper antennae.
Best for: Ages 4–7.
Estimated time: 15–20 minutes.
Creative tip: Make a colorful paper flower garden and place several little bees around the flowers.
For more creative activities that help children develop fine motor skills, explore the fun kids’ craft projects from Crayola, which offer plenty of inspiration for hands-on learning at home.
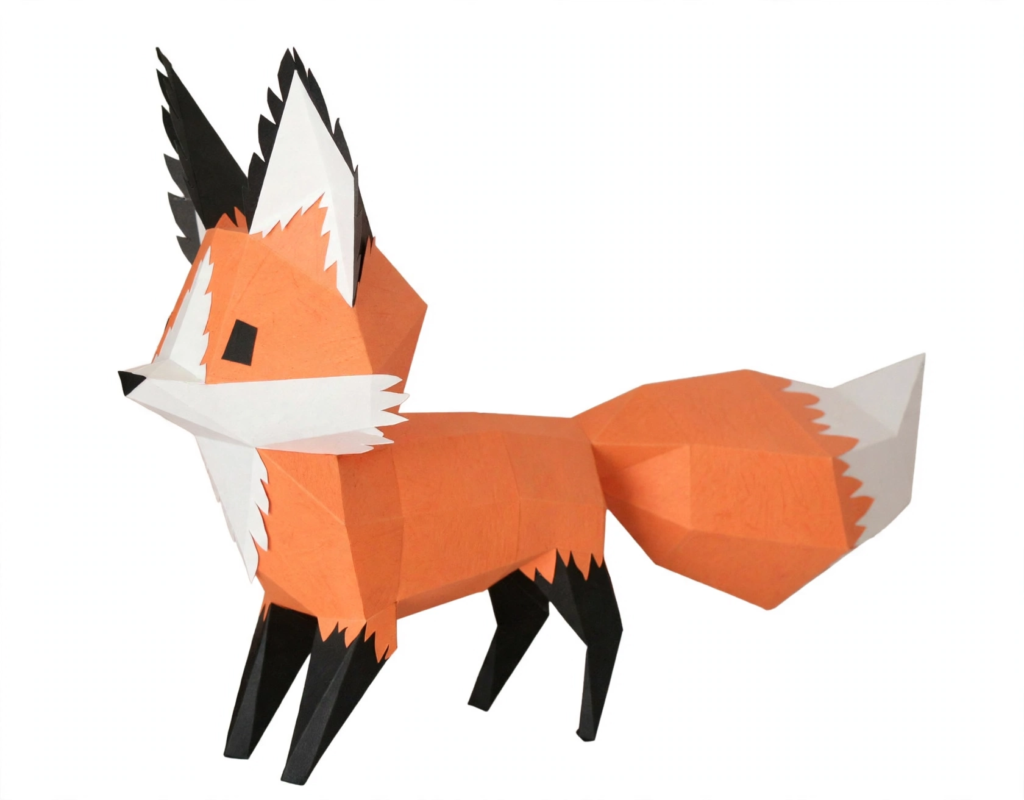
12. Paper Fox With a Bushy Tail
A paper fox is a cute and creative woodland animal craft that uses simple triangles and pointed shapes.
Additionally, its bright orange body, white face, and fluffy-looking tail create an adorable design. Best of all, children can easily make this charming paper fox using basic craft supplies.
This project works particularly well for fall-themed classroom decorations.
Materials: Orange, white, and black construction paper, scissors, and glue.
How to make it:
- Cut a large orange oval for the fox’s body.
- Cut a rounded triangle for the head.
- Make two pointed orange ears and add smaller white triangles inside them.
- Glue a white pointed shape onto the lower part of the face.
- Cut a large bushy tail from orange paper and add a white tip.
- Attach the tail behind the body.
- Add two black eyes and a small black nose.
Best for: Ages 4–7.
Estimated time: 15–20 minutes.
Creative tip: To complete the woodland theme, add colorful paper leaves, mushrooms, and trees around the fox. This way, you can create a cozy and charming woodland picture.
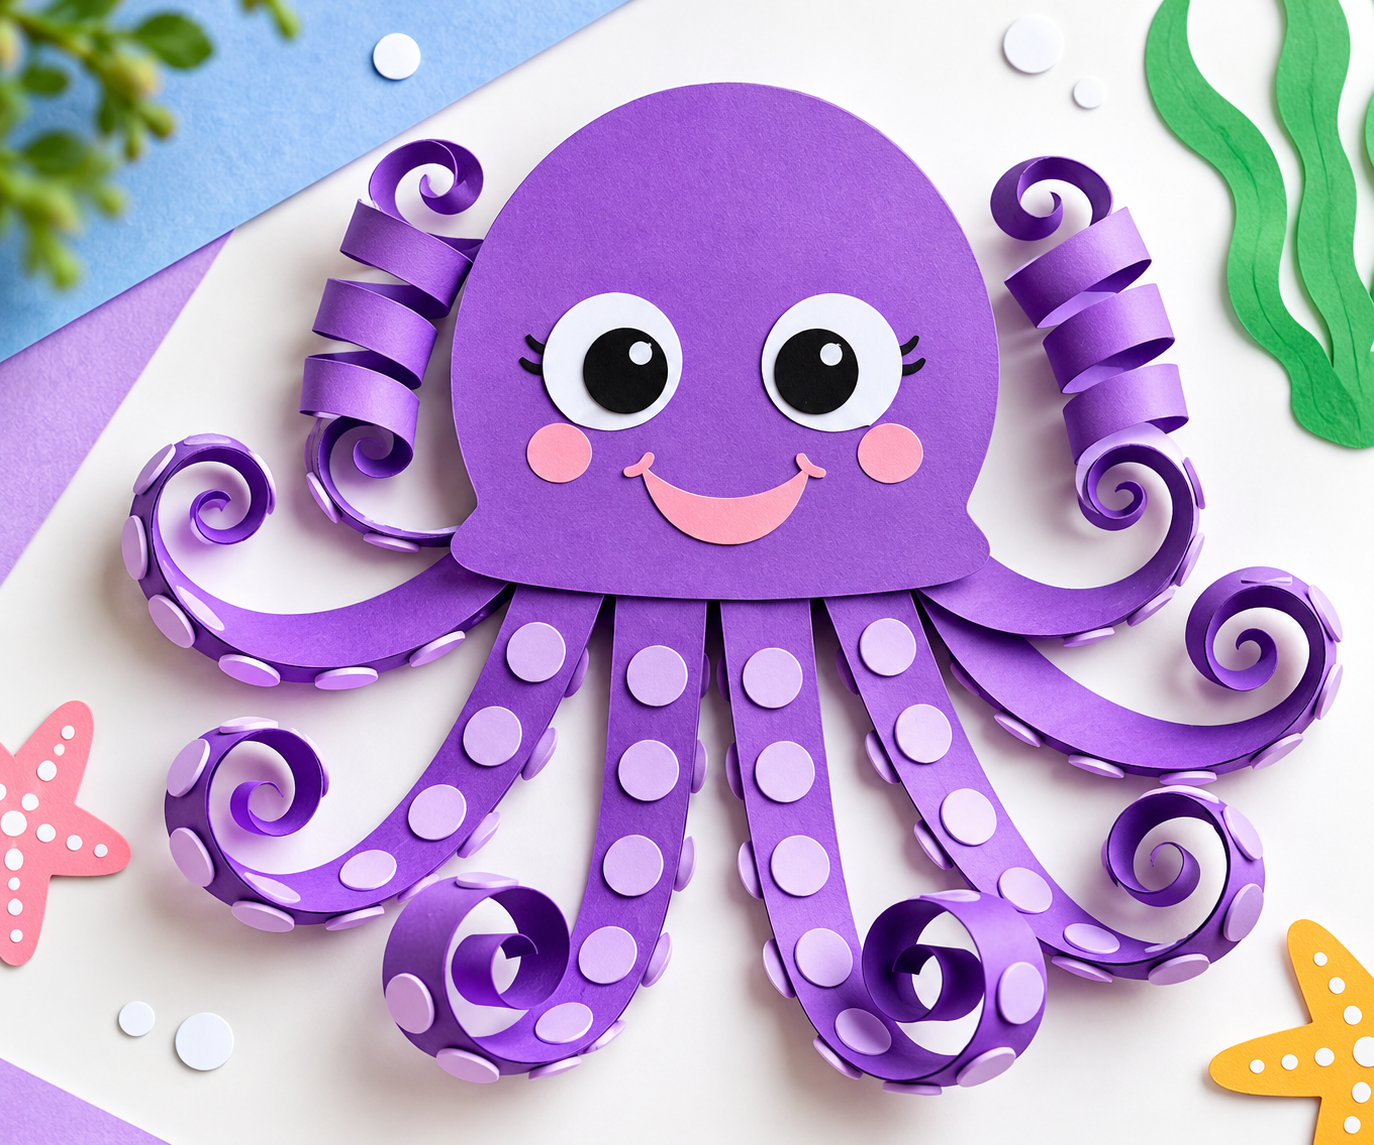
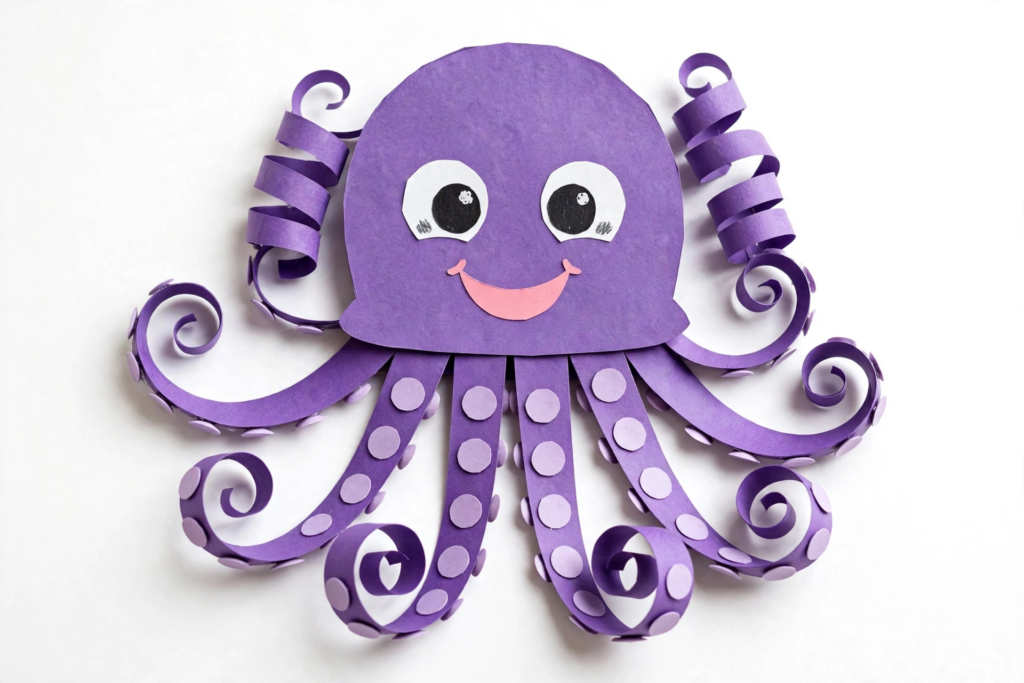
13. Paper Octopus With Curly Tentacles
A paper octopus with curly tentacles is a fun and playful ocean-themed craft that children can easily make using simple paper strips. Additionally, this creative activity helps kids practice their cutting and curling skills while making an adorable underwater animal.
The curled tentacles give the octopus movement and texture, making it especially fun to hang as a decoration.
Kids can also practice counting while attaching the octopus’s eight arms.
Materials: Purple or pink construction paper, scissors, glue, pencil, and black marker.
How to make it:
- Cut a large rounded shape for the octopus’s head.
- Cut eight long paper strips in the same color.
- Curl each strip gently around a pencil.
- Glue the top ends of the eight strips behind the lower edge of the head.
- Spread the strips apart so the tentacles hang naturally.
- Draw two large eyes and a cheerful smile.
- Add small paper circles along the tentacles to represent suckers if desired.
Best for: Ages 4–8.
Estimated time: 15–20 minutes.
Creative tip: For a fun underwater theme, hang several colorful paper octopuses against a blue background. As a result, you can create a bright and playful classroom display.
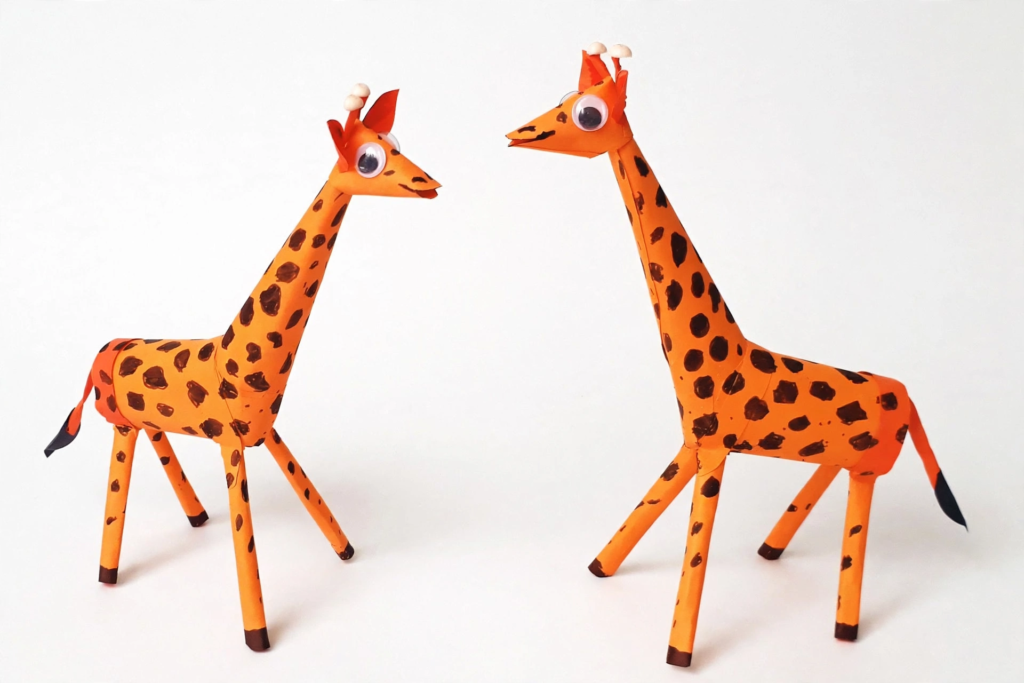
14. Paper Giraffe With a Long Neck
A paper giraffe is a fun and creative animal craft that encourages children to experiment with long shapes and colorful patterns. Additionally, it helps kids practice their cutting and gluing skills while creating an adorable handmade giraffe.
The giraffe’s tall neck makes it a fun addition to a homemade paper zoo, while the brown spots offer an opportunity to practice cutting and arranging small shapes.
Materials: Yellow and brown construction paper, scissors, glue, and black marker.
How to make it:
- Cut a large yellow oval for the giraffe’s body.
- Cut a long yellow rectangle for the neck and glue it behind the body.
- Cut a small oval for the head and attach it to the top of the neck.
- Add two ears and two short paper horns.
- Cut four narrow rectangles for the legs and glue them behind the body.
- Cut small irregular shapes from brown paper and glue them onto the neck and body.
- Draw the giraffe’s eyes, nostrils, and mouth.
Best for: Ages 4–8.
Estimated time: 20–25 minutes.
Creative tip: Make a tall paper tree beside the giraffe and add green leaves near its mouth.
15. Paper Frog With Springy Legs
Additionally, a paper frog with springy legs is a fun and interactive craft that children can enjoy even after they’ve finished making it.
Additionally, the accordion-folded legs create a playful, bouncy effect, while the oversized eyes give the frog an adorable and friendly appearance.
Best of all, this simple project introduces children to basic paper-folding techniques. As a result, kids can develop their creativity and enjoy hands-on learning without following complicated steps.
Materials: Green construction paper, white paper, scissors, glue, and markers.
How to make it:
- Cut a large green oval for the frog’s body.
- Cut two smaller green circles for the eyes.
- Glue the eye circles behind the upper edge of the body.
- Add two white circles and draw black pupils.
- Cut four long green paper strips for the legs.
- Fold each strip back and forth to create an accordion shape.
- Attach the folded legs behind the body and add small paper feet.
- Draw a wide smile and two tiny nostrils.
Best for: Ages 5–8.
Estimated time: 15–20 minutes.
Creative tip: Glue the frog onto a large green paper lily pad and add blue paper around it to represent a pond.

Tips for Making Paper Animal Crafts Easier for Kids
Paper crafting should feel enjoyable rather than frustrating. Therefore, a few simple preparations can make the experience smoother, easier, and more enjoyable for children of different ages.
Start with larger shapes. Younger children often find large circles, ovals, and rectangles easier to handle than tiny decorative pieces.
Prepare materials in advance. Cut complicated shapes ahead of time when working with preschoolers, but leave plenty of decorating choices for the children.
Use glue sticks for flat crafts. Glue sticks are generally easier to control than liquid glue and help reduce mess.
Let children choose colors. A purple elephant or rainbow-colored bunny can be just as fun as a realistic animal.
Turn crafting into learning. Ask children to count the octopus’s arms, identify the butterfly’s colors, or name the shapes used to make the turtle.
Save leftover paper scraps. Small pieces are useful for animal spots, feathers, scales, and facial details.
Fun Ways to Use Finished Paper Animals
Once the crafts are complete, children can enjoy their handmade paper animals in several fun and creative ways.
For example, they can create a miniature paper zoo by arranging the animals on a large sheet of cardboard or cardstock. Then, add colorful paper trees, ponds, fences, and handwritten animal labels to bring the little zoo to life.
You can also attach larger paper animals to craft sticks to create simple storytelling puppets, or display the finished projects on a classroom bulletin board.
For an educational activity, sort the animals into groups such as farm animals, ocean animals, woodland creatures, and jungle animals.
Conclusion
Making paper animals is a simple and affordable way to encourage creativity while keeping children entertained.
Whether kids are creating a colorful butterfly, a friendly paper elephant, or a playful frog with springy legs, these 15 easy paper animal crafts for kids offer plenty of opportunities for hands-on fun.
With just a few basic supplies and a little imagination, children can easily transform ordinary sheets of paper into an adorable collection of handmade animals. As a result, they can enjoy a fun and creative crafting experience while developing their artistic skills.
Frequently Asked Questions
Paper bunnies, penguins, dogs, and turtles are among the easiest options because they use large, simple shapes and basic gluing techniques. Additionally, adults can prepare the cutouts in advance to make crafting easier and safer for younger children.
Start by cutting basic shapes such as circles, ovals, triangles, and rectangles. Arrange them to form an animal’s body, head, ears, legs, and tail. Glue the pieces together, then add eyes, facial features, and decorative details.
Yes. Most simple paper animals can be made by drawing and cutting basic shapes directly onto construction paper. Templates are helpful for consistency but are not necessary for the projects in this article.
Construction paper is a practical choice for most beginner projects because it is colorful and easy to cut. Cardstock works well for crafts that need extra strength, such as standing animals or puppets.
Kindergarten students can try paper butterflies, lions, elephants, fish, owls, and giraffes. These projects involve basic cutting, folding, arranging, and gluing.
As a planning estimate, most simple paper animal crafts take approximately 10–25 minutes, depending on the child’s age, the number of pieces, and how much adult assistance is needed.
Paper animal crafts provide opportunities to practice cutting, folding, shape recognition, counting, following instructions, and creative decision-making. Adults can also introduce simple facts about animals and their habitats.
Absolutely. Teachers can connect paper animal projects to lessons about wildlife, habitats, colors, shapes, and storytelling. Simple cut-and-paste projects also work well for small-group activities.