

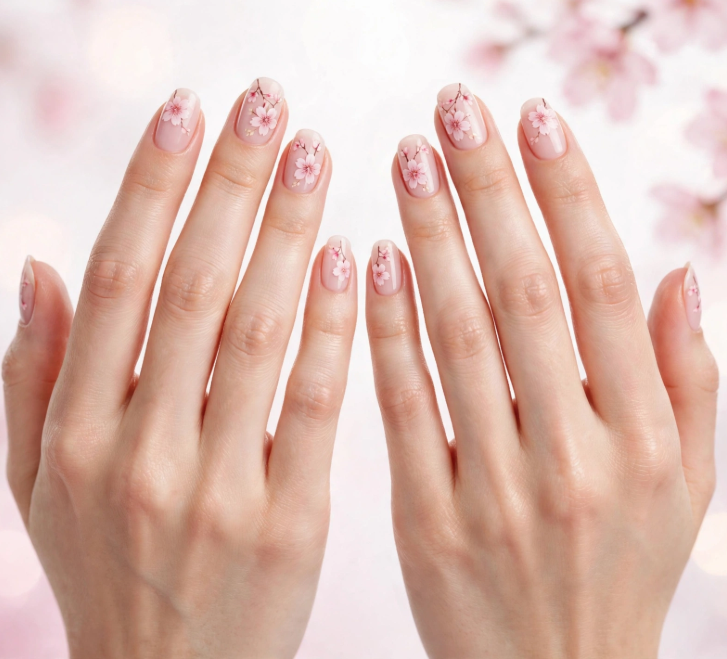
Professional nail-art tools are not required to have a pretty manicure at home. Many simple designs can be created with nail art using household items you already have around the house.
For beginners, nail art using household items can be especially convenient when you don’t have a dotting tool or want to experiment with nail polish without buying extra supplies. A toothpick can create tiny dots, tape can help make clean geometric sections, and a makeup sponge can create soft, blended gradients.
The secret is to select designs that don’t require perfect lines or advanced techniques. Here are 15 simple ideas you can do at home, and the simple household object you’ll need in order to make each look.
If you want more simple ideas that are easier to recreate, check out Easy Nail Art for Your Non-Dominant Hand: 15 Simple Designs for beginner-friendly inspiration.
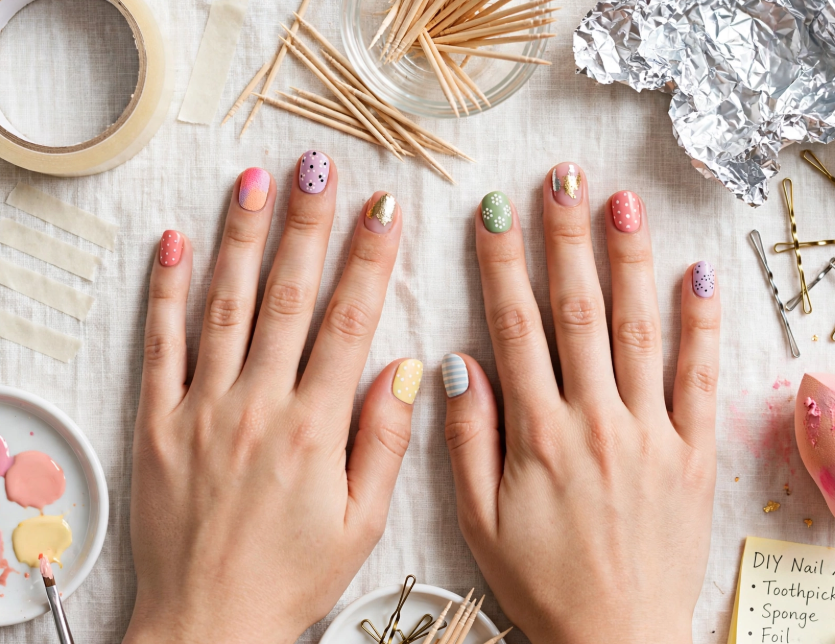
What Can You Use for Nail Art Instead of Tools?
Before getting started, look around your home for simple items that can replace common nail-art tools.
You can use:
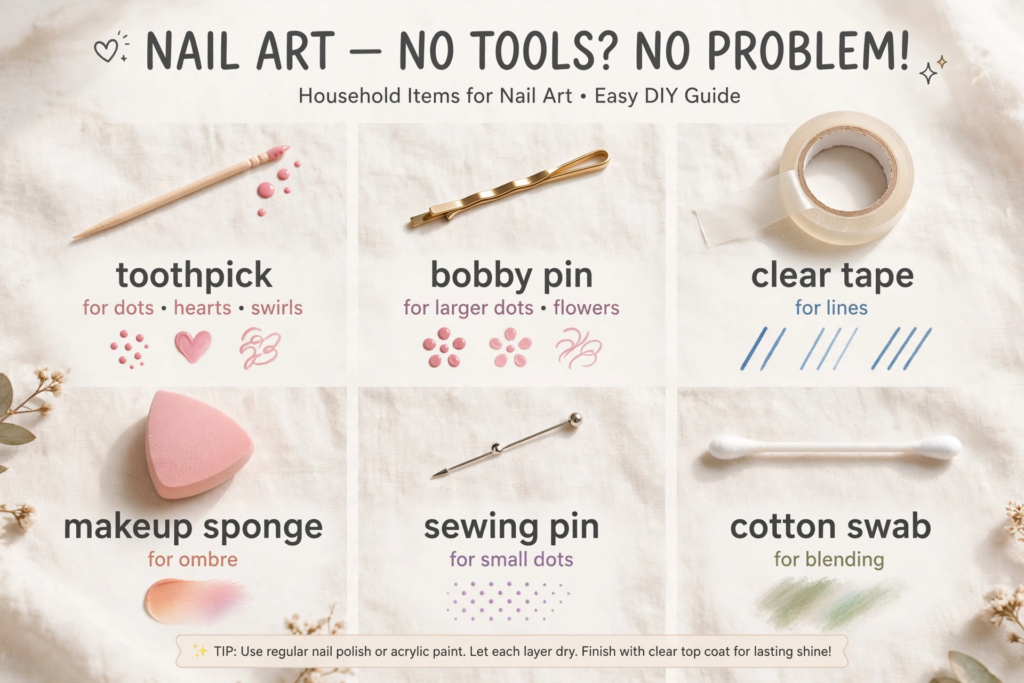
- Toothpick: tiny dots, hearts, swirls, and fine details
- Bobby pin: larger dots and simple flowers
- Clear tape: straight lines, color blocking, and geometric designs
- Makeup sponge: ombré and blended effects
- Sewing pin: very small dots and delicate details
- Cotton swab: soft color blending or cleanup
- Small household brush: simple lines and larger shapes
Whatever you use, make sure it is clean before it touches your nails. If an item has a sharp point, use it gently rather than pressing into the nail.
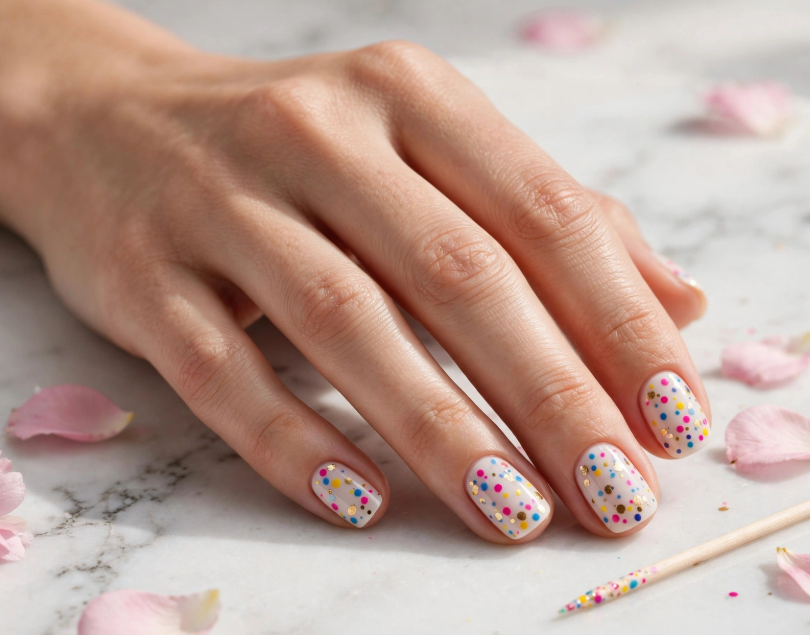
1. Simple Polka Dot Nails
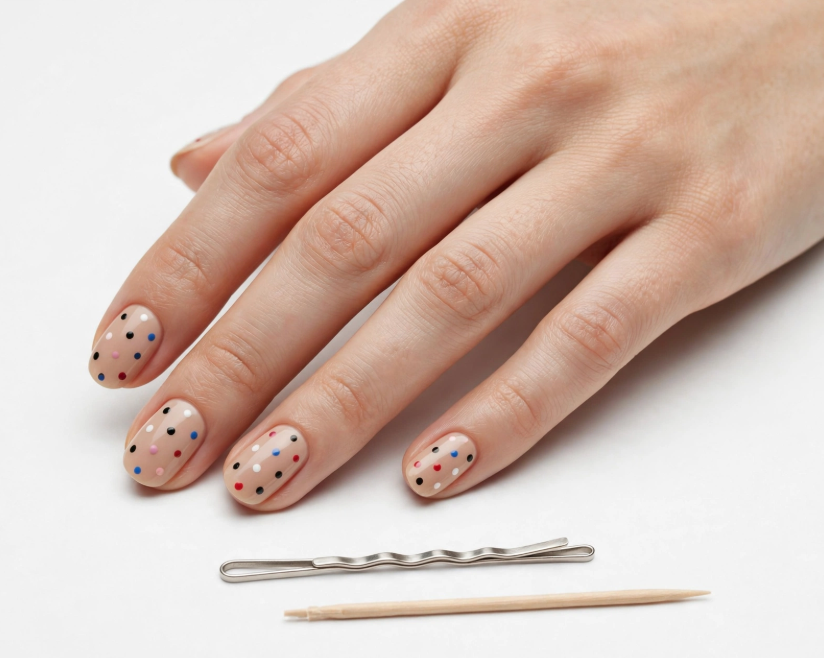
Polka dots are one of the easiest ways to paint your nails for a beginner, as they do not require any perfect lines.
Things you’ll need: household items: toothpick or bobby pin
Apply your favorite base color and let it dry completely. Place a small amount of a contrasting polish on a piece of foil or another disposable surface. Dip the rounded end of a bobby pin into the polish, then gently press it onto the nail to create a neat dot.
For smaller dots, try using a toothpick. Vary the sizes (for a more playful look) or use the same size dot (for a neater look).
Try it with: nude and black, white and blue, or pink and red.
If drawing detailed designs feels difficult, explore Nail Art for Beginners Who Can’t Draw: Easy Designs You Can Actually Do for simple ideas that don’t require advanced skills.
2. Toothpick Heart Nails
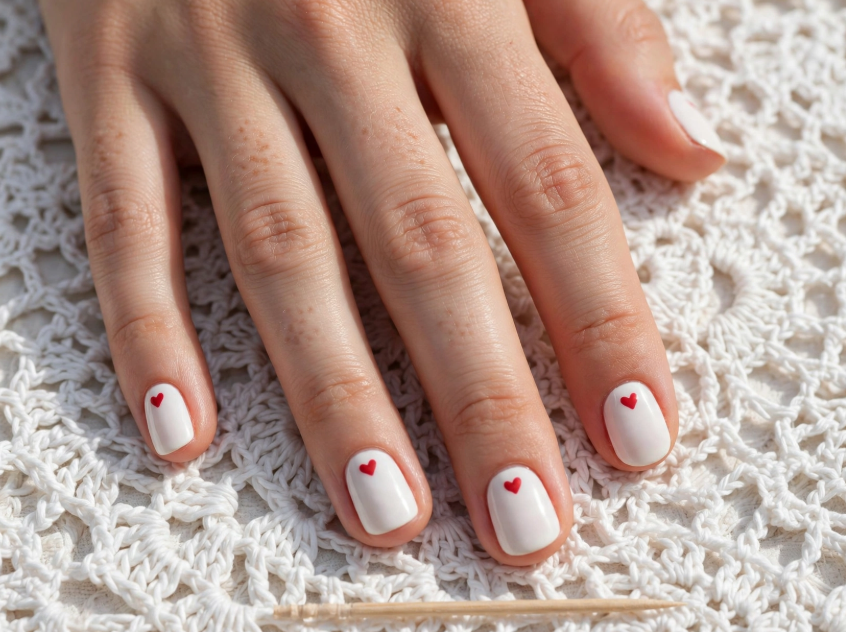
Tiny hearts can transform a basic manicure into something more intricate than it appears.
Home remedy: toothpick
Apply a sheer or nude base and let it dry a little bit. Make two dots of your desired color close to each other where you want your heart to be. Using the pointed end of a toothpick, bring those two dots down and together to form a minuscule point.
Not necessarily every heart has to be the same. A few different ones will make the manicure seem homemade.
If you’re using the polish you already have at home, explore Nail Art With Regular Polish: 15 Easy Designs to Try for simple designs you can recreate without special products.
3. Tape Color-Block Nails
One of the household items most useful for making clean nail-art shapes is tape.
Household item: Clear household tape
For easy nail art using household items, paint your nails with the base shade and let it dry completely. Cut a small piece of tape and place it diagonally across the nail. Paint the exposed portion with another color, then carefully remove the tape while the second polish is still workable.
Try two contrasting shades or two colors from the same family for a more subtle manicure.
Tip: Waiting until the first layer is completely dry helps prevent the tape from pulling up the base color.
If you want to create a manicure without buying extra supplies, check out Nail Art Without Tools: 20 Easy Designs for simple ideas you can try at home.
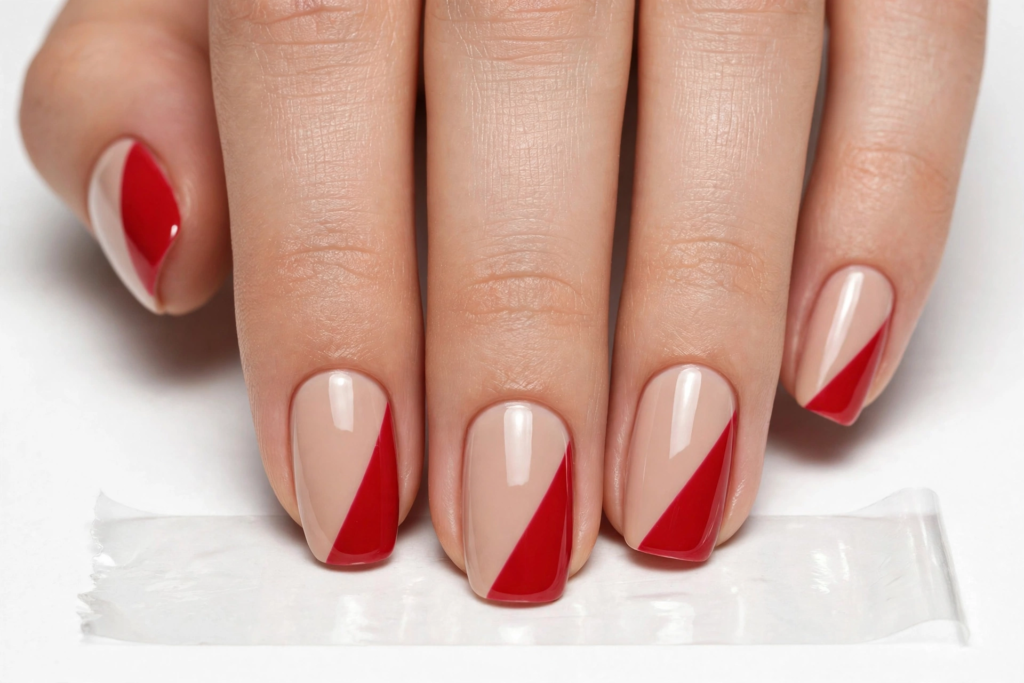
4. Easy Two-Tone Diagonal Nails
A diagonal design is sophisticated and doesn’t require exactitude.
Household item: Tape
Do a base coat, then, while it’s still tacky, apply tape diagonally to each nail, then paint the exposed part of the nail with the second color.
Peel off the tape and apply a top coat when the design is dry.
This is really easy to customize with holiday colors, pastels, or black and white.
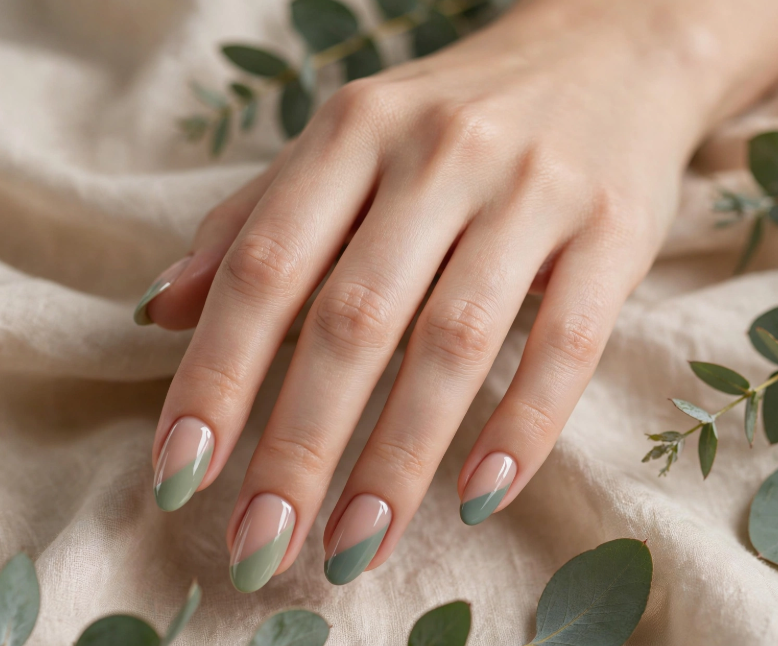
5. Sponge Ombre Nails
A makeup sponge can help you achieve the soft transition you typically see in more advanced nail techniques.
Household item: Makeup sponge
For easy nail art using household items, paint your nails with a light base shade and let it dry completely. Apply two or three coordinating polish colors next to each other on a small piece of makeup sponge.
Carefully dab the sponge over the nail with light dabbing motions. Repeat this until all colors are blended together.
Remove the polish around your skin with a cotton swab or small brush treated with remover, then finish with a top coat.
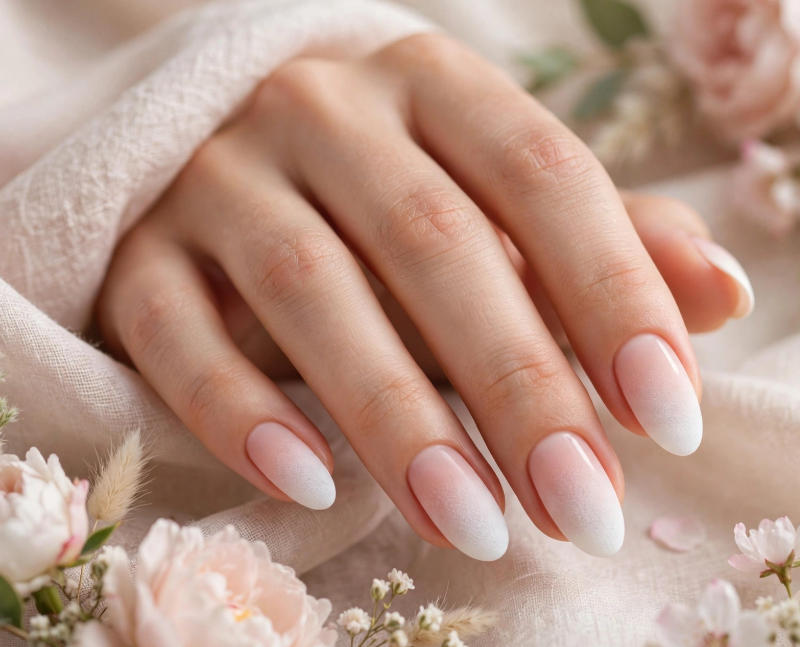
6. Glitter-Tipped Nails
A simple manicure can be transformed into a celebration without having to do anything too complicated.
Materials around the house: small makeup sponge.
Apply the color of your choice and allow it to dry. Dip the edge of a small makeup sponge in glitter polish and gently dab the ends of your nails.
Go slow and add more so that you can get the amount of glitter you want, rather than one big glob.
A clear top coat can also help to define the design.
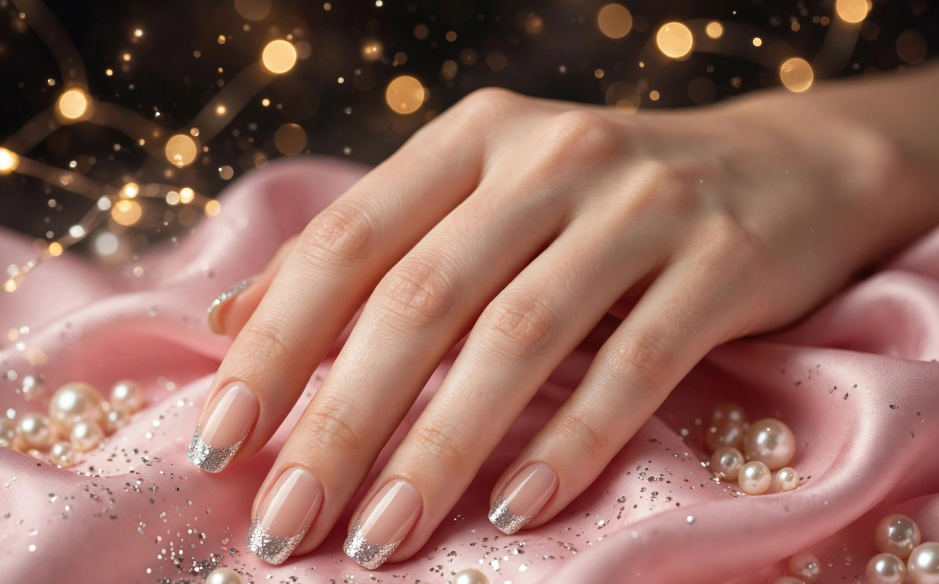
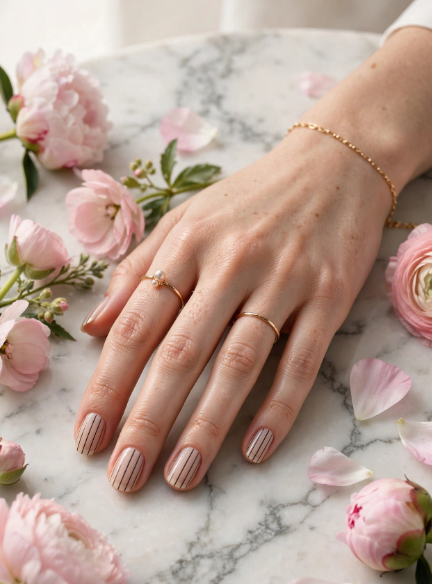
7. Minimalist Stripe Nails
How to do thin stripes on a plain manicure
Household items: Strip of tape or fine household brush
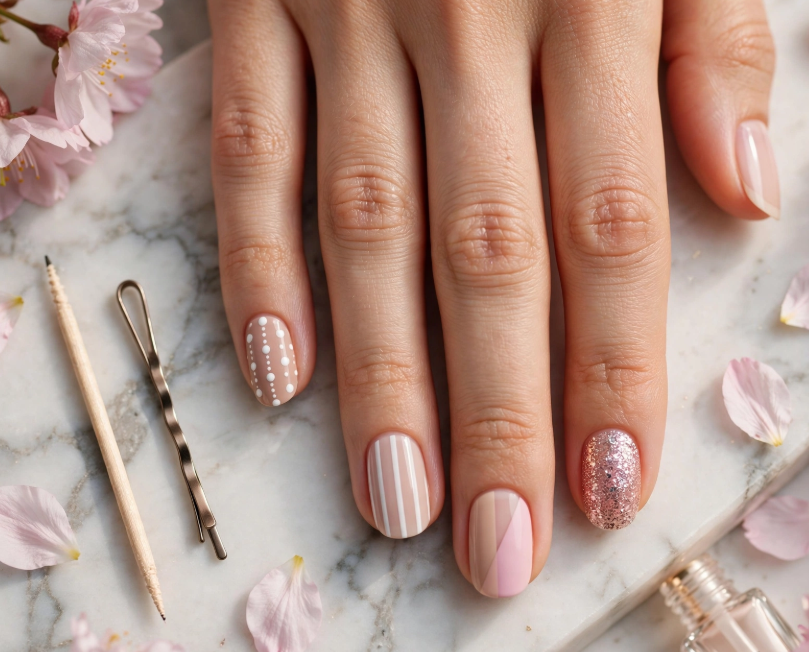
For simple nail art using household items, use small pieces of tape as guides to create one or more narrow stripes. Place the tape vertically or horizontally over a fully dried base color, then paint the exposed areas or use the tape to create a thin stripe. Carefully remove the tape and let the polish dry completely before applying a top coat.
Or use a small clean brush to paint some uneven free hand stripes.
8. Toothpick Swirl Nails
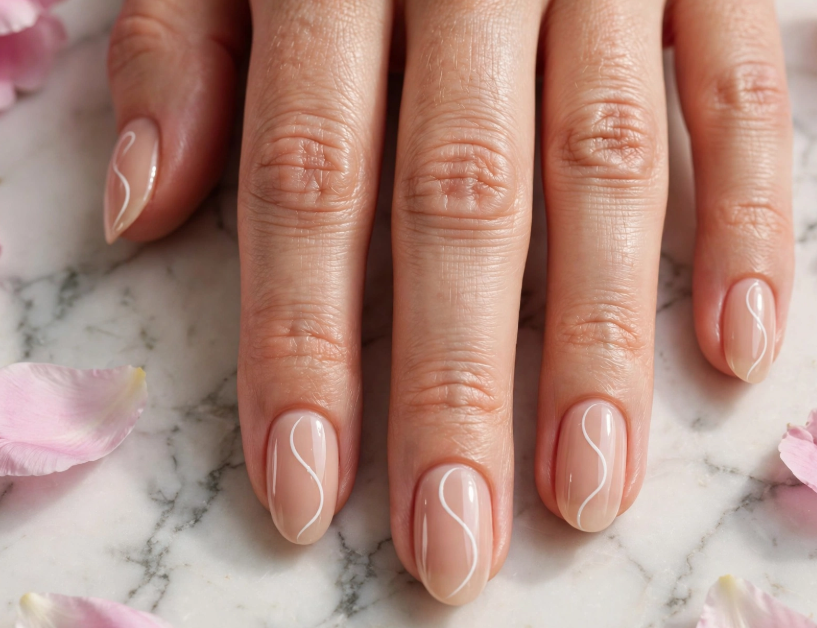
Do not fear imperfect swirls. In this case, beauty is in the eyes of the beholder.
Household item: Toothpick
Apply base color and let it dry. Paint another color polish only slightly (on a piece of cardboard, for example)
Make short streaks, S-shaped lines or loose spirals with a toothpick, leaving plenty of base color exposed so as not to clutter the design.
White swirls on a nude base will give a chic everyday manicure.
9. DIY French Tips With Tape
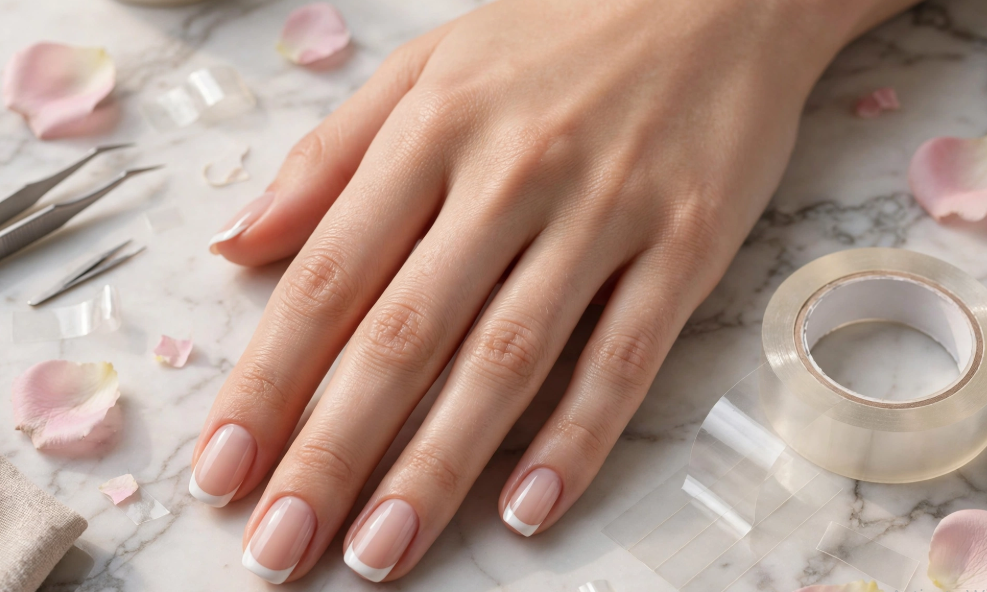
French tips are much easier when you don’t have to draw the curved edge freehand.
Household item: Clear tape
Paint your nails with a sheer nude, pink, or neutral base. Let it dry completely.
Place a small piece of tape near the free edge of the nail, leaving the tip exposed. Paint that exposed section white or another color. Remove the tape carefully and allow the design to dry.
You can also experiment with colorful French tips instead of traditional white.
10. Tiny Flower Nails
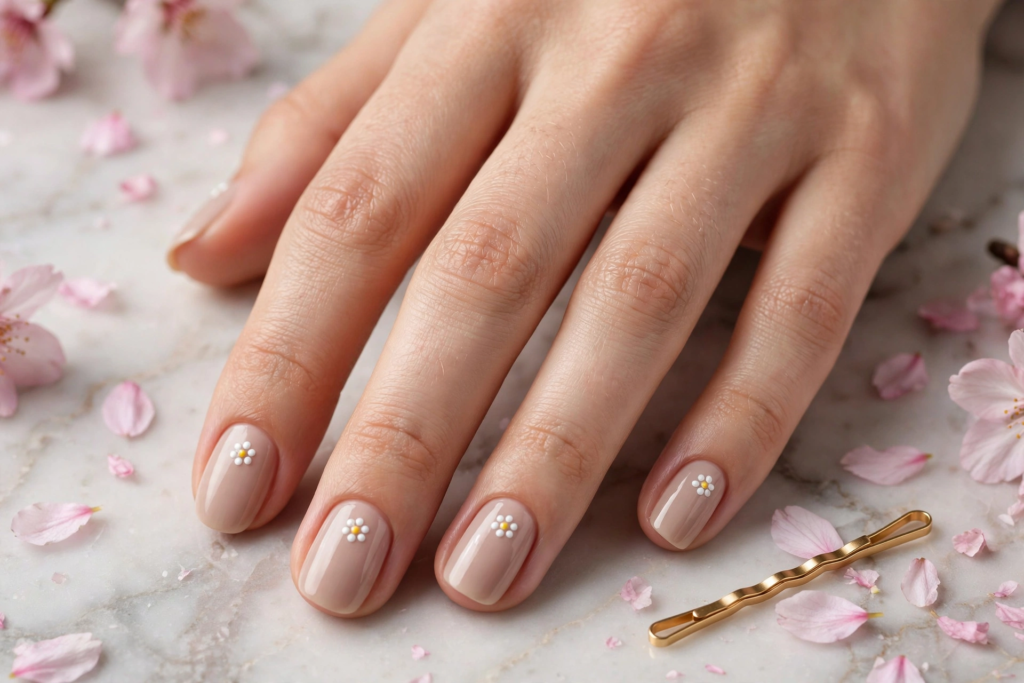
A few dots can make a simple flower. You don’t need a nail-art brush.
Household item: Bobby pin
Make a light base first. Dip the round end of a bobby pin into your flower color and make four or five dots in a circle.
Add a smaller, contrasting dot to the center.
Do this for every nail, or make a small flower on an accent nail if you’d rather play it down.
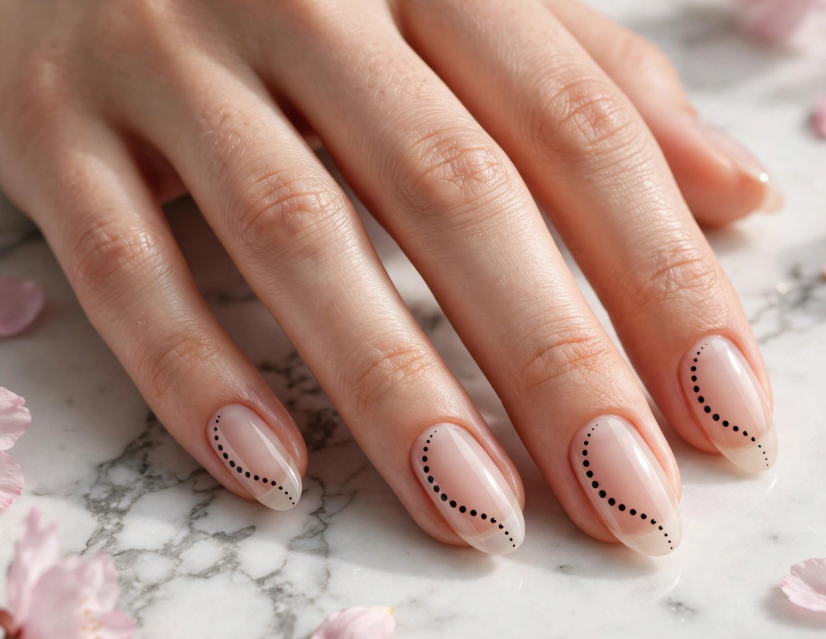
11. Negative-Space Dot Design
Negative-space nails are useful when you want something decorative without covering the entire nail.
Household item: Toothpick
Leave your natural or sheer base visible. Use a toothpick to place small dots along one side of the nail, creating a curved trail.
You can make the dots gradually smaller as they move toward the tip. The uneven spacing doesn’t have to be perfect—the variation is part of the design.
12. Marble-Inspired Nails
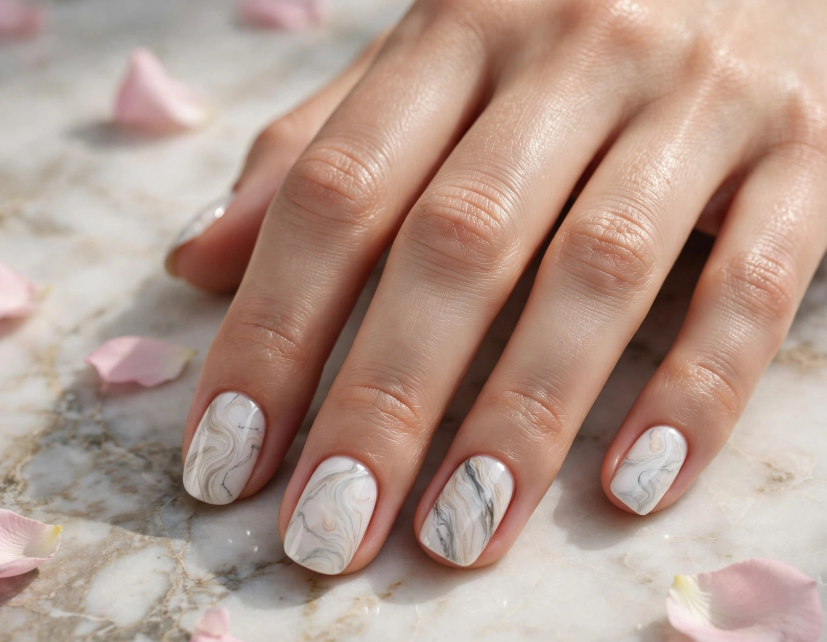
You can create a loose marble effect without a specialized nail-art tool.
Household item: Toothpick
Apply a light base color and let it dry. Add small drops or short lines of a contrasting shade while the base is ready for the next layer.
Before the polish sets, gently drag a toothpick through the lines to create irregular veins.
Keep the movement light. Too much dragging can muddy the colors.
For a softer result, use white with pale gray, beige with brown, or another pair of closely related shades.
13. Easy Half-and-Half Nails
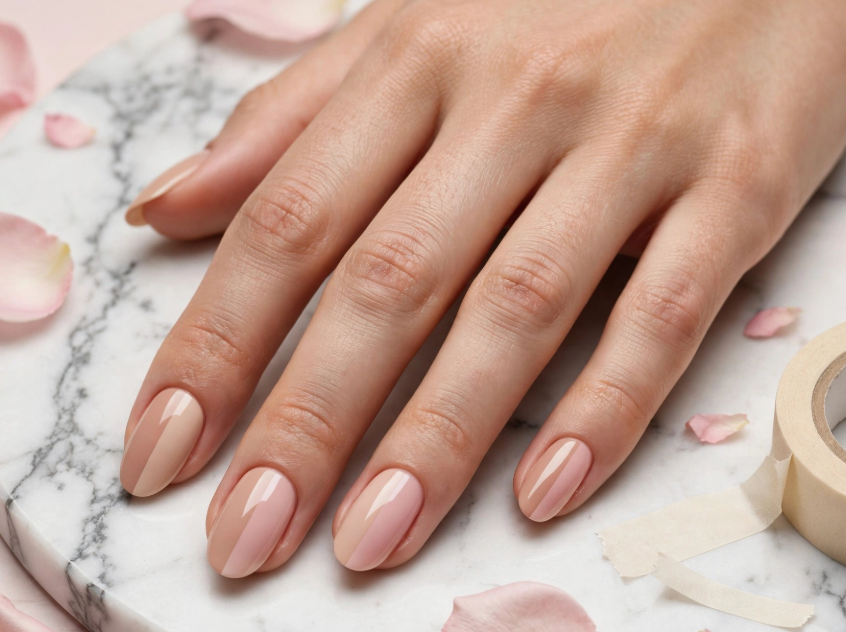
A half-and-half manicure is one of the simplest ways to make your nails look graphic and modern.
Household item: Tape
Paint the entire nail with your first color. After it dries, place tape down the center of the nail.
Paint the uncovered half with your second shade and carefully remove the tape.
For a cohesive manicure, use two shades from the same color family. For more contrast, combine colors such as black and white or pink and red.
14. Tiny Star Accent Nails
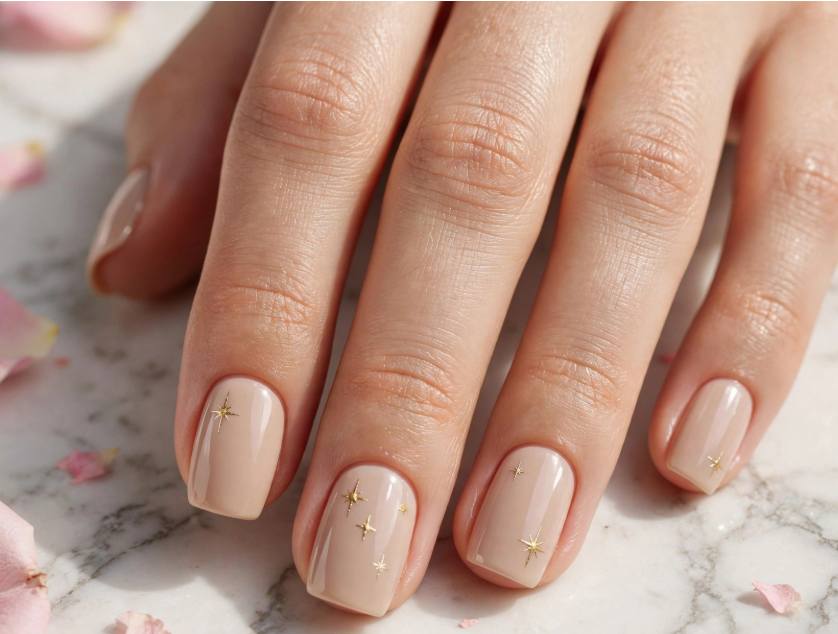
You don’t have to cover every nail with stars to get the effect.
Household item: Toothpick
Start with a solid base color. Use the tip of a toothpick to make several short strokes that meet in the center, forming a tiny star.
If drawing a complete star feels difficult, create simple four-point sparkle shapes instead. They require less precision and still give the manicure a celestial feel.
A nude base with white or gold accents keeps the design easy to wear.
15. Simple Confetti Nails
This is one of the easiest nail-art ideas when you want lots of color without complicated drawing.
Household item: Toothpick
Paint your nails with a neutral or bright base. Use a toothpick to place tiny dots or short strokes in several colors.
Scatter them randomly across the nail rather than trying to make a precise pattern.
You can use two colors for a coordinated look or several shades for a colorful party-inspired manicure.
For more beginner-friendly nail inspiration and simple techniques, explore these easy nail art ideas from Byrdie.
What Is the Easiest Nail Art for Beginners?
If you’re completely new to nail art, start with polka dots, simple stripes, color blocking, or a glitter accent. These designs don’t require you to draw complicated shapes, and small imperfections are less noticeable.
A toothpick and bobby pin are particularly useful starting points because they can create different dot sizes without requiring specialized equipment.
Once you’re comfortable with dots and straight sections, move on to swirls, flowers, hearts, or simple French tips.
What Can Replace a Nail-Art Brush or Dotting Tool?
You can replace a dotting tool with the rounded end of a bobby pin or use a toothpick for smaller dots.
For straight lines, tape can act as a guide. A clean small brush can also work for freehand details, while a makeup sponge is useful for blended effects such as ombré.
The best substitute depends on the design you’re trying to create. You don’t need one household item to perform every technique.
Can You Do Nail Art With Regular Polish?
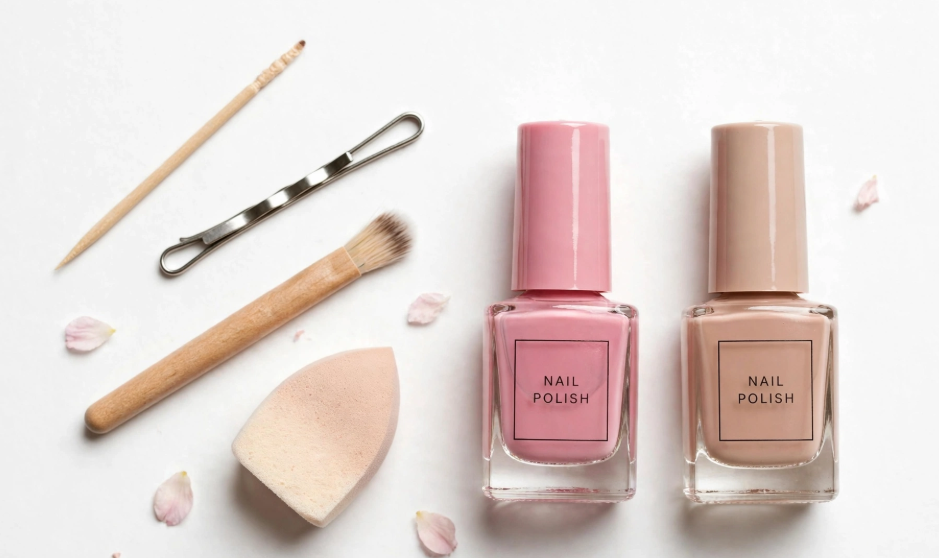
Yes. Many simple nail-art designs can be created with regular nail polish, especially dots, stripes, color blocking, French tips, and simple accent designs.
The most important part is allowing each layer enough time to dry before adding another design element. A final top coat can help protect the finished manicure.
If you’re using regular polish, avoid adding thick layers because they can take longer to dry and may smudge more easily.
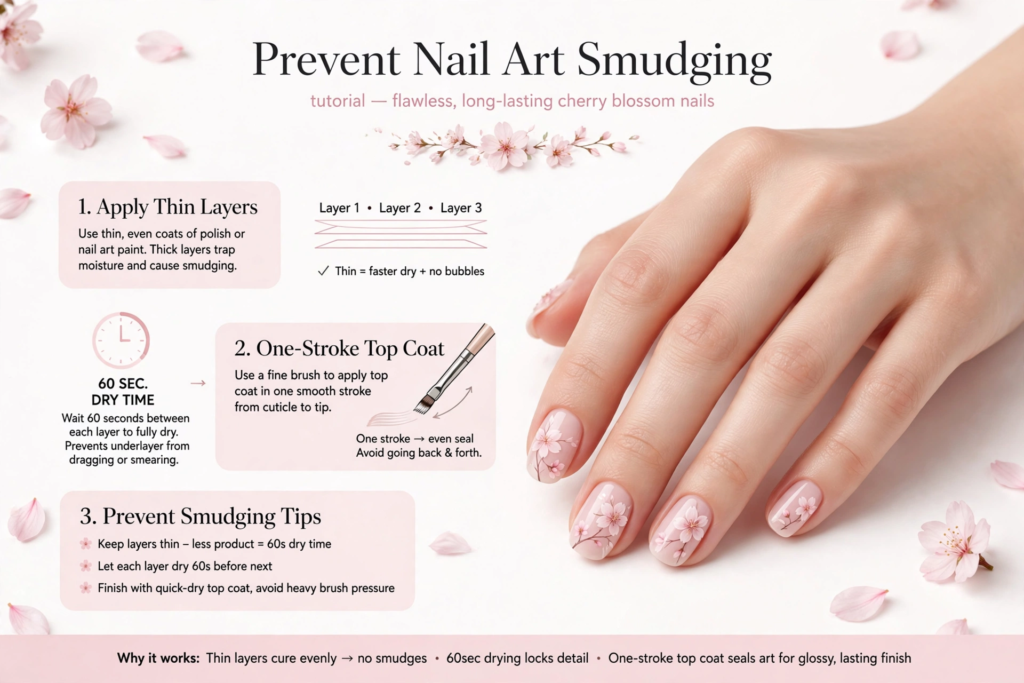
How Do You Prevent Nail Art From Smudging?
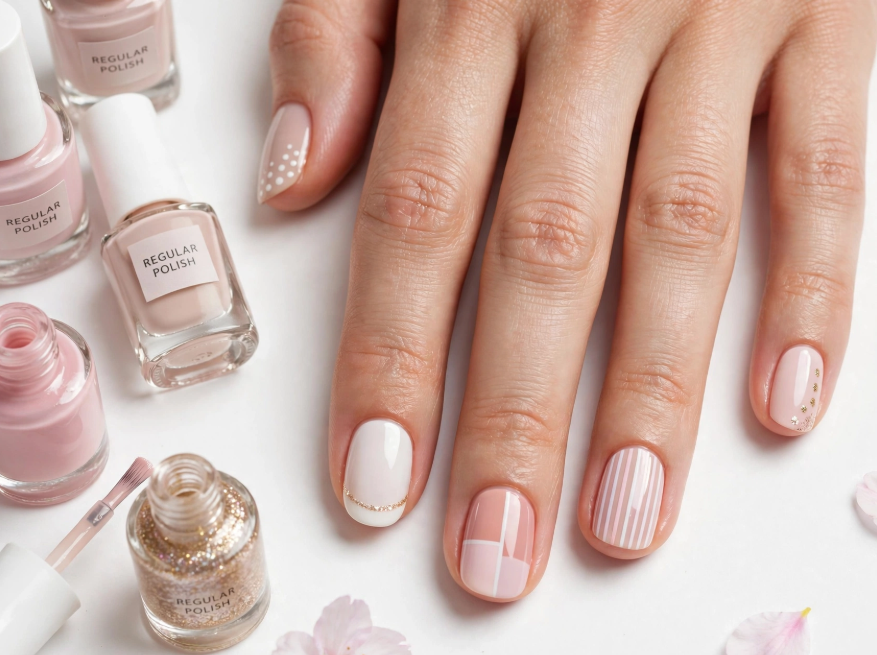
Give each layer enough time to dry before moving on to the next step. This is particularly important when you’re using tape or adding small details over a base color.
When you’re finished, apply top coat carefully rather than repeatedly brushing over the same area.
If a design becomes slightly uneven, don’t immediately try to fix it while the polish is wet. Letting the layer settle first can prevent accidentally dragging the surrounding color.
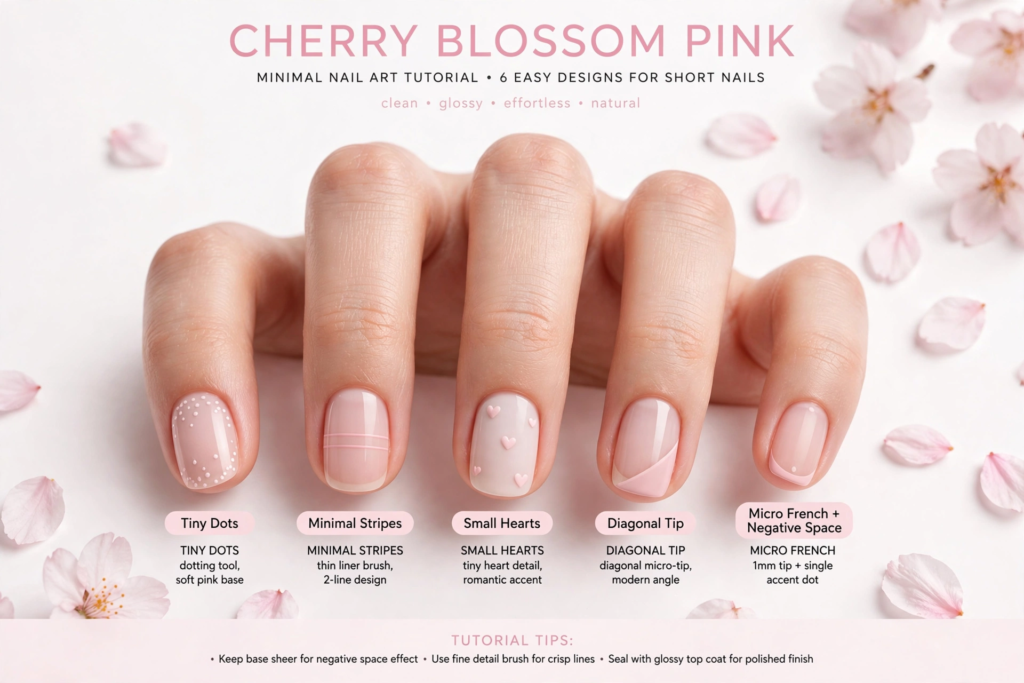
What Nail Designs Work Well on Short Nails?
Short nails can handle plenty of simple designs. Tiny dots, minimalist stripes, small hearts, diagonal tips, French tips, and single accent details are all easy options.
For short nails, keeping the design relatively small and leaving some negative space can help prevent the manicure from looking crowded.
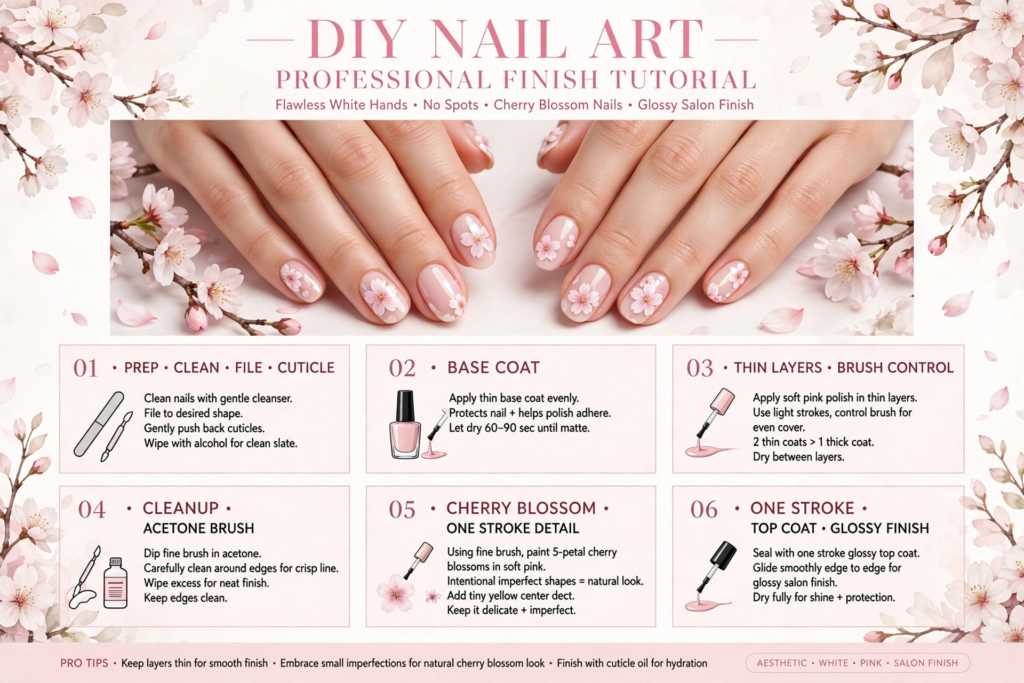
How Can You Make DIY Nail Art Look More Professional?
The biggest difference often comes from preparation rather than complicated artwork.
Start with clean nails and apply your base color evenly. Keep the amount of polish on your brush controlled, allow layers to dry, and clean up any polish that lands around the skin.
Most importantly, don’t try to make every design perfectly identical. Simple, intentional shapes can look polished even when they’re slightly different from one nail to the next.
Final Thoughts
You don’t need professional equipment to experiment with nail art at home. A toothpick, bobby pin, tape, makeup sponge, or small brush can open up plenty of simple design possibilities.
Start with an easy technique such as dots or color blocking, then work your way toward swirls, flowers, French tips, and blended designs as your confidence grows.
The best part of nail art using household items is that you can experiment with colors and patterns without investing in a complete nail-art kit. Sometimes the simplest tools are enough to create a manicure that feels completely your own.
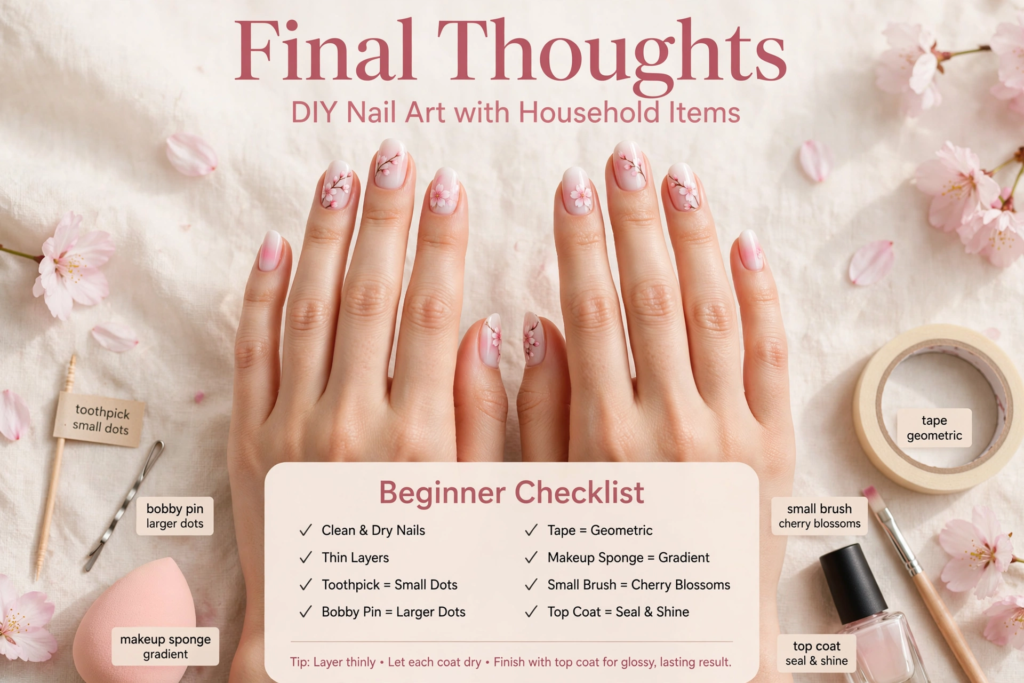
Quick beginner checklist
- Start with clean, dry nails.
- Use thin layers of polish.
- Let the base color dry before adding details.
- Use a toothpick for tiny details and dots.
- Use a bobby pin for larger dots.
- Use tape for clean geometric sections.
- Use a makeup sponge for gradients.
- Keep cotton swabs and remover nearby for cleanup.
- Finish with a top coat.
- Start simple and practice before attempting more detailed designs.
Frequently Asked Questions
What household items can I use for nail art?
You can use everyday items such as toothpicks, bobby pins, clear tape, makeup sponges, cotton swabs, and small clean brushes. Each can help create different effects, from dots and lines to gradients and geometric patterns.
How do you do nail art without tools?
Start with simple designs using items you already have at home. A toothpick can create tiny dots and details, while tape can help make straight lines and clean color-blocked sections.
Can I use a toothpick for nail art?
Yes. A toothpick works well for small dots, hearts, swirls, stars, and other fine details. Use a light touch so you don’t scratch the nail underneath the polish.
What can I use instead of a nail dotting tool?
A bobby pin is a convenient substitute for a dotting tool. Its rounded end can create larger dots, while a toothpick can make smaller ones.
Can you do nail art with regular polish?
Yes. Regular nail polish works for many beginner-friendly designs, including dots, stripes, French tips, hearts, color blocking, and simple flowers. Allow each layer to dry before adding the next.
What is the easiest nail art for beginners?
Polka dots, simple stripes, glitter tips, and two-tone designs are among the easiest options for beginners because they don’t require advanced drawing skills.
How do you make nail art last longer?
Start with clean nails, apply thin layers, allow each layer to dry properly, and finish with a top coat. Avoid applying very thick layers of polish, which can take longer to dry and may smudge.