




If you love creating artistic manicures, you’ll love Mosaic Nail Designs! Inspired by stained-glass windows, geometric shapes, and intricate patterns, these nails turn your manicure into a miniature work of art. Using a variety of shapes and colors creates a beautiful, eye-catching finish.
The best thing about mosaic nail art is that they are very customizable. Go all out with bright jewel tones and gold outlines, opt for a pastel look or go abstract with colour blocks. You can also get a more subtle look by having just a few mosaic nails.
Whether you have short natural nails or long almond extensions, there are 15 ideas below to inspire you for your next manicure.
For more fun and colorful manicure inspiration, check out 15 Tiny Fruit Nail Designs for a Playful Manicure.
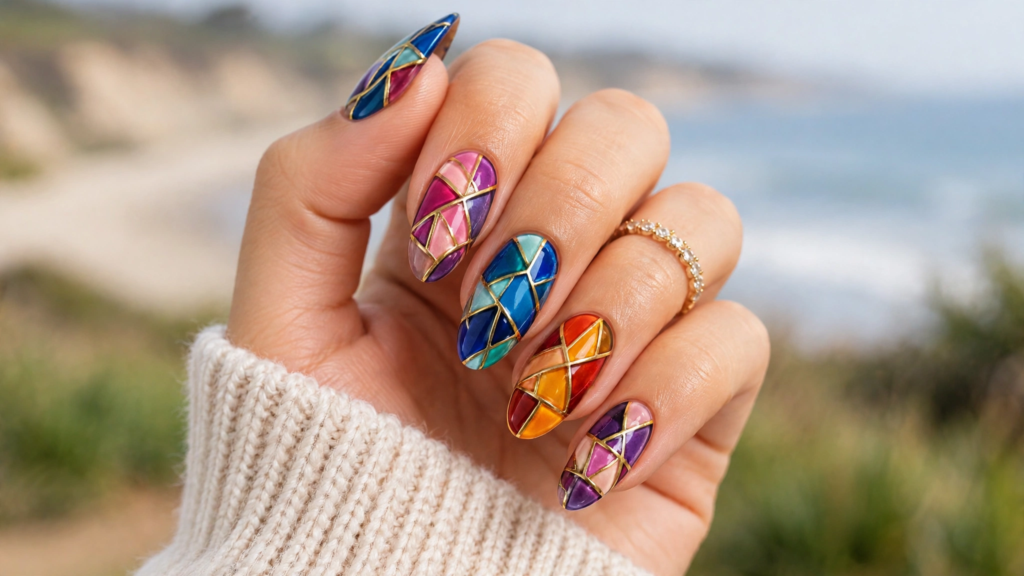
15 Mosaic Nail Designs to Inspire Your Next Manicure
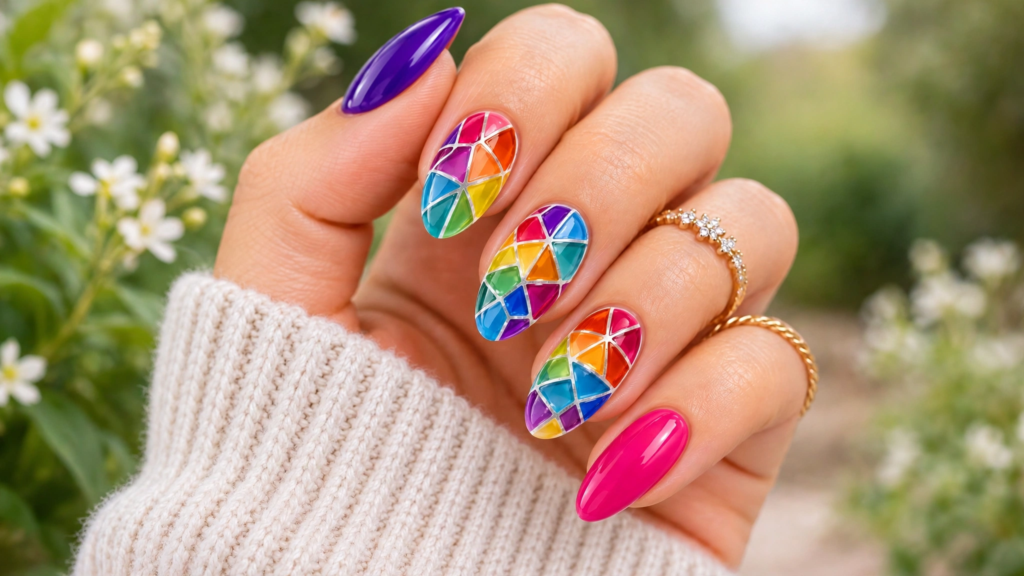
1. Colorful Stained Glass Mosaic Nail Designs
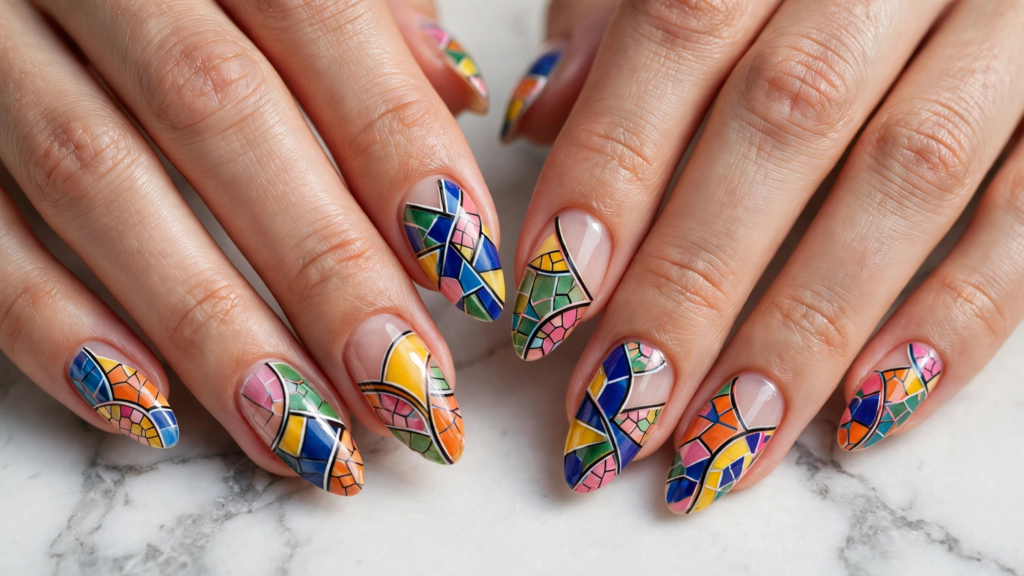
Add some colour to your manicure by using pretty mosaic shapes in a range of colours separated by fine black lines. This will give you an artistic look with lots of colour.
Use a combination of ruby red, sapphire blue, emerald green, bright yellow and purple. Ask your nail artist to apply random geometric shapes which have been outlined in thin black lines.
To give a glass effect, use either transparent or jelly polishes.
Pro Tip: Almond and coffin shaped nails create a beautiful base for this detailed design. Smaller shapes can still look wonderful on shorter nails too!
If you love elegant metallic details, explore our 15 Blue and Silver Nail Designs for a Chic, Shimmery Manicure for more nail inspiration.
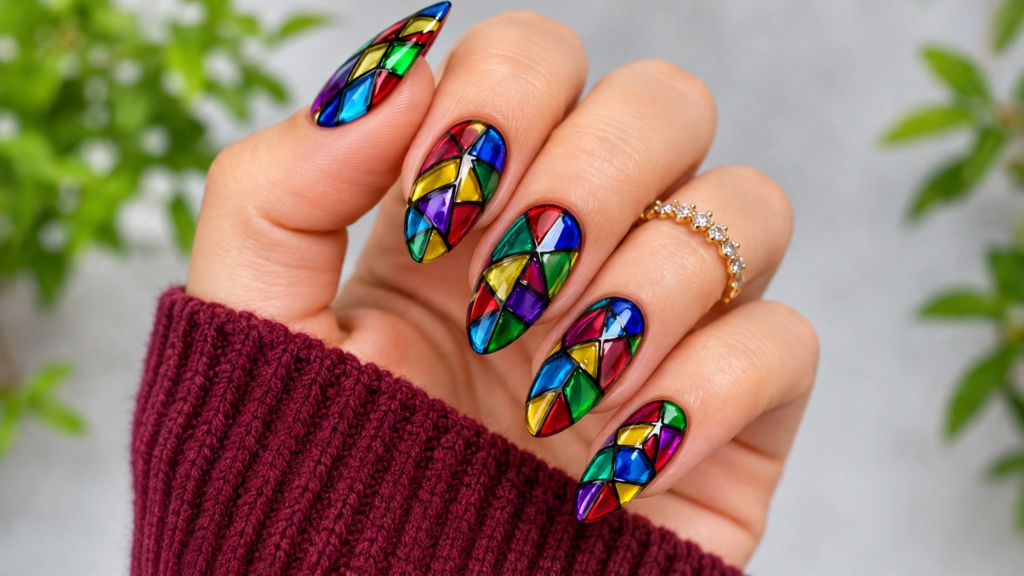
2. Gold Foil Mosaic Nails
Gold foil can be used to create a glamour finish for mosaic design nailing. The metallic details will help define the sections and create a chic manicure.
Begin with a neutral base (nude, milky pink, sheer beige). Add small geometric shapes on your nails using colours like burgundy, emerald green, dusty pink and cream. Finally add some gold foil to create a delicate mosaic tile effect.
You can use the gold detail on all your nails or just two fingers.
Pro tip: This design works best with almond nails and delicate gold rings to complete the look.
For more elegant inspiration, explore these [15 Long Almond Nail Designs for a Feminine Look].
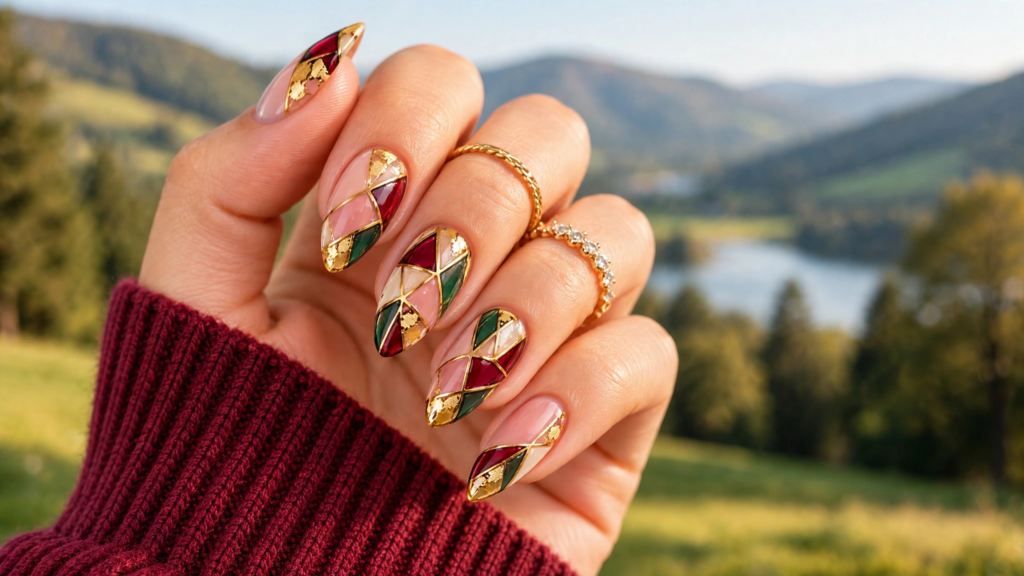
3. Pastel Mosaic Nail Art
If you want to go for a more subtle look then you can create pastel mosaic nails which are still very characterful.
Mix together baby pink, lavender, powder blue, mint green and pale yellow. Spread these out into little triangular shapes, curves and random shapes over a sheer white or nude base.
To give them a soft feel add a thin white line between each colour.
Style Tip: This look works particularly well on short oval, square with rounded edges and almond shapes.
If you love shiny manicures, explore these 10 New Year’s Eve Chrome Nail Designs That Shine at Midnight for more sparkling inspiration.
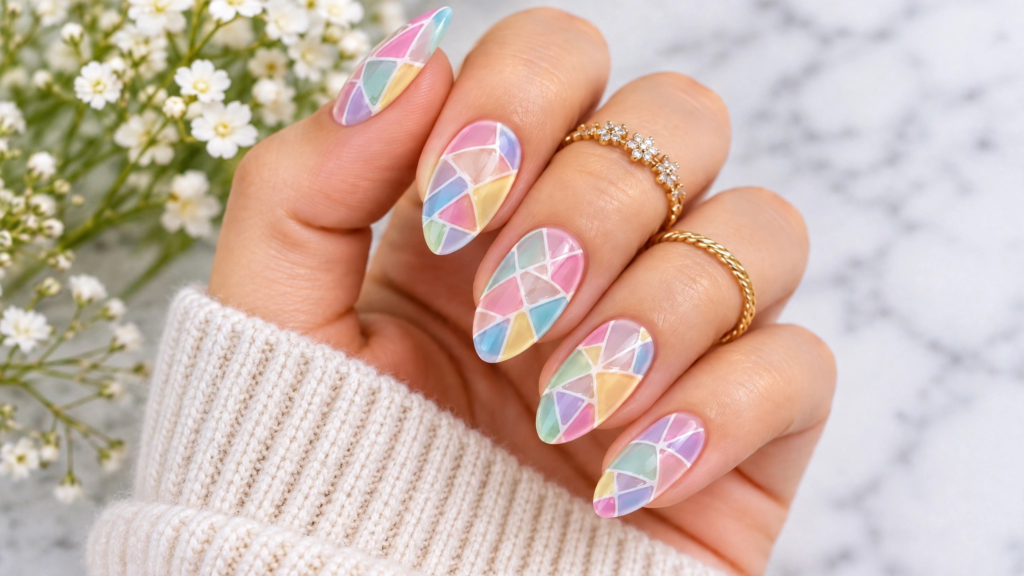
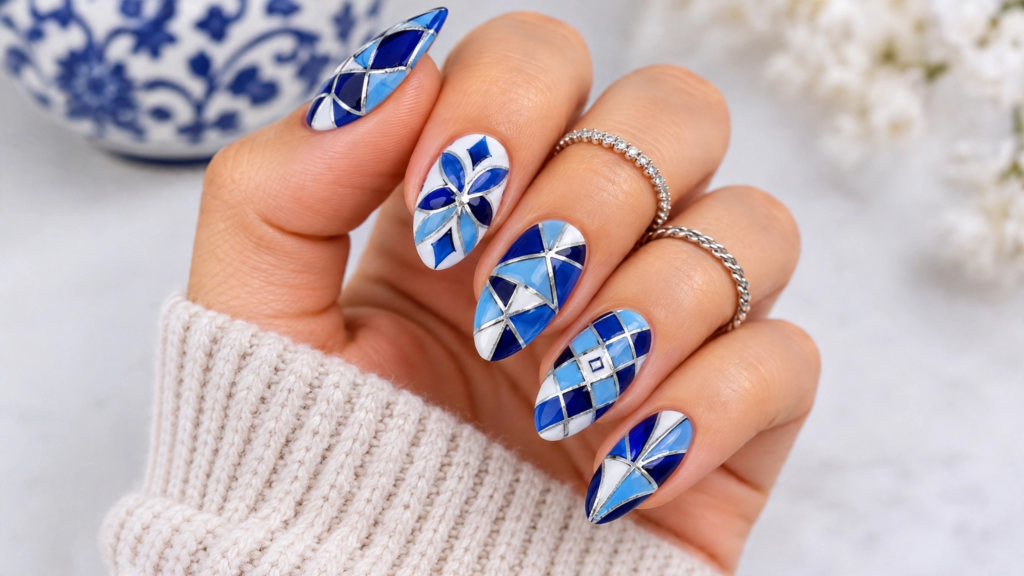
4. Blue and White Geometric Mosaic Nail Designs
A lovely mix of blue and white will give you an artistic manicure inspired by ornate tile. This manicure has a really clean look and uses contrasting colours to give a modern yet classic look.
Ask your nail artist to use a mix of triangles, diamonds and uneven squares using your choice of cobalt, navy, sky blue and white.
To give some extra detail you could ask to have some thin silver lines through the design.
Styling tip: Keep the patterns slightly different on each finger so the manicure looks like a coordinated collection of decorative tiles rather than a repeated print.
5. Rainbow Mosaic Nails
This is a fun way to try out a variety of colours if you like colour in your manicures!
Create small shapes using coral, orange, yellow, green, turquoise, blue and purple. These can be random or in an ombre effect going around your nails.
The colours will look vibrant when you have a clear or cloudy base. Then use thin white or silver lines to outline each shape.
Leave one or two nails plain in a simple solid colour that goes with the rest of your manicure for an interesting finish!
Styling tip: This design is ideal if you want something playful, expressive, and eye-catching.
If you’re looking for more elegant manicure inspiration for special occasions, explore these 12 Elegant Graduation Nail Designs for a Beautiful Big Day for beautiful and stylish nail ideas.
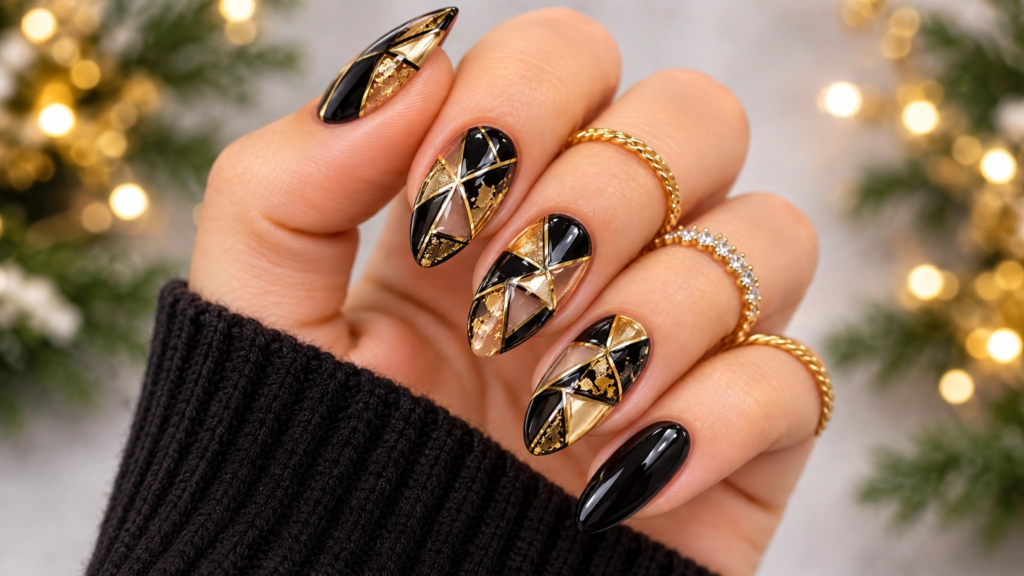
6. Black and Gold Mosaic Nails
This is a bold combination of black and gold, giving your mosaics an elegant look.
Start by applying a glossy black base. Then paint some freehand gold, bronze and champagne coloured areas. Use a thin liner brush to paint fine lines of gold.
To give it extra depth, you could also include some clear areas and small bits of metallic flecks.
Apply a full mosaic design to all your nails or add 2 detailed accent nails and leave the rest of your fingers with a solid black polish.
Styling tip: This manicure looks beautiful on medium-to-long almond, coffin, and square nails.
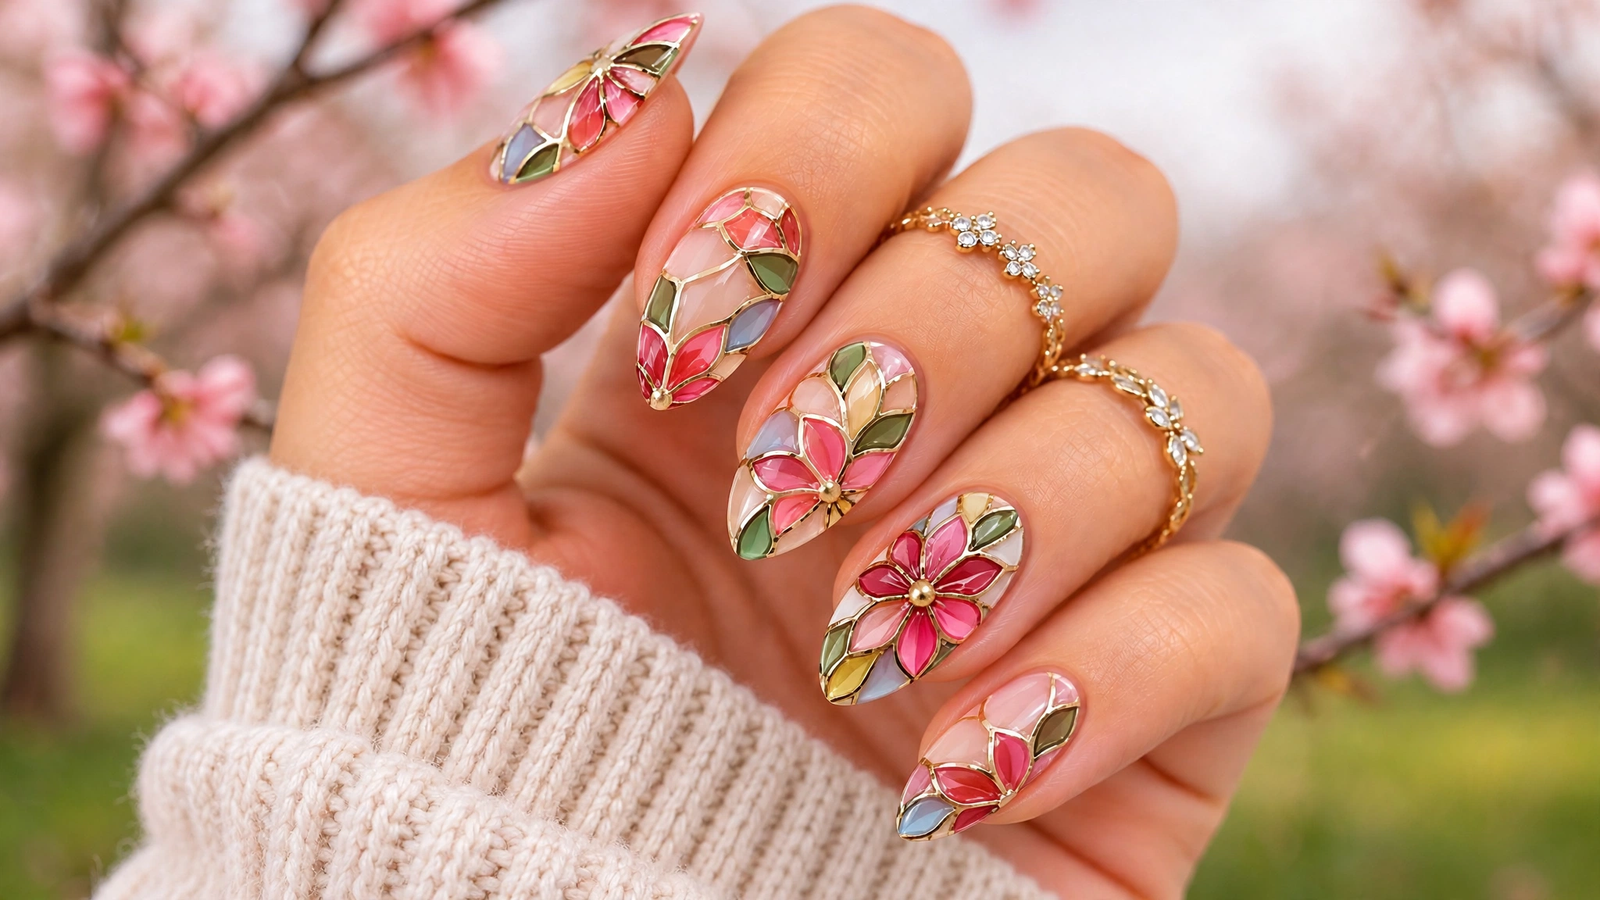
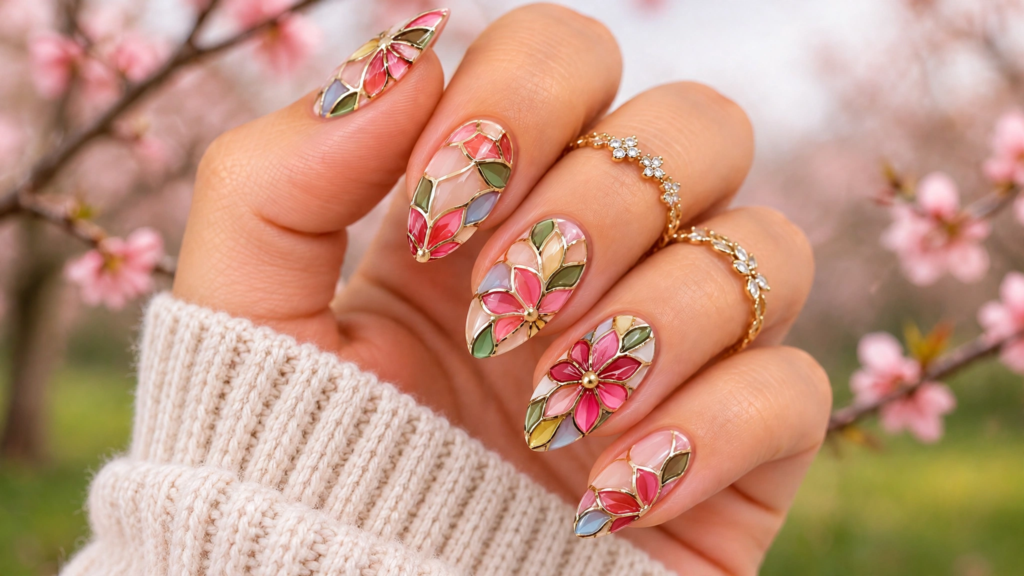
7. Floral Mosaic Nail Designs
This manicure blends beautiful floral designs with bright mosaic shapes.
Apply a pale pink, ivory or pale lavender base and top with tiny floral petals of blush pink, coral and soft red. Then add geometric shapes in green, yellow and pale blue.
Using fine lines of gold or dark colour will help to create clear outlines and a pretty stained glass effect.
Create one full flower design on your accent nail and use the smaller petal shapes on the rest of your nails.
Styling tip: Floral mosaic designs work especially well on almond-shaped nails when you want a feminine manicure with plenty of detail.
If you love warm, neutral manicures, explore these 15 Caramel Nude Nail Designs for a Warm, Elegant Look for more beautiful nail inspiration.
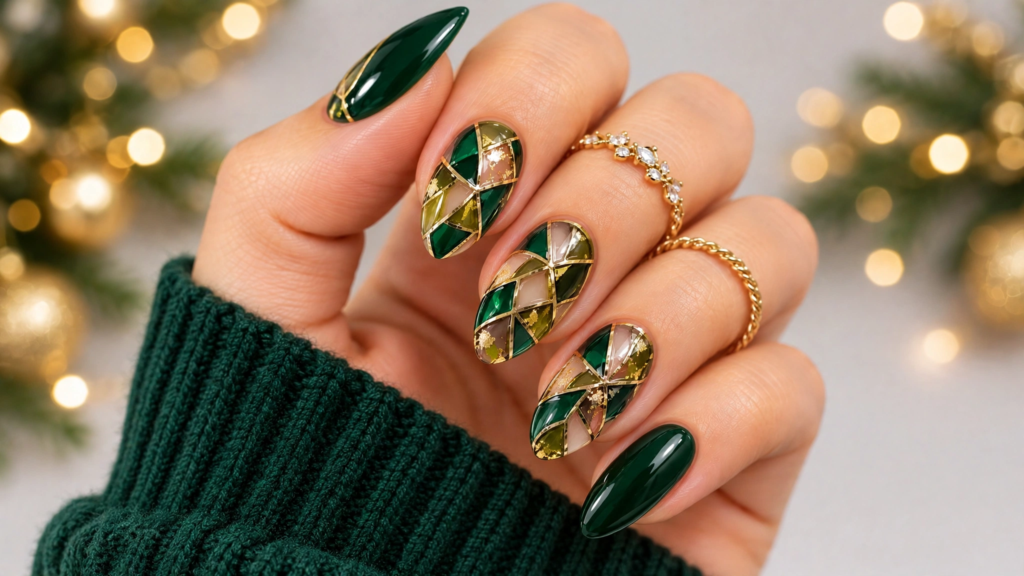
8. Emerald Green and Gold Mosaic Nails
An emerald green and gold palette will give your mosaic nails a rich, luxurious feel.
Use your deep emerald, forest green and some transparent olive polish to build up different areas. Finish with thin lines of gold to imitate the intricate detail of mosaic art.
To add more dimension to your design, add a few small pieces of gold foil.
The intricate design can be balanced by using an emerald solid nail.
Styling tip: This design is a lovely choice for holiday celebrations, evening events, and anyone who enjoys deeper jewel-tone manicures.
9. Mosaic French Tip Nails
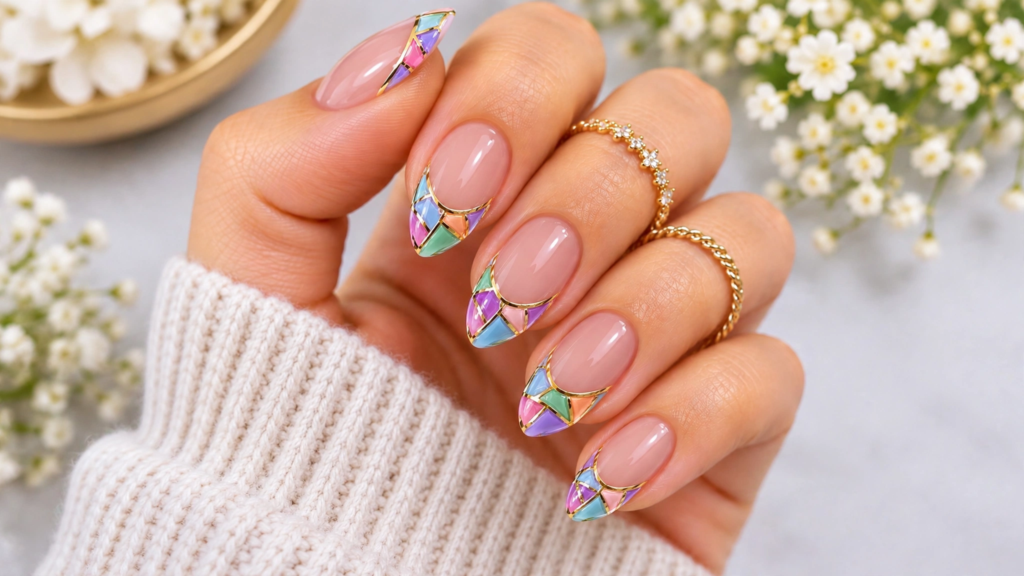
Add an artistic twist to your classic French manicure using mosaic tips.
Instead of one solid line, break up the tip area into small segments of colour. Try using a range of pastel colours such as pink, lavender, blue, peach and mint.
Leave the base of the nails a clear pink or nude so that the intricate tip design is the standout part. You could also add a very thin gold border along the edges.
A fun way to add some creativity to your classic French tips without completely covering the nail in art.
Styling tip: Short almond and medium square nails are both lovely options for this manicure.
10. Nude and Gold Minimalist Mosaic Nails
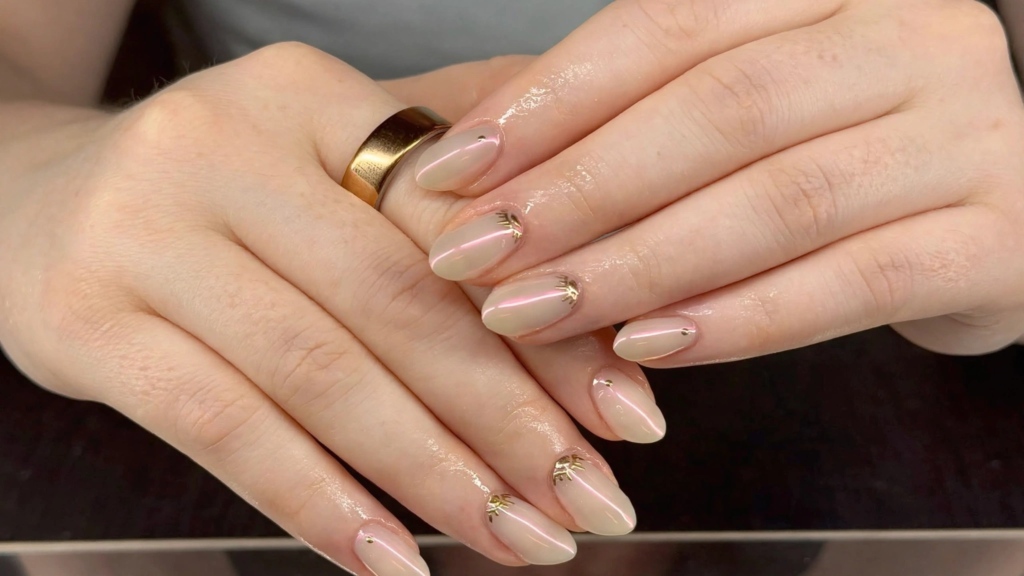
For a demure look, you can use a neutral mosaic manicure.
Apply a pale beige, creamy nude or gentle pink. You can add a few small shapes in cream, taupe and champagne, then use fine gold outlines on some areas to give a mosaic effect.
You won’t have to do a detailed design on every nail. Just add one area of detail on the tip or side of each nail.
Styling tip: This is a beautiful choice for everyday wear, office-friendly manicures, and anyone who prefers elegant nail art over bright colors.
11. Purple and Silver Mosaic Nails
A beautiful combination of purple and silver will give you a modern, eye-catching mosaic.
Combine shades of lavender, plum, lilac and deep violet into various geometric shapes. Add a silver border between each of the sections.
If you want a subtle finish, use a pale lavender as a base and only use the darker shades for small sections. Or go bold and use a dark purple with chrome silver.
Apply a glossy top coat to blend all the colours and give your final design a smooth finish.
Styling tip: Add a little silver shimmer to one accent nail if you want extra sparkle without making the entire manicure too busy.

12. Abstract Multicolor Mosaic Nails
Abstract mosaic nails are perfect for anyone who enjoys unusual patterns and creative color combinations.
Instead of following a regular tile arrangement, use irregular shapes, curved sections, and angular color blocks. Try combining orange, pink, cobalt blue, yellow, and green over a neutral or transparent base.
The key is to create a balanced arrangement. Let some sections remain larger while adding smaller shapes between them to give the manicure a natural artistic appearance.
You can use black, white, or contrasting colored outlines depending on how bold you want the finished design to look.
Styling tip: Keep the color palette consistent across your hands, but let each nail have its own arrangement for a more individual finish.
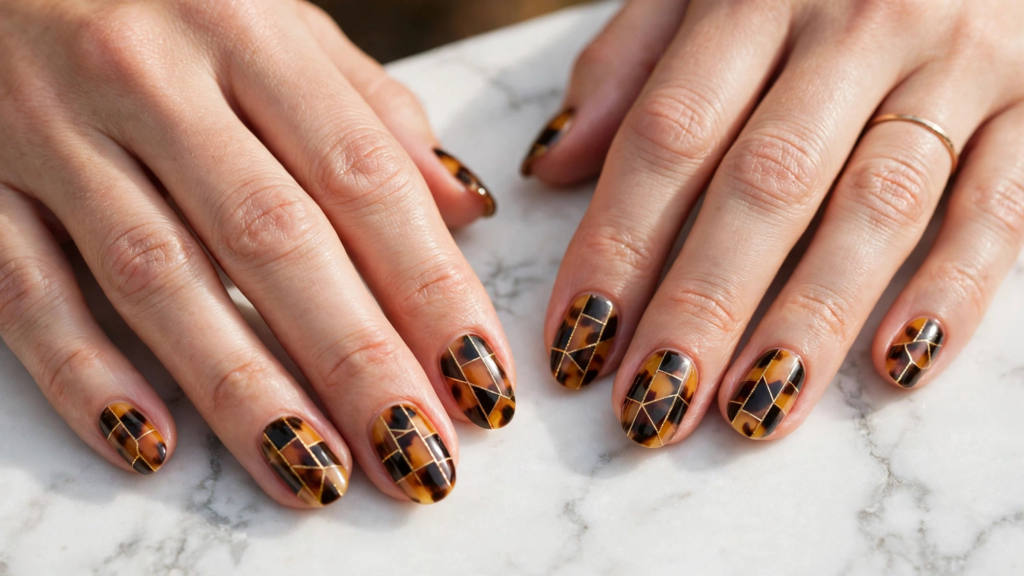
13. Tortoiseshell Mosaic Nails
For something more sophisticated, combine the appearance of tortoiseshell patterns with geometric mosaic detailing.
Choose caramel, amber, chocolate brown, and translucent black to create overlapping sections. Instead of using traditional irregular tortoiseshell patches alone, divide the nail into smaller decorative panels.
A few fine gold lines can separate the sections and give the design a more structured appearance.
The warm color palette makes this manicure especially attractive for fall, although it can also work beautifully throughout the year.
Styling tip: Medium almond and oval nails complement the warm tones and help the detailed pattern stand out.
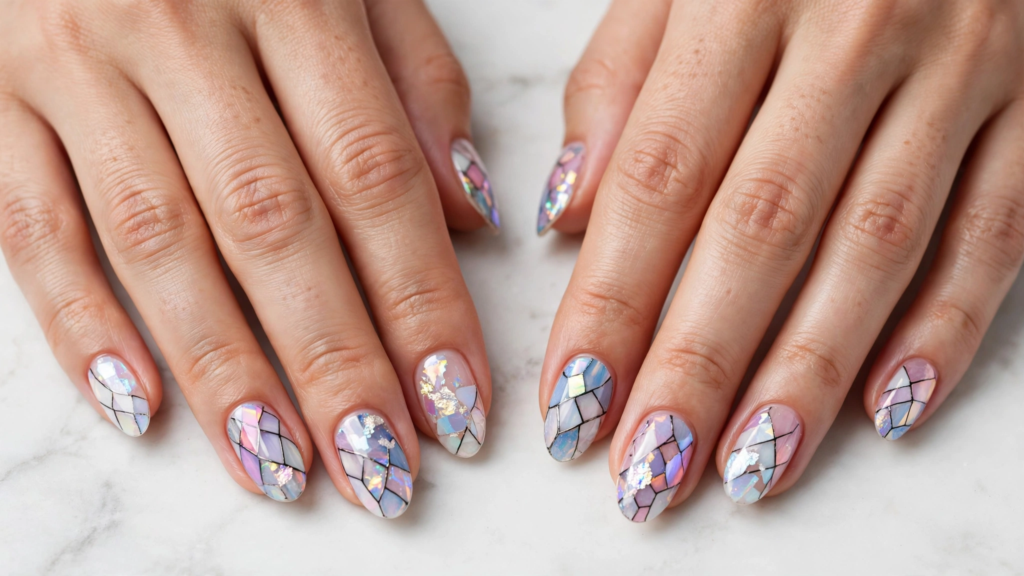
14. Iridescent Glass Mosaic Nails
If you love glossy and light-catching manicures, iridescent mosaic nails are a beautiful option.
Use translucent pink, icy blue, pale lavender, and pearly white to create sections that reflect different colors under the light. Add small pieces of iridescent foil or reflective nail flakes to introduce a glass-like effect.
Keep the outlines delicate so the translucent colors remain visible. A smooth, glossy finish will help bring the entire design together.
For a more understated variation, use the iridescent detailing on just two nails and leave the remaining fingers with a sheer pearly finish.
Styling tip: This design is particularly pretty for spring and summer manicures when you want something fresh, luminous, and artistic.
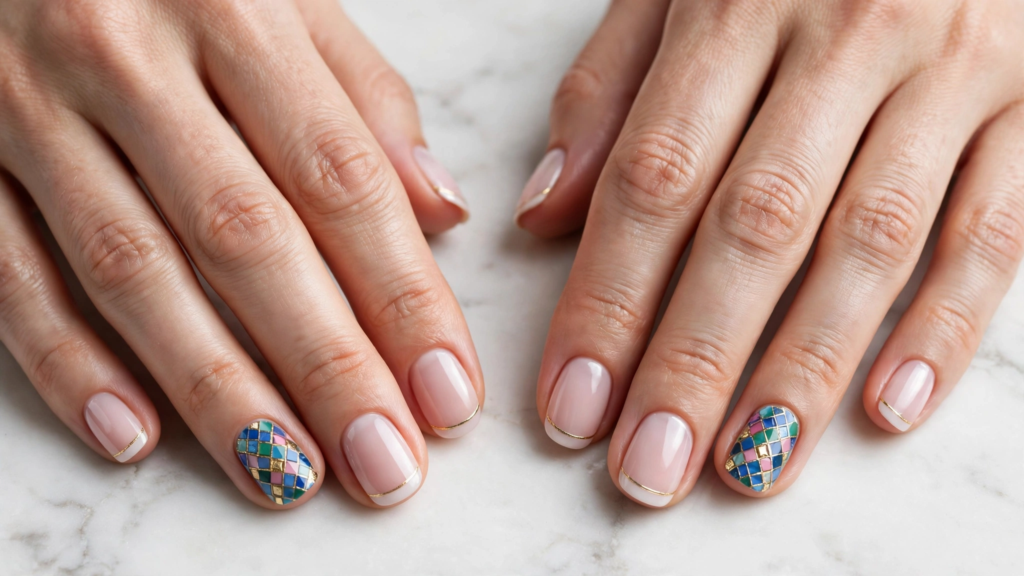
15. Mosaic Accent Nail Designs
You don’t have to cover all ten nails with intricate patterns to enjoy a mosaic manicure. Accent nail designs are a simple way to introduce artistic detailing while keeping the rest of your manicure clean and balanced.
Choose a neutral base such as blush pink, beige, or milky white. Create a colorful mosaic pattern on your ring fingers using small sections of blue, green, pink, and gold.
Keep the other nails in a matching solid shade or add a delicate metallic line near the tips.
This approach gives you the beauty of detailed nail art without making the overall look too elaborate.
Styling tip: Accent designs are especially suitable for short nails and anyone trying mosaic nail art for the first time.
Tips for Choosing and Creating Mosaic Nail Art
Mosaic patterns can look very different depending on the colors, shapes, and finishes you choose. A little planning can help you get a manicure that looks coordinated rather than overcrowded.
Choose a Balanced Color Palette
Start by selecting three to five coordinating shades. You can choose contrasting colors for a bold design or similar shades for a softer effect.
Some beautiful combinations include:
- Emerald, burgundy, and gold for a luxurious look.
- Lavender, pink, and baby blue for a pastel manicure.
- Cobalt, navy, and white for a crisp geometric effect.
- Caramel, amber, and chocolate brown for a warm design.
- Black, silver, and clear polish for a modern finish.
Select a Nail Shape That Suits the Pattern
The nail shape can influence how your mosaic artwork looks.
- Almond: Offers an elegant surface for flowing and detailed patterns.
- Square: Works well with geometric blocks and straight outlines.
- Coffin: Provides more room for elaborate artwork.
- Oval: Creates a softer appearance for floral and pastel designs.
- Short rounded: Works best with smaller patterns or a few accent details.
You don’t need long extensions to enjoy this manicure. Simply adjust the size and number of decorative sections to suit your natural nail length.
Use Thin Outlines for a Defined Finish
The outlines are an important part of mosaic nail art because they separate the individual shapes.
A fine liner brush can help create delicate borders using black, white, gold, or silver polish. Keep the lines relatively consistent so the pattern looks intentional.
If you’re attempting a stained-glass design, translucent colors with dark outlines can help create the appearance of colored glass panels.
Decide Between DIY and Salon Nail Art
Simple mosaic designs can be attempted at home using regular nail polish, a fine nail-art brush, and a steady hand.
For more intricate patterns, a professional nail technician may be a better option, especially when working with detailed geometric shapes, chrome effects, or layered gel designs.
If you’re trying the look yourself, start with a few large sections instead of painting many tiny shapes at once.
You can also explore Sally Hansen’s stained-glass nail art tutorial for inspiration on layering sheer color, outlining the sections, and finishing the manicure.
Keep the Surface Smooth
Mosaic nail art often includes several colors and decorative details. A suitable finishing top coat helps seal the design and create an even, glossy surface.
If you’re using gel products, follow the manufacturer’s curing instructions. Avoid applying excessive layers of gel or allowing uncured product to contact your skin.
For heavily textured embellishments, ask your nail technician how they will secure and smooth the finished design.
Conclusion
Mosaic nail designs are a beautiful way to bring creativity and personality to your manicure. From colorful stained-glass patterns and metallic gold details to soft pastel shapes and elegant accent nails, there are plenty of ways to make this artistic style your own.
Choose a design that matches your favorite colors and nail shape, or ask your nail technician to combine a few ideas for a personalized look. Whether you prefer something bold or subtle, mosaic nail art can turn an ordinary manicure into a little work of art.
Frequently Asked Questions
Mosaic nail designs are manicures featuring small geometric shapes, colorful sections, and decorative outlines arranged to create a tile-inspired pattern. They can include stained-glass effects, metallic details, abstract shapes, and contrasting colors.
Yes! Short nails can look beautiful with mosaic artwork. Choose smaller patterns, fewer colors, or one or two accent nails to avoid overcrowding the nail surface.
Popular color combinations include emerald and gold, pink and lavender, blue and white, burgundy and silver, and rainbow shades. The best palette depends on whether you prefer a subtle or bold manicure.
Start with a base coat, then paint small geometric sections using different polish colors. Allow the sections to dry as appropriate, add thin outlines with a liner brush, and finish with a suitable top coat.
Mosaic nails generally focus on separate shapes and color blocks arranged like decorative tiles. Stained-glass nails imitate colored glass panels, often using translucent polish and dark or metallic outlines. The two styles can overlap.
Yes. Simple versions can be created with regular nail polish, a thin liner brush, and a dotting tool. More detailed designs involving chrome, intricate outlines, or layered gel effects may be easier to achieve at a salon.
Absolutely! Mosaic French tips replace traditional solid-colored tips with small geometric patterns. A sheer nude base and colorful decorative tips create a playful yet polished manicure.
Choose a limited color palette, use thin outlines, and leave some negative space. You can also decorate only one or two nails while keeping the remaining fingers in a coordinating solid polish.