

You don’t need to buy furniture and accessories made of precious materials. It is a great idea to make unique DIY crafts that will look expensive in your home and help decorate the place without breaking the budget.
The main idea is to do something less extravagant but still have a good mix of shapes, colors, high quality, proportions, styling, and other elements.
Textured wall art, ceramic vases, decorative trays, and picture frames are just some of the DIY home decor ideas that might make the room look more expensive.
What Makes DIY Crafts Look Expensive?
An expensive-looking DIY usually isn’t about using expensive materials. It is more about how the finished piece looks and how well it works with the rest of the room.
A few details make a noticeable difference:
- Keep the color palette simple. Two or three coordinated shades often look more polished than a mix of many colors.
- Pay attention to scale. A tiny piece can disappear on a large wall, while oversized decor can overwhelm a small shelf.
- Use texture carefully. Linen, wood, ceramic, plaster-like finishes, and woven materials can add visual depth.
- Finish the project properly. Sand rough edges, remove excess glue, smooth uneven paint, and let finishes dry completely.
- Avoid unnecessary decoration. A simple design can look more sophisticated than one covered with embellishments.
- Style the finished piece intentionally. Even a beautiful DIY can look out of place if it is surrounded by clutter.
The goal is not to make a handmade object pretend to be something it isn’t. The goal is to make it look deliberate, cohesive, and well finished.
If you’re new to crafting, check out 25 Crafts for People Who Aren’t Artistic That Are Easy to Try for simple projects anyone can make.

20 DIY Crafts That Look Expensive
1. DIY Crafts That Look Expensive: Textured Abstract Wall Art
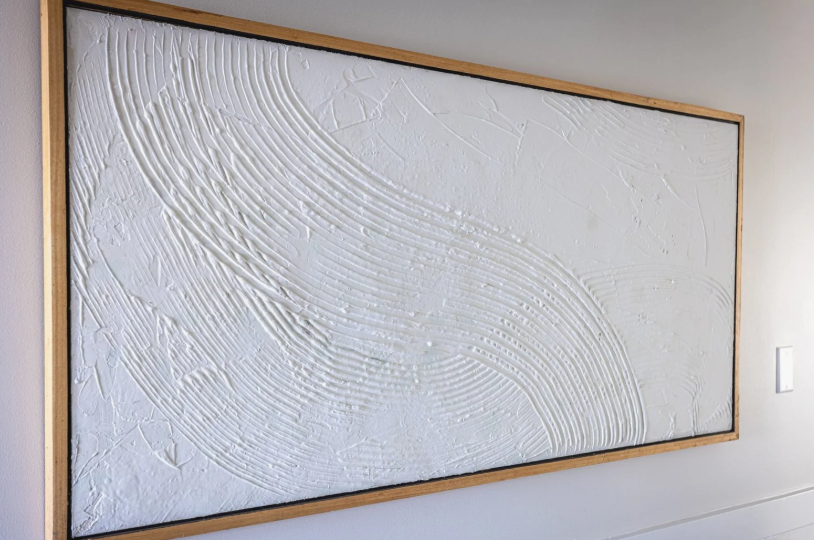
Large artwork can create a strong focal point, but oversized pieces can also be expensive. A simple textured canvas is one of the easiest ways to create a substantial piece of wall decor yourself.
Use a blank canvas with a texture medium such as joint compound or a suitable art paste. Spread it with a putty knife to create gentle ridges, curves, or an abstract pattern.
For an elevated look, try:
- Warm white
- Cream
- Beige
- Greige
- Soft taupe
You don’t need a complicated design. A restrained texture with plenty of open space can look more sophisticated than a busy pattern.
Make it look expensive: Choose a canvas size that suits the wall instead of making a tiny piece for a large empty area.
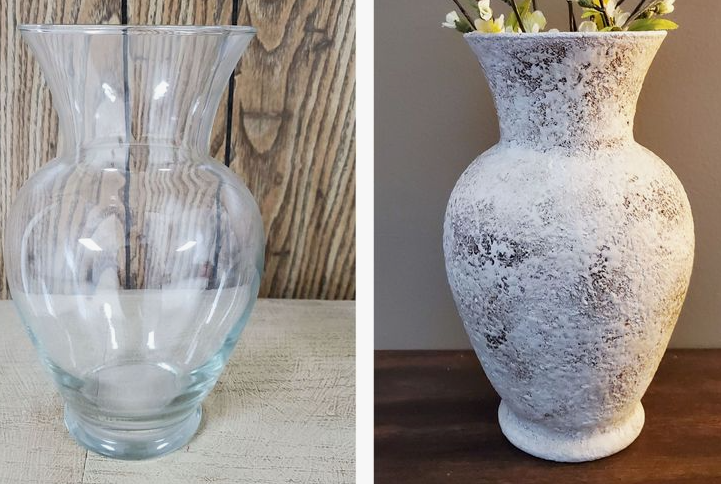
2. DIY Crafts That Look Expensive: Faux Ceramic Vase From a Glass Jar
An average glass jar can be transformed into a painted textured vase.
Make sure to clean the jar before painting, and apply a primer or a mixture of paint-textured medium. Paint the jar in neutral colours, such as ivory, stone, warm white, or beige.
The point is to obscure the glass surface, so the inner lining of the jar is not visible.
The best styling hack is to style it with only one branch, a bit of stem, or a bouquet, instead of a plethora of flowers.
The ceramic-like texture will make the glass jar appear more robust.
Need a quick project? Try 20 Crafts You Can Finish in One Hour for simple DIY ideas that are easy to complete in a single sitting.
3.DIY Crafts That Look Expensive: DIY Decorative Tray
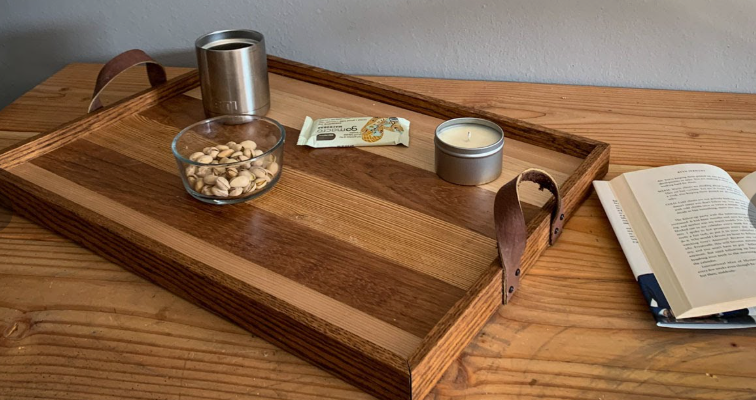
A plain wooden tray can become a polished accent for a coffee table, dresser, entryway, or ottoman.
Paint it in a single sophisticated color or keep the wood natural and add simple hardware.
For a refined look, consider:
- Matte black
- Warm white
- Deep charcoal
- Natural wood
- Soft taupe
- Muted olive
You can use the tray to organize candles, books, a small vase, or other accessories.
Make it look expensive: Leave some empty space inside the tray. A completely crowded tray can make even attractive objects look cluttered.
If you prefer simple projects without sewing, explore 20 No-Sew DIY Crafts for Adults for easy ideas you can make at home.
4. DIY Crafts That Look Expensive: Oversized Framed DIY Artwork
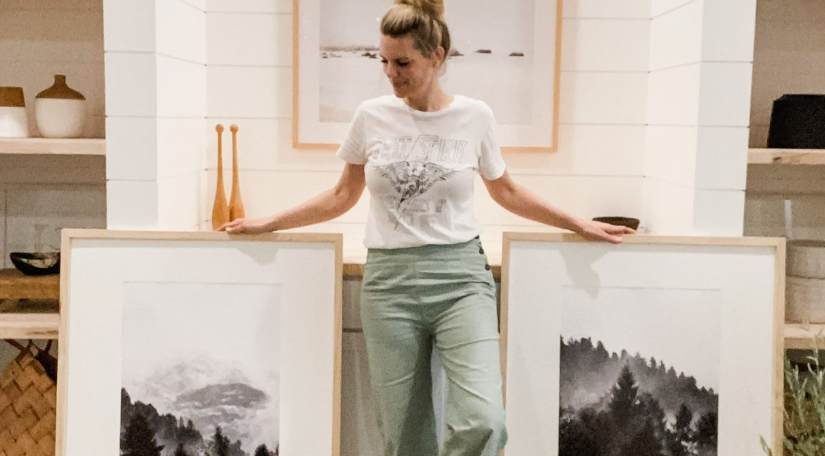
Instead of buying several small pieces of wall art, create one larger statement piece.
You can make abstract artwork with acrylic paint, create a simple line drawing, or use a restrained color-block design.
The frame matters almost as much as the artwork.
Choose a frame style that works with your room:
- Natural wood for warm interiors
- Black for modern spaces
- White for a light, minimal look
- Brass or gold tones for a more traditional feel
Design tip: Before making the artwork, consider the furniture below it. The art should feel appropriately scaled to the wall and the piece of furniture beneath it.
If you want stylish projects without spending much, explore 25 Cheap DIY Crafts on a Budget That Don’t Look Cheap for affordable ideas with a polished finish.
5.DIY Crafts That Look Expensive: Painted Terracotta Pots
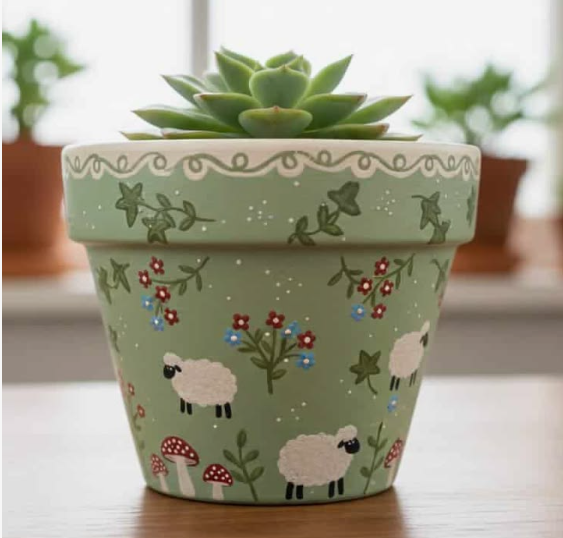
Terracotta pots are simple, but they can become attractive decorative accents with the right finish.
Instead of covering them with complicated patterns, try a monochromatic treatment.
Paint the entire pot in:
- Cream
- Clay
- Olive
- Charcoal
- Soft beige
You can also create a simple color-block design using painter’s tape.
Make it look expensive: Keep the design restrained and choose a finish that complements the room rather than competing with the plant.
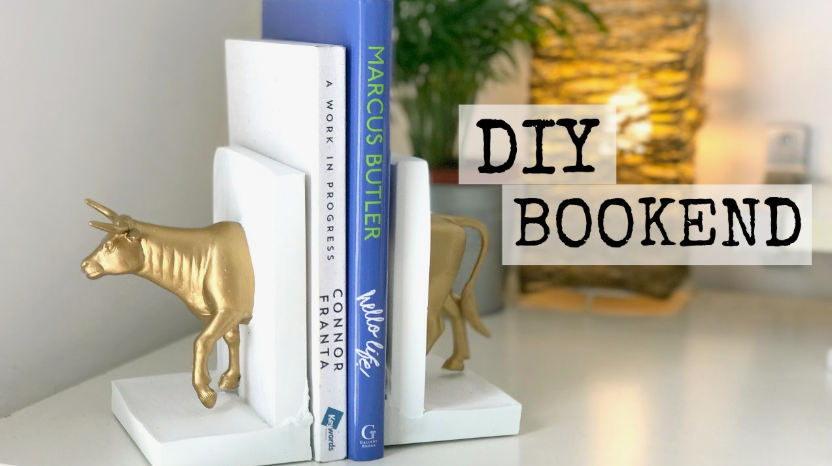
6. DIY Crafts That Look Expensive: Sculptural Bookends
Bookends don’t have to be strictly utilitarian.
Make some simple geometric shapes out of blocks of wood or other materials, and paint them a solid color or leave them natural.
Set them on a shelf along with a few books, a vase of flowers, or other objects of decoration.
Why: Useful items can serve double duty as decorating pieces if they have an attractive shape and/or color.
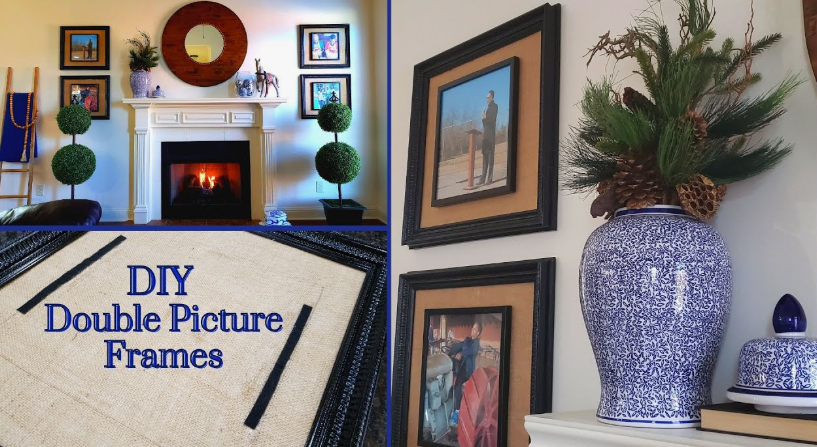
7. DIY Crafts That Look Expensive: Picture Frame Makeover
An inexpensive frame can look dramatically different after a simple makeover.
Start by cleaning the surface and preparing it properly. Then paint it a color that works with your room.
Consider:
- Matte black
- Warm white
- Dark brown
- Natural wood tones
- Muted metallic finishes
You can also combine several frames in the same finish to create a cohesive gallery wall.
Make it look expensive: Consistency matters. A group of frames in unrelated colors and styles can look random, while a controlled selection can look curated.
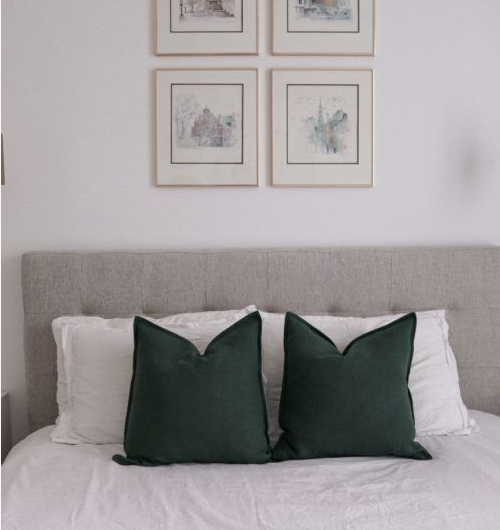
8. DIY Crafts That Look Expensive: No-Sew Linen-Style Pillow Covers
Pillows are an easy way to change the feel of a room, and you don’t necessarily need advanced sewing skills to create a new look.
Use linen-look or textured fabric and an appropriate fabric adhesive if you prefer a no-sew project.
Choose understated colors such as:
- Oatmeal
- Cream
- Sand
- Warm gray
- Muted green
Avoid overly complicated patterns if your goal is an elevated appearance.
Styling tip: Combine different textures rather than using many different colors.
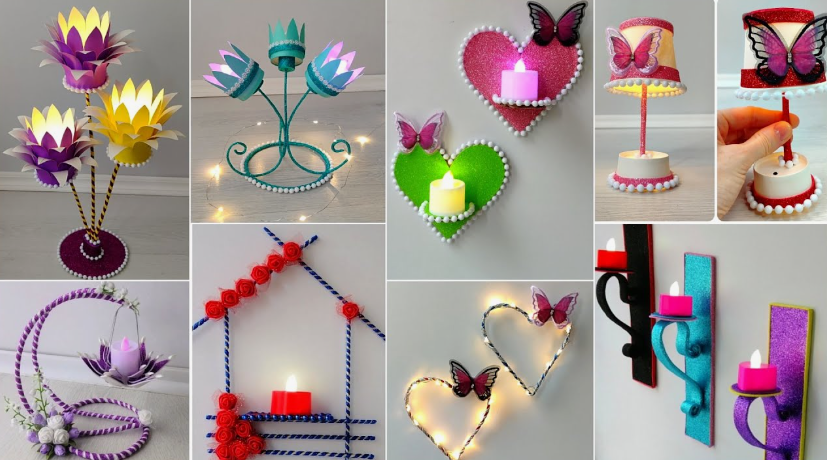
9. DIY Crafts That Look Expensive: Minimalist Candle Holders
Simple candle-holders can be transformed into elegant centerpieces with minimal effort.
To create a nice piece use the appropriate unfinished wood, ceramic pieces or any other heat-resistant material and ensure that the completed holder is balanced and safe for the candle it will hold.
For an upscale look it is best to go with neutral colors and simple shapes.
Do not use questionable materials near an open flame, and make sure that any decorative candle holder is made from appropriate materials for the type of candle being held. To create completely decorative candle-holders use flameless LED candles.
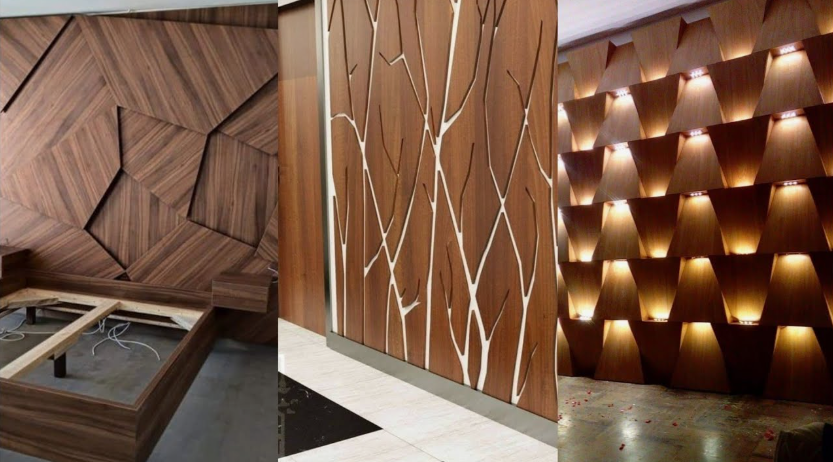
10.DIY Crafts That Look Expensive: DIY Decorative Wall Panels
Wall panels can add architectural detail without a complete room overhaul.
A quick and simple solution is a small decorative panel made of light molding, trim, or other appropriate craft materials.
Paint the whole panel plus the surrounding wall surface the same color for a built-in look.
The best way to start is with a small accent panel if you are new to this type of project.
11. DIY Crafts That Look Expensive: Faux Stone Planter
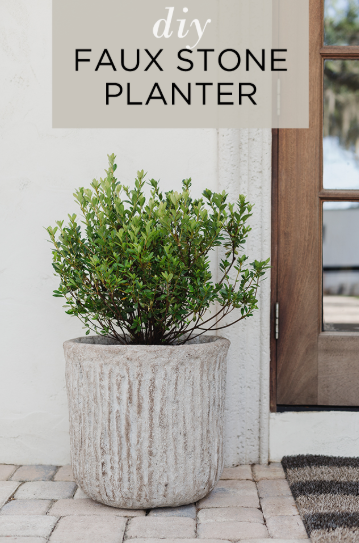
You can transform an ordinary planter with a textured finish inspired by stone or concrete.
Use an appropriate primer and paint designed for the planter’s material.
Keep the finish subtle rather than trying to reproduce every detail of natural stone.
Try:
- Soft gray
- Warm white
- Greige
- Sand
- Charcoal
Why it works: A heavier-looking finish can make a basic lightweight planter feel more substantial.
12. DIY Crafts That Look Expensive: Wooden Bead Garland
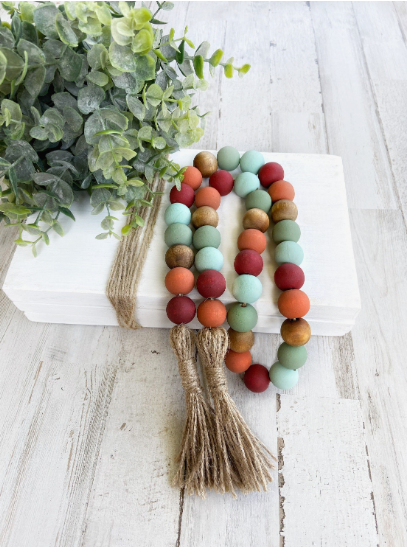
The wooden beads can be transformed into a simple decorative element that will complement the shelves, trays, baskets, or coffee tables.
It is better to select the natural color of wood or paint beads in a couple of neutral colors.
Avoid using too many charms or decorative elements. Make it look expensive by letting it speak for itself and creating an element of minimalism.
13. Raised-Texture Canvas Art
For another variation on textured wall art, create a subtle raised pattern on a canvas.
Try:
- Organic curves
- Arched shapes
- Simple geometric lines
- Abstract waves
A monochromatic finish can make the texture the focus.
Best color approach: Use a shade close to the background rather than creating a high-contrast pattern.
14. DIY Jewelry or Accessory Tray
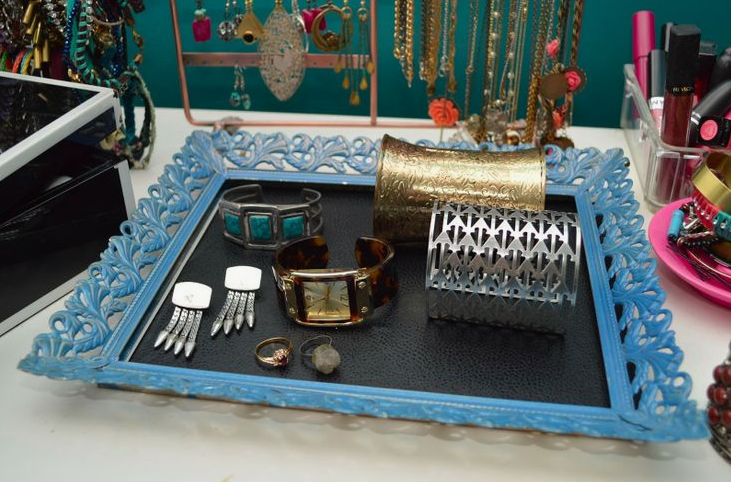
A small tray can be useful on a bedroom dresser, bathroom counter, or entryway table.
Start with a plain wood, ceramic, or suitable existing tray and give it a clean finish.
You can add:
- A simple painted border
- Minimal handles
- A textured finish
- A neutral color
Use it to hold jewelry, perfume bottles, keys, or small accessories.
Why it works: Functional decor tends to feel more intentional than decorative objects that serve no purpose.
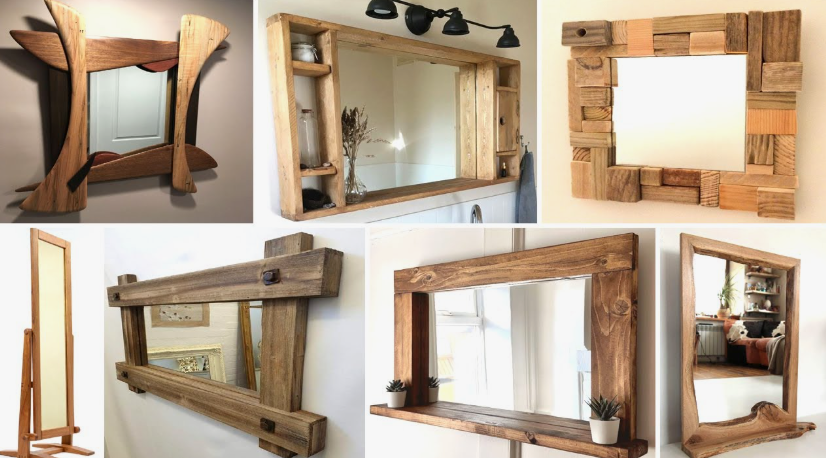
15. DIY Mirror Frame
A plain mirror can be made more interesting with a custom frame.
Use wood trim or another type of molding, in a finish that will complement the room.
Try black or natural wood for a modern look.
For a softer traditional look, use a warm white or pale metal.
Design consideration: Don’t forget about what is around the mirror. A nice looking framed mirror can be lost in clutter.
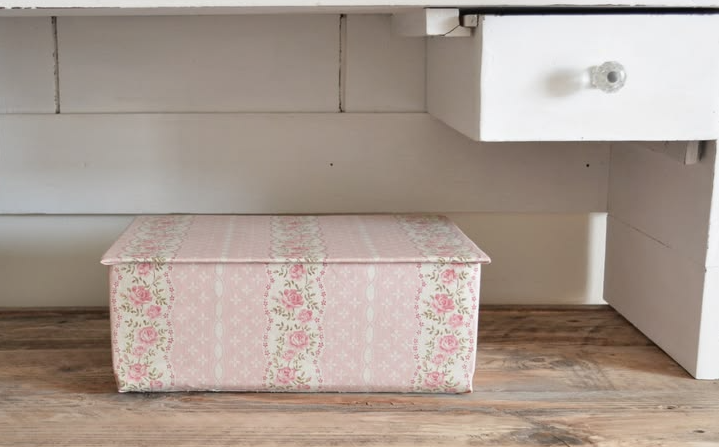
16. Decorative Storage Boxes
Storage does not have to look like storage.
Cover or refinish plain boxes using fabric, paper, paint, or another suitable material.
Use the same color family for several boxes so they look like part of one collection.
They work especially well for:
- Shelves
- Closets
- Desks
- Craft storage
- Entryways
Make it look expensive: Hide visual clutter while keeping the exterior simple and consistent.
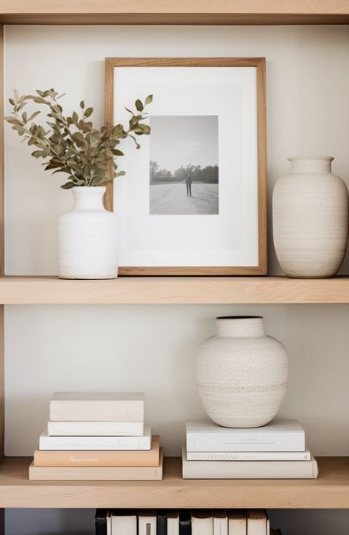
17. Minimalist Shelf Decor
Instead of buying new decorative objects, create a few simple pieces that work together.
For example, combine:
- One painted vase
- One small framed artwork
- One wooden object
- A few books
- One plant
The key is not the individual objects. It is how they relate to each other.
Use negative space: Leaving some shelf space empty can make the entire arrangement feel more deliberate.
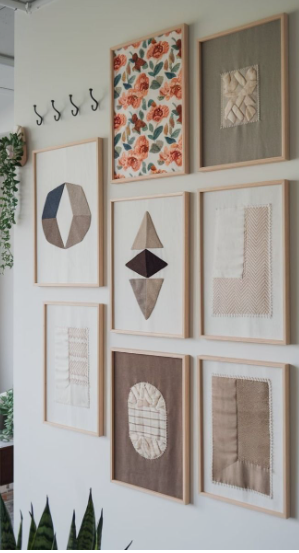
18. Fabric Wall Art
Fabric can become beautiful wall decor when displayed properly.
Use an interesting textile, neutral fabric, woven material, or decorative cloth and mount it securely within a frame or suitable hanging system.
This works particularly well when the fabric already has:
- Texture
- A subtle pattern
- Embroidery
- A woven finish
- A restrained color palette
Why it works: Fabric introduces softness and texture that can be difficult to achieve with flat artwork alone.
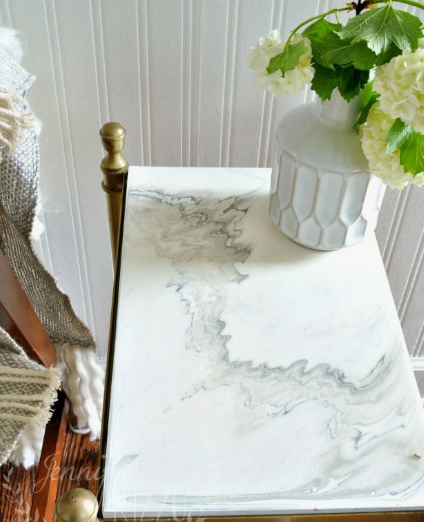
19. Faux Marble Accent Piece
Instead of using faux marble on everything, choose one small accent.
A wooden tray, small decorative board, or suitable tabletop accessory can be painted with a restrained marble-inspired pattern.
Keep the veins subtle.
Make it look expensive: Realistic restraint is usually better than heavy, high-contrast veining.
Pair the finished piece with natural wood, cream, black, or brass-toned accents.
20. Upgrade Simple Furniture With New Hardware
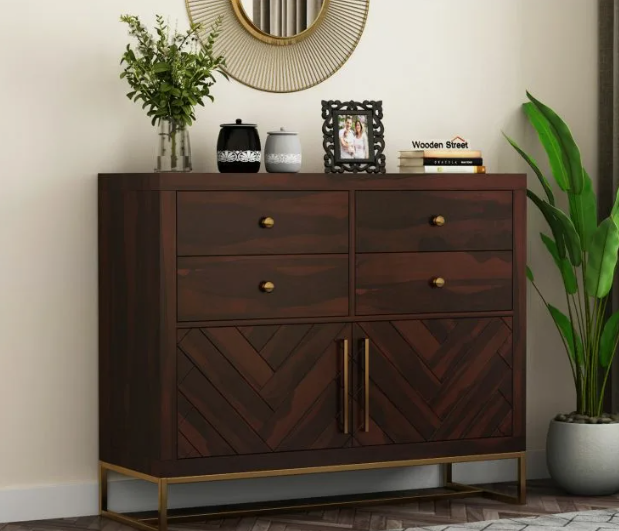
This is technically more of a furniture makeover than a traditional craft, but it can produce one of the biggest visual changes.
Replace dated knobs or pulls on a suitable piece of furniture with hardware that fits its style.
You can also repaint the furniture if the surface and finish are appropriate for painting.
Think about:
- Scale
- Hardware placement
- Finish
- Existing wood tones
- Room color
Why it works: Small functional details can make inexpensive furniture feel more intentional and customized.
How to Make DIY Crafts Look More Expensive
The project itself is only part of the result. The finishing and styling can make an even bigger difference.
1. Use a Controlled Color Palette
Start with one dominant color, one supporting shade, and a neutral.
For example:
- Cream + warm brown + natural wood
- White + charcoal + oak
- Beige + olive + black
- Warm white + terracotta + brown
You don’t need to follow these combinations exactly. The important point is to create visual cohesion.
2. Choose Texture Over Excess Decoration
Texture can make a simple object more interesting without making it busy.
Consider:
- Linen
- Woven fibers
- Wood
- Ceramic-inspired finishes
- Textured paint
- Natural materials
A textured neutral vase can have more visual impact than a brightly decorated vase covered with multiple patterns.
3. Finish Every Visible Edge
This is one of the easiest ways to improve a DIY project.
Before calling a project finished:
- Remove visible glue.
- Smooth rough edges.
- Trim loose threads.
- Clean paint from unwanted areas.
- Check corners.
- Allow finishes to dry fully.
- Paint visible sides and edges when appropriate.
A few extra finishing steps can make a simple project feel much more deliberate.
4. Think About Scale
A common decorating mistake is using decor that is too small for the space.
A tiny artwork may disappear above a large sofa. Likewise, a large decorative object can overwhelm a narrow shelf.
Before starting a DIY project, look at the space where it will go.
Ask:
Will this piece have enough visual presence here?
If the answer is no, consider increasing the scale rather than adding several smaller pieces.
5. Don’t Try to Make Everything Look Luxurious
One or two elevated DIY pieces can be more effective than filling an entire room with “luxury” decor.
Choose a focal point and let it stand out.
This is especially useful in small rooms, where too many decorative objects can quickly create visual clutter.
DIY Mistakes That Can Make Decor Look Cheap
Even a good DIY idea can lose its polished appearance if the execution is rushed.
Using too many colors
A complicated color palette can make a small project look visually busy.
Adding too many embellishments
More details don’t necessarily mean more sophistication.
Ignoring proportions
A beautiful object can still look awkward if it is the wrong size for the furniture or wall.
Leaving rough edges
Uneven edges, loose fabric, excess adhesive, and messy paint are immediately noticeable.
Mixing unrelated finishes
For example, combining several different wood tones, metallic finishes, and paint colors without a clear reason can make a room feel disconnected.
Copying a trend too literally
A DIY should work with your existing room. If a project looks beautiful online but clashes with your furniture, flooring, or color palette, it may not be the right project for your home.
How to Choose DIY Materials for an Expensive-Looking Finish
You don’t necessarily need premium materials.
Instead, prioritize materials that are:
- easy to finish cleanly
- appropriate for the project
- visually consistent
- durable enough for their intended use
- compatible with the paint, adhesive, or finish you’re using
For decorative projects, surface preparation and finishing can matter more than the original price of the material.
An inexpensive wooden tray with a smooth finish can look more polished than an expensive object with a messy finish.
How to Style Your Finished DIY Decor
Once you’ve finished your project, don’t immediately cover the surrounding area with more decor.
Try the following:
- Choose one focal piece.
- Add one or two supporting objects.
- Mix heights and textures.
- Leave some empty space.
- Repeat one color or material elsewhere in the room.
- Step back and look at the arrangement from across the room.
The finished project should feel like part of the room rather than an isolated craft project.
Are DIY Crafts That Look Expensive Worth Making?
Yes, especially when the project solves a decorating problem or gives an inexpensive object a more useful and attractive purpose.
The best projects are not necessarily the most complicated ones.
A simple frame makeover, textured artwork, decorative tray, or vase can have more impact than a highly detailed craft that doesn’t work with the rest of your room.
The goal is intentional design, not maximum effort.
For more inspiration, explore Martha Stewart’s DIY home projects for creative ways to refresh your space on a budget.
Final Thoughts
The best DIY crafts that look expensive aren’t necessarily the ones made with the most expensive materials. They are the ones with thoughtful proportions, controlled colors, interesting texture, clean finishes, and simple styling.
Before starting your next project, ask yourself three questions:
Does it fit my room?
Does the design feel intentional?
Can I finish it cleanly?
If the answer is yes, even a very inexpensive material can become a piece of decor that feels personal, polished, and far more elevated than its starting point
FAQs
What DIY crafts look expensive?
Textured wall art, framed artwork, decorative trays, faux ceramic vases, upgraded picture frames, fabric wall art, sculptural bookends, and simple furniture makeovers can all create an elevated look when they have clean finishes and cohesive styling.
How do you make DIY crafts look expensive?
Use a limited color palette, pay attention to scale, add texture, finish visible edges carefully, remove excess glue or paint, and avoid overcrowding the finished piece with unnecessary decoration.
What colors make DIY decor look expensive?
Neutral and muted shades such as warm white, cream, beige, taupe, charcoal, olive, natural wood, and earthy tones are easy to coordinate. The most important factor is usually consistency rather than one specific “luxury” color.
Can Dollar Tree crafts look expensive?
Yes. Inexpensive materials can be transformed with careful finishing, appropriate proportions, simple colors, and thoughtful styling. Current DIY content heavily explores this exact budget-to-high-end transformation.
What makes cheap decor look expensive?
Clean finishes, good scale, cohesive colors, texture, and restraint can make inexpensive decor look more polished. Poor proportions, visible glue, rough edges, and too many decorative details can have the opposite effect.
What is the easiest DIY decor that looks expensive?
A frame makeover, textured artwork, painted vase, decorative tray, or simple planter makeover can be a good starting point because each can create a noticeable visual change without requiring a complicated construction process.
How can I make DIY home decor look high-end?
Start with a simple design and focus on surface preparation, proportion, color coordination, texture, and finishing. One well-executed piece is usually more effective than several unrelated projects.
Is DIY decor cheaper than buying home decor?
It can be, particularly when you repurpose items you already own or use inexpensive materials. However, the total cost depends on the supplies, tools, time, and finishing products required for each project.